")
Today I would like to share my Alice in Wonderland-themed cupcakes that I made for my friend’s daughter’s birthday party. Maybe give you some tips, pointers, and ideas if you decide to do an Alice in Wonderland-themed party.
How to Make Alice in Wonderland Cupcakes
My friend’s daughter just recently turned one. Where did this last year go??? Her birthday party theme was Alice in Wonderland with the colors purple and gray. I like to help out with the cake for her kids’ birthday parties, it is part of their present. Which now that her son is older he looks forward to seeing his cake!

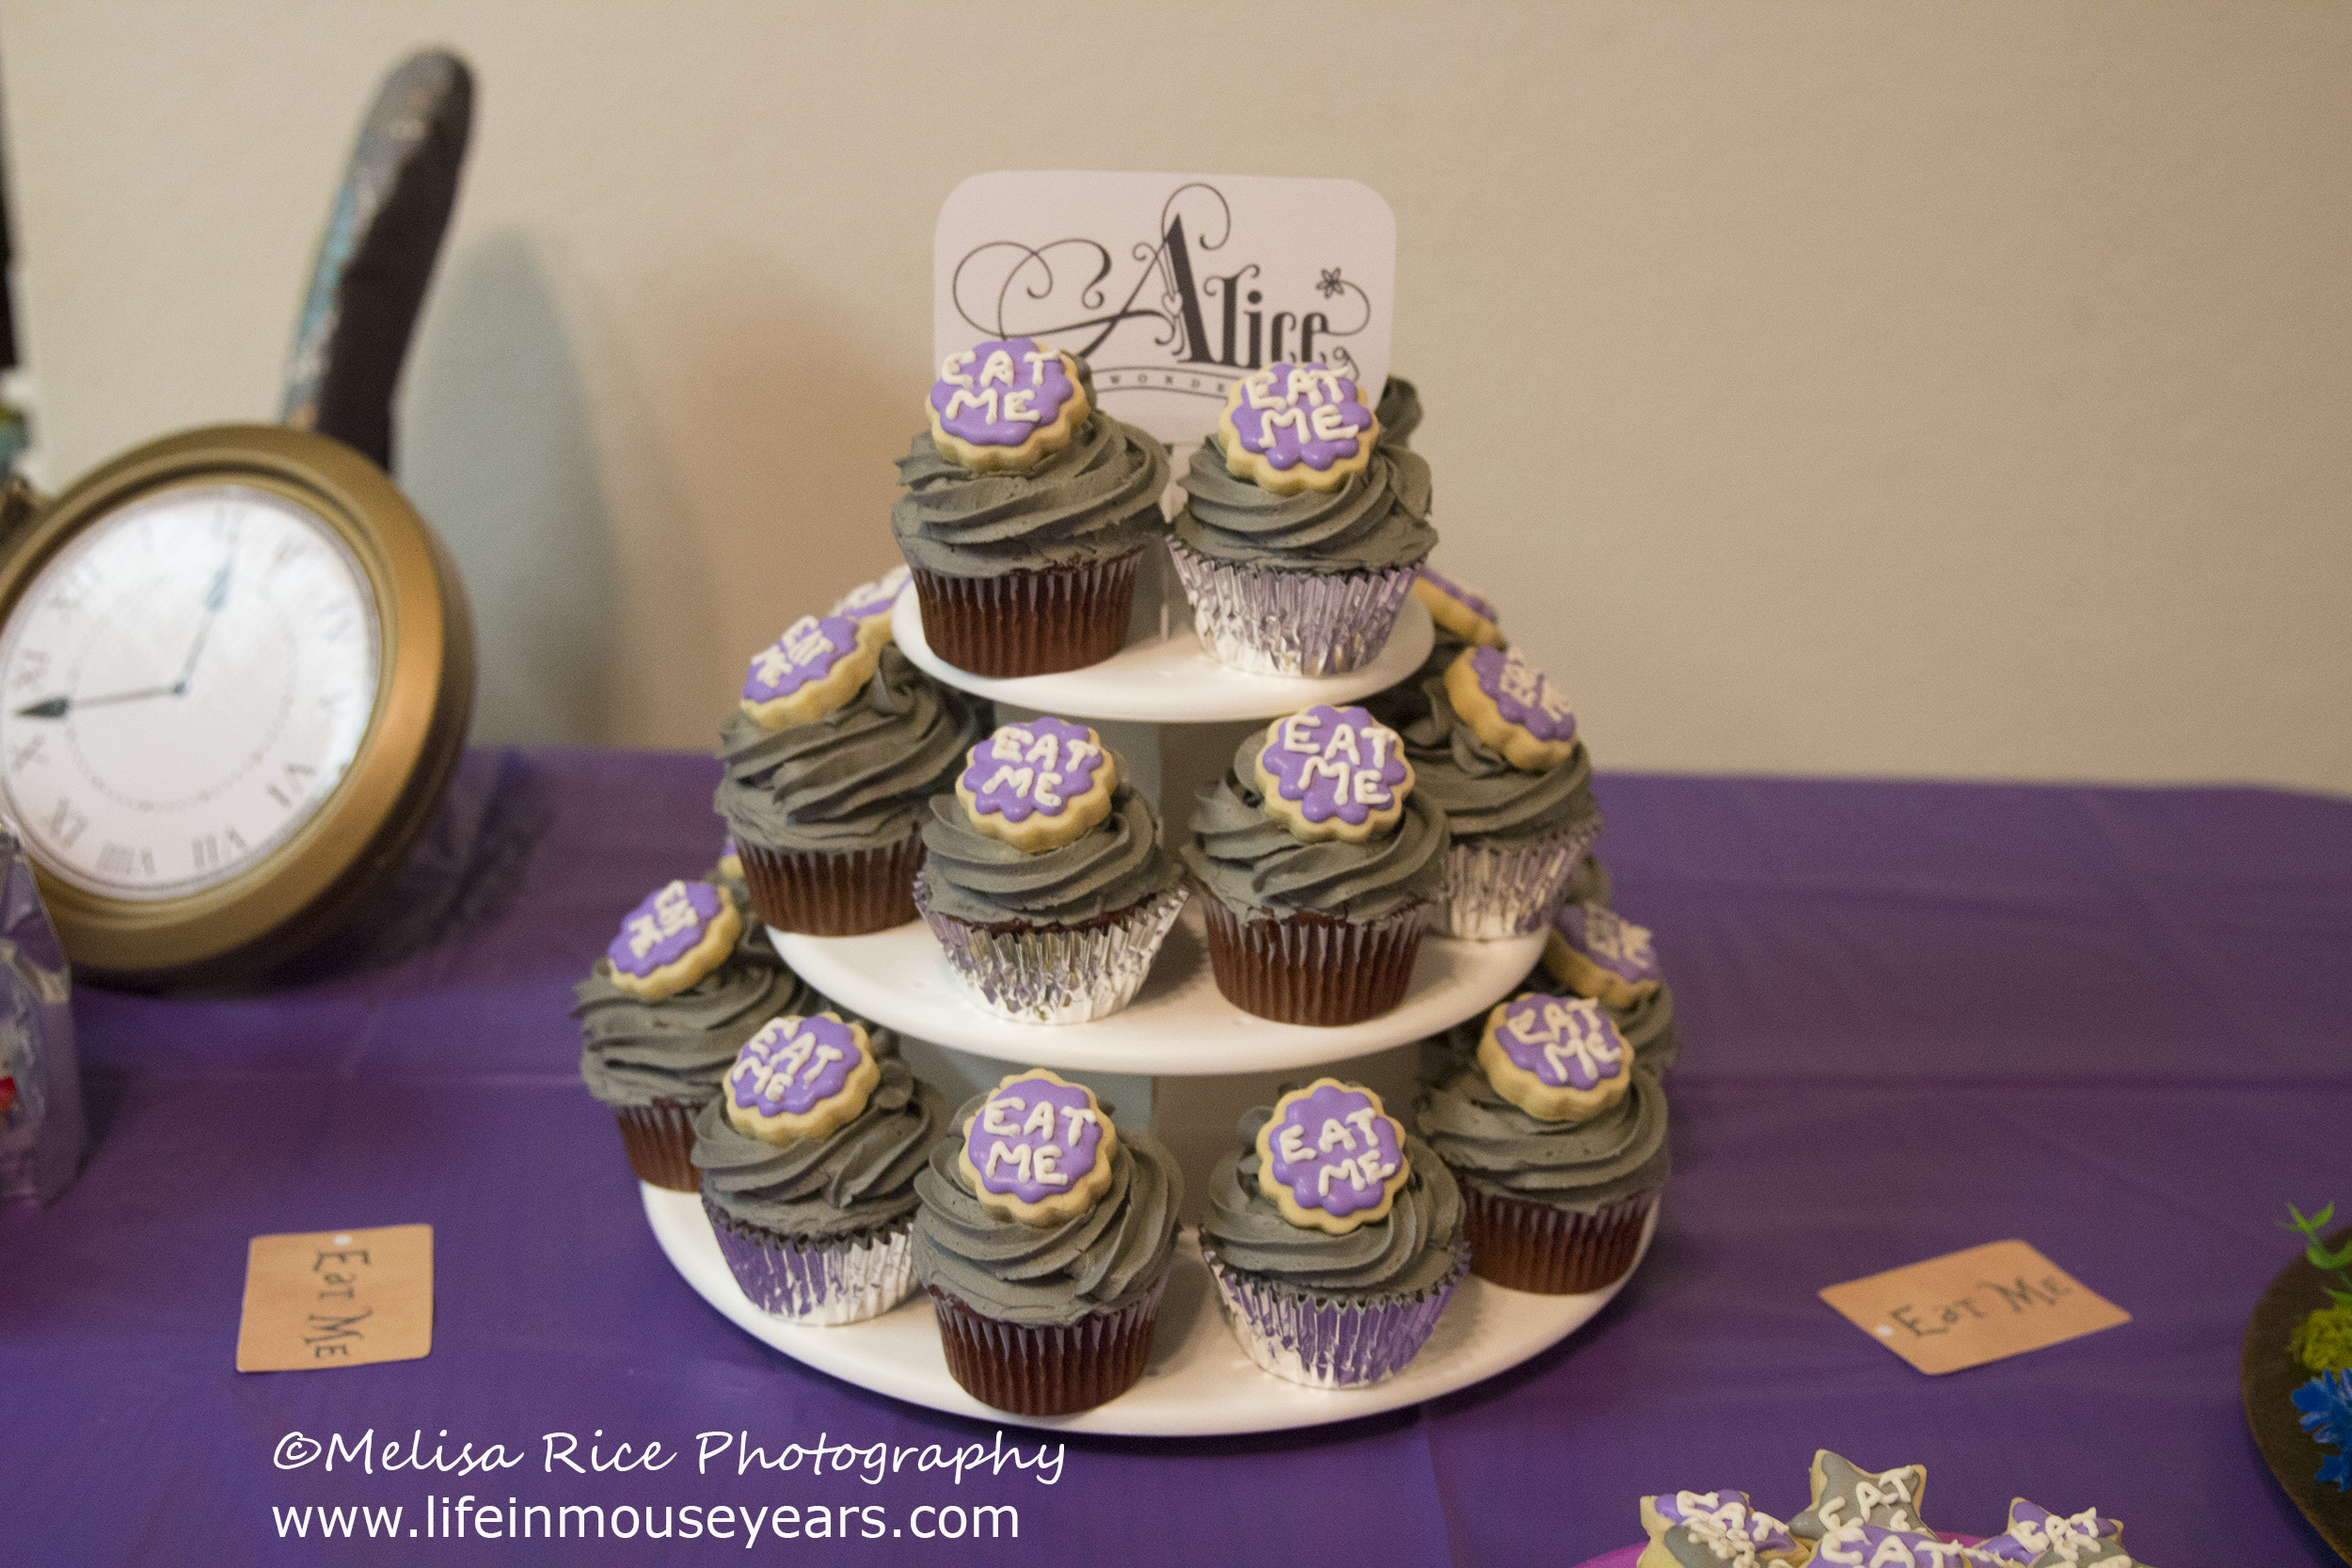
I usually try to make a cake round and cupcakes. I like to have a centerpiece display with the cake round, (leftovers for the family) and then the cupcakes make for easy serving during the party. But, things were really hectic this year so I just did cupcakes. They turned out great! I used a cupcake stand and printed out a sign that said “Alice in Wonderland” and stuck it on top of the cake stand. It really set it off! Little touches can make the biggest impression.

Design
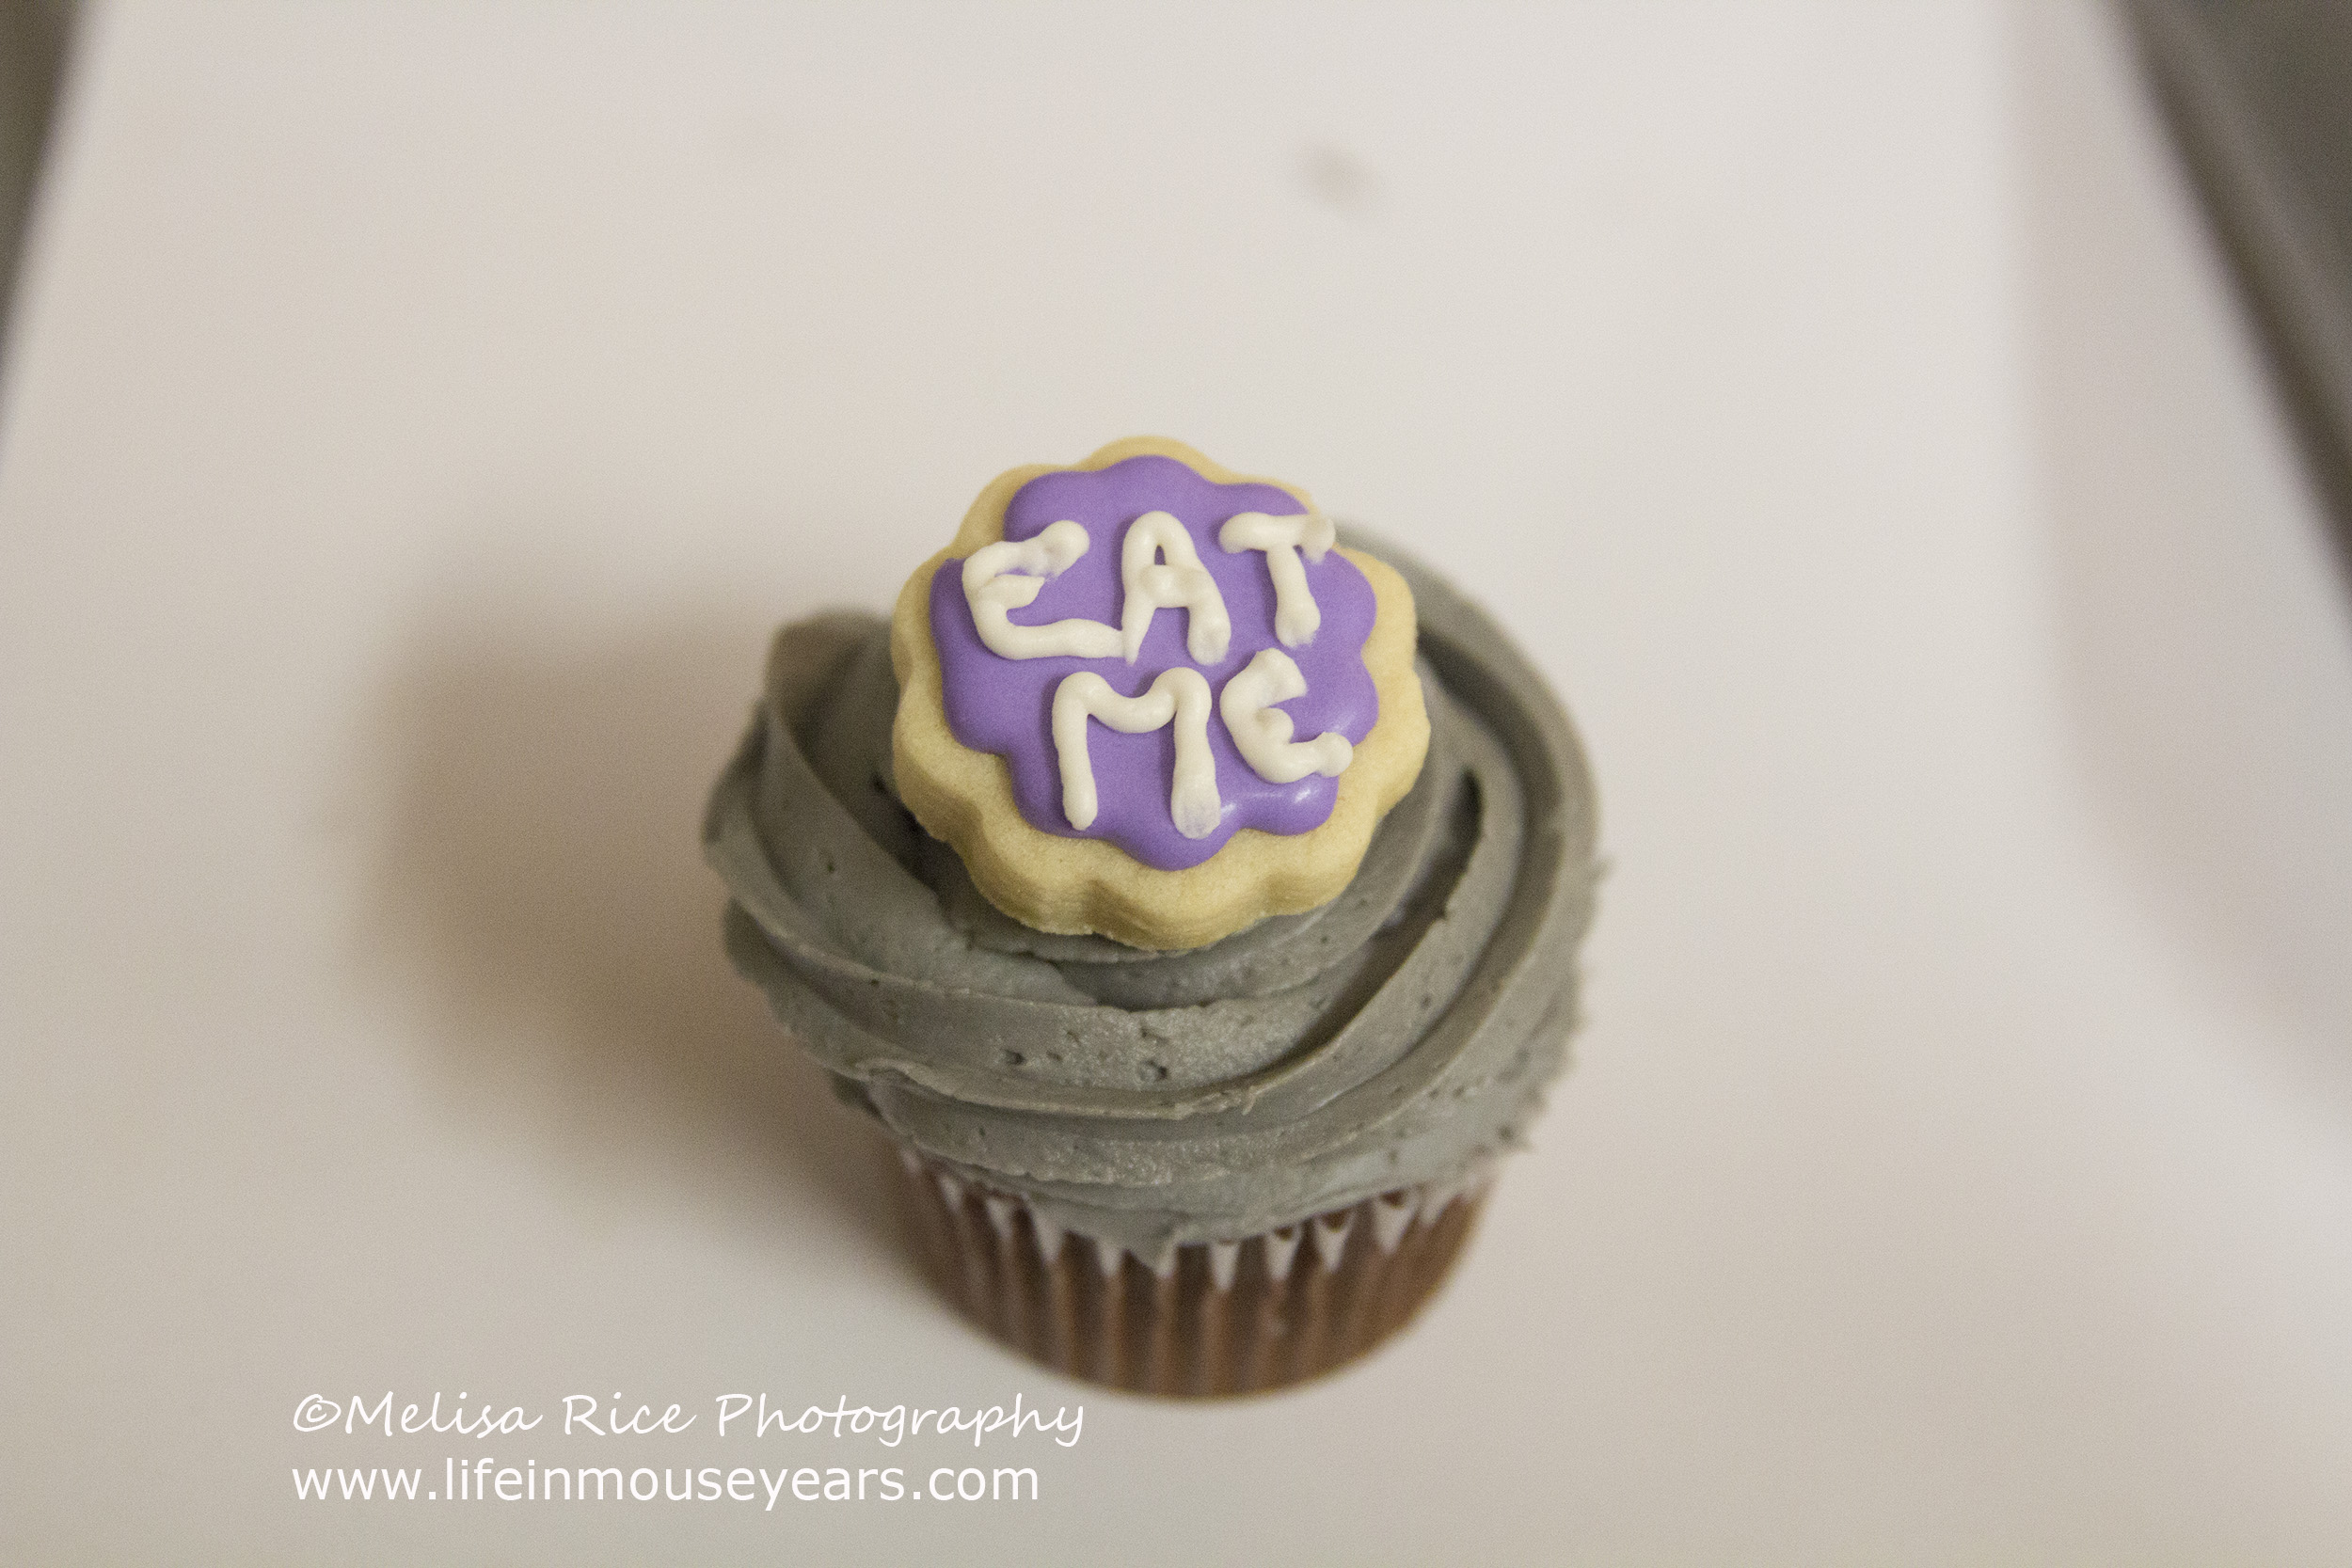
What I decided to do for the design of the cupcakes was to make little cookies that say “eat me” on them and put them on top of the cupcakes. The cookies are just like in the movie in the white rabbit’s house. Alice finds them, eats them and grows into a giant! Don’t worry, these won’t have the same effect. As a result of the sugar, they may cause the kids to bounce off the walls though.
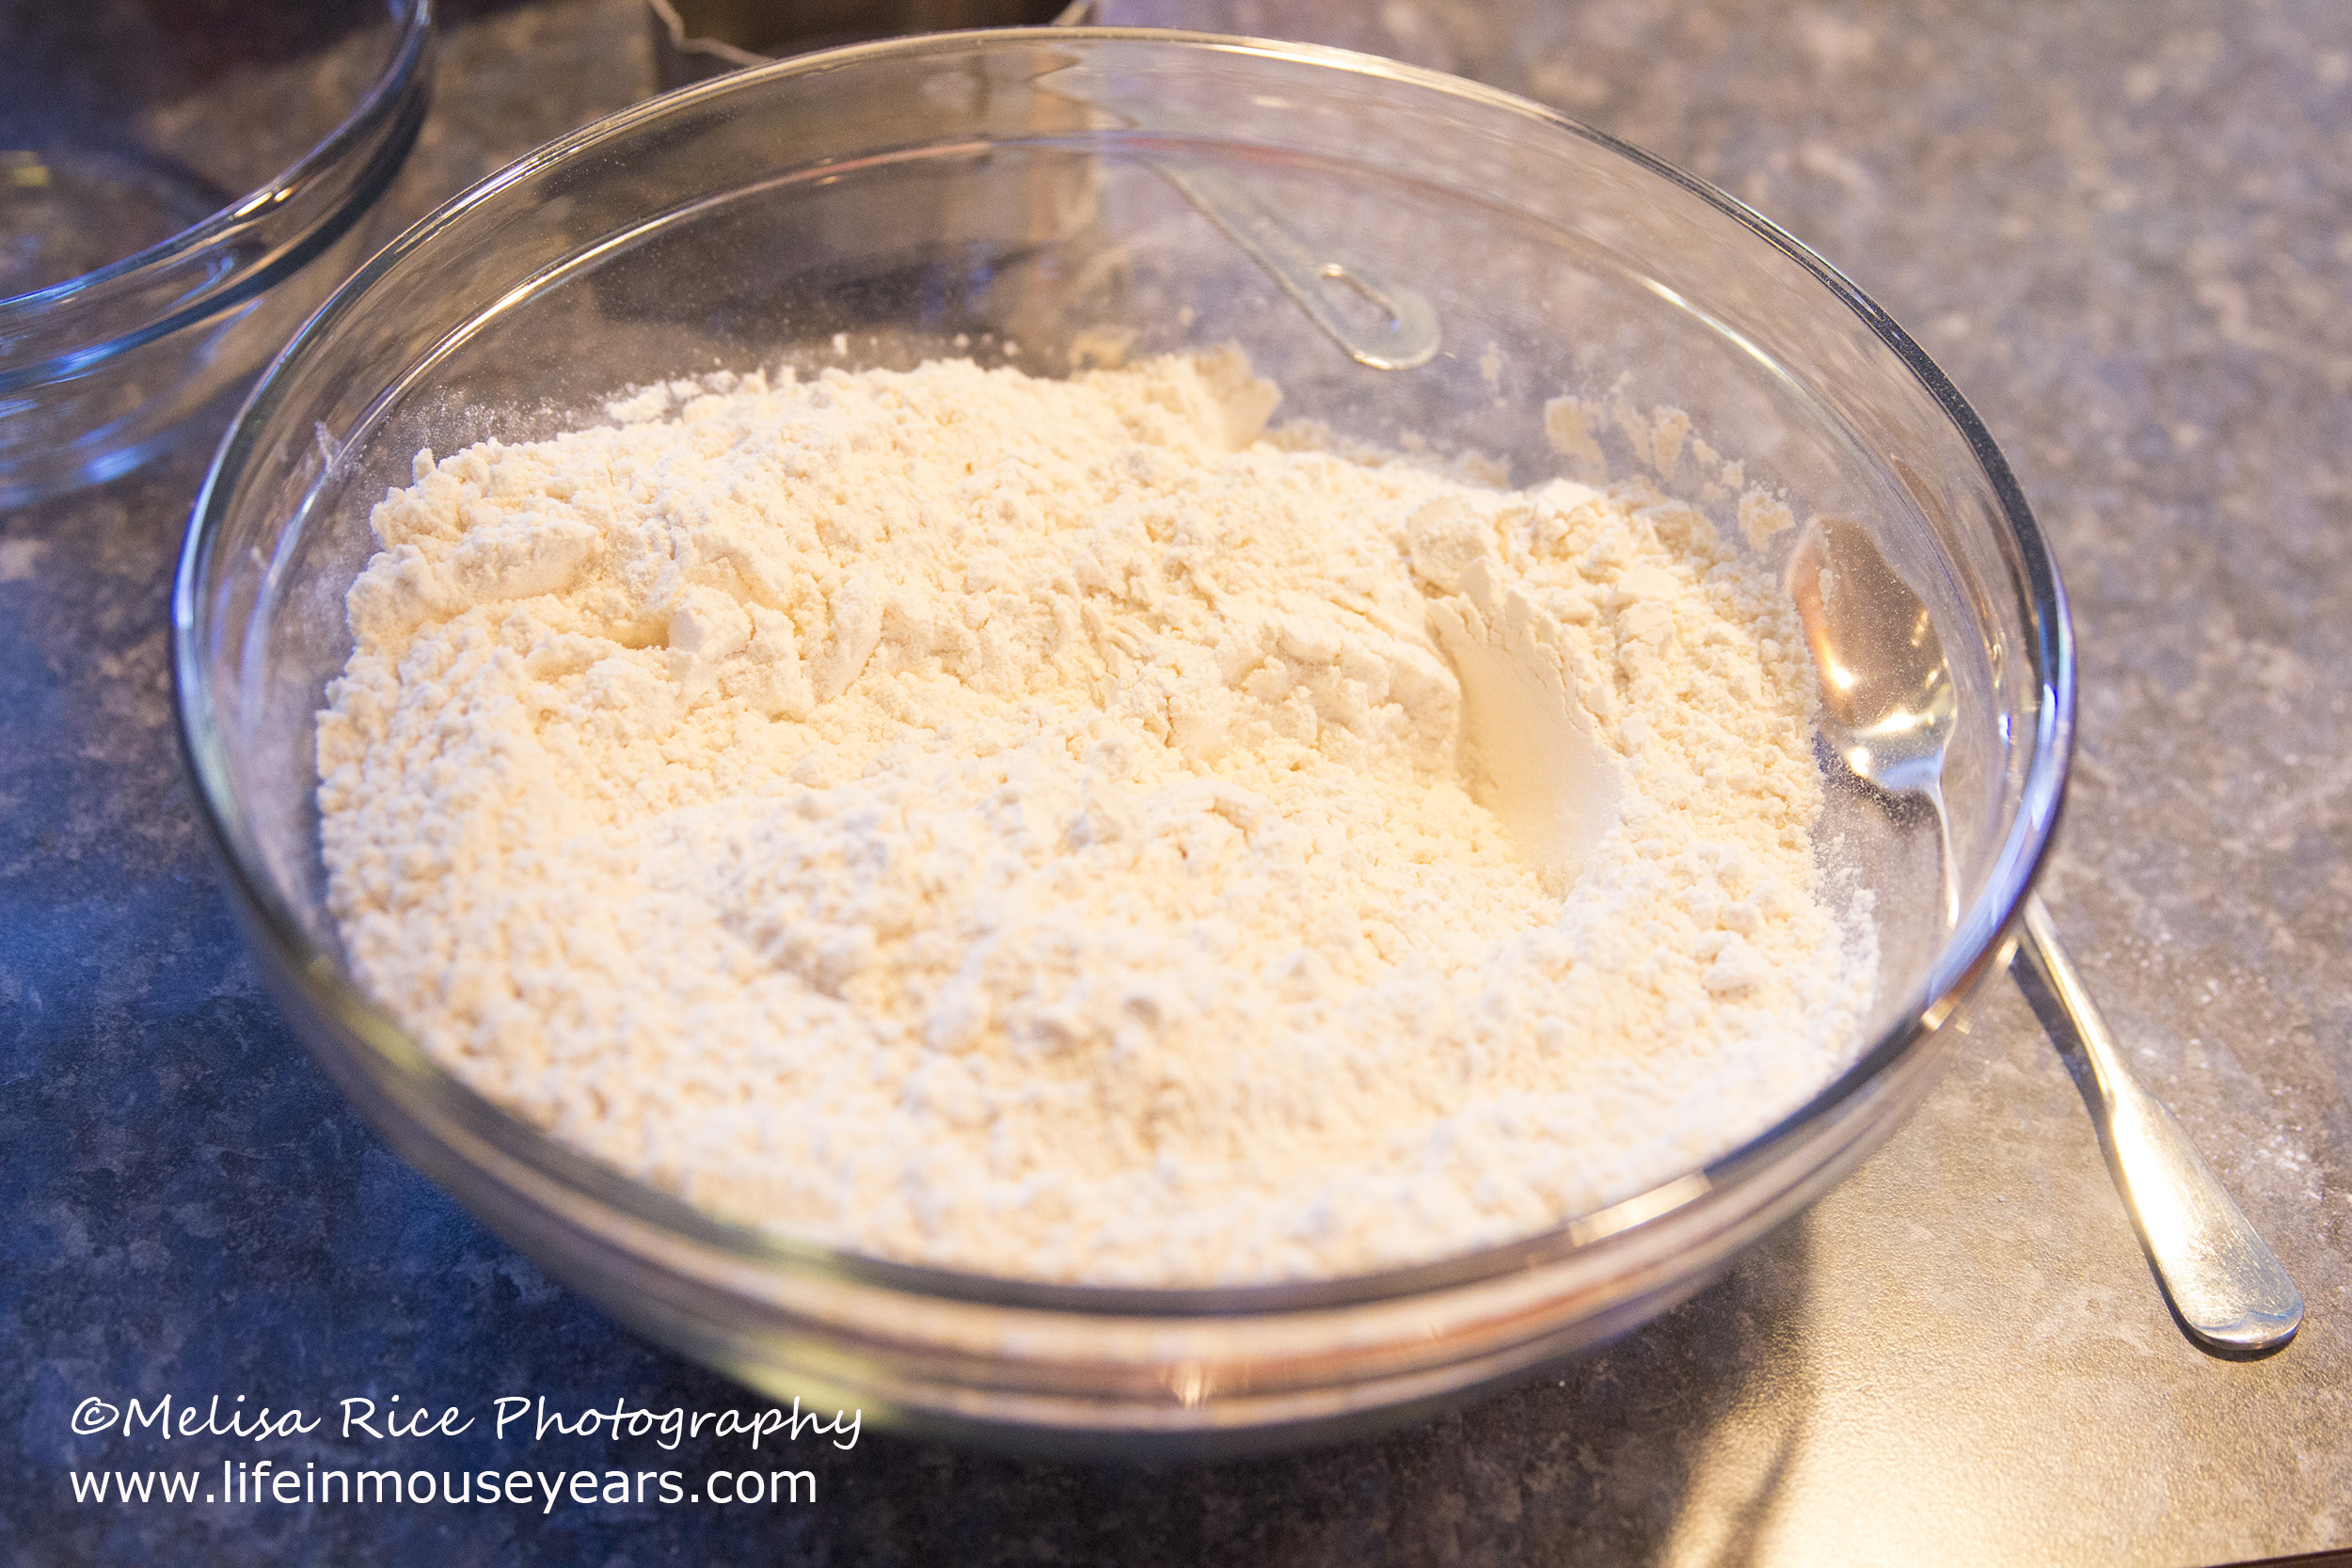
Making Cookies
First I made the sugar cookies. I used this recipe here. These cookies are so delicious!!! The best part is they hold their shape after baking them. Which is very important.
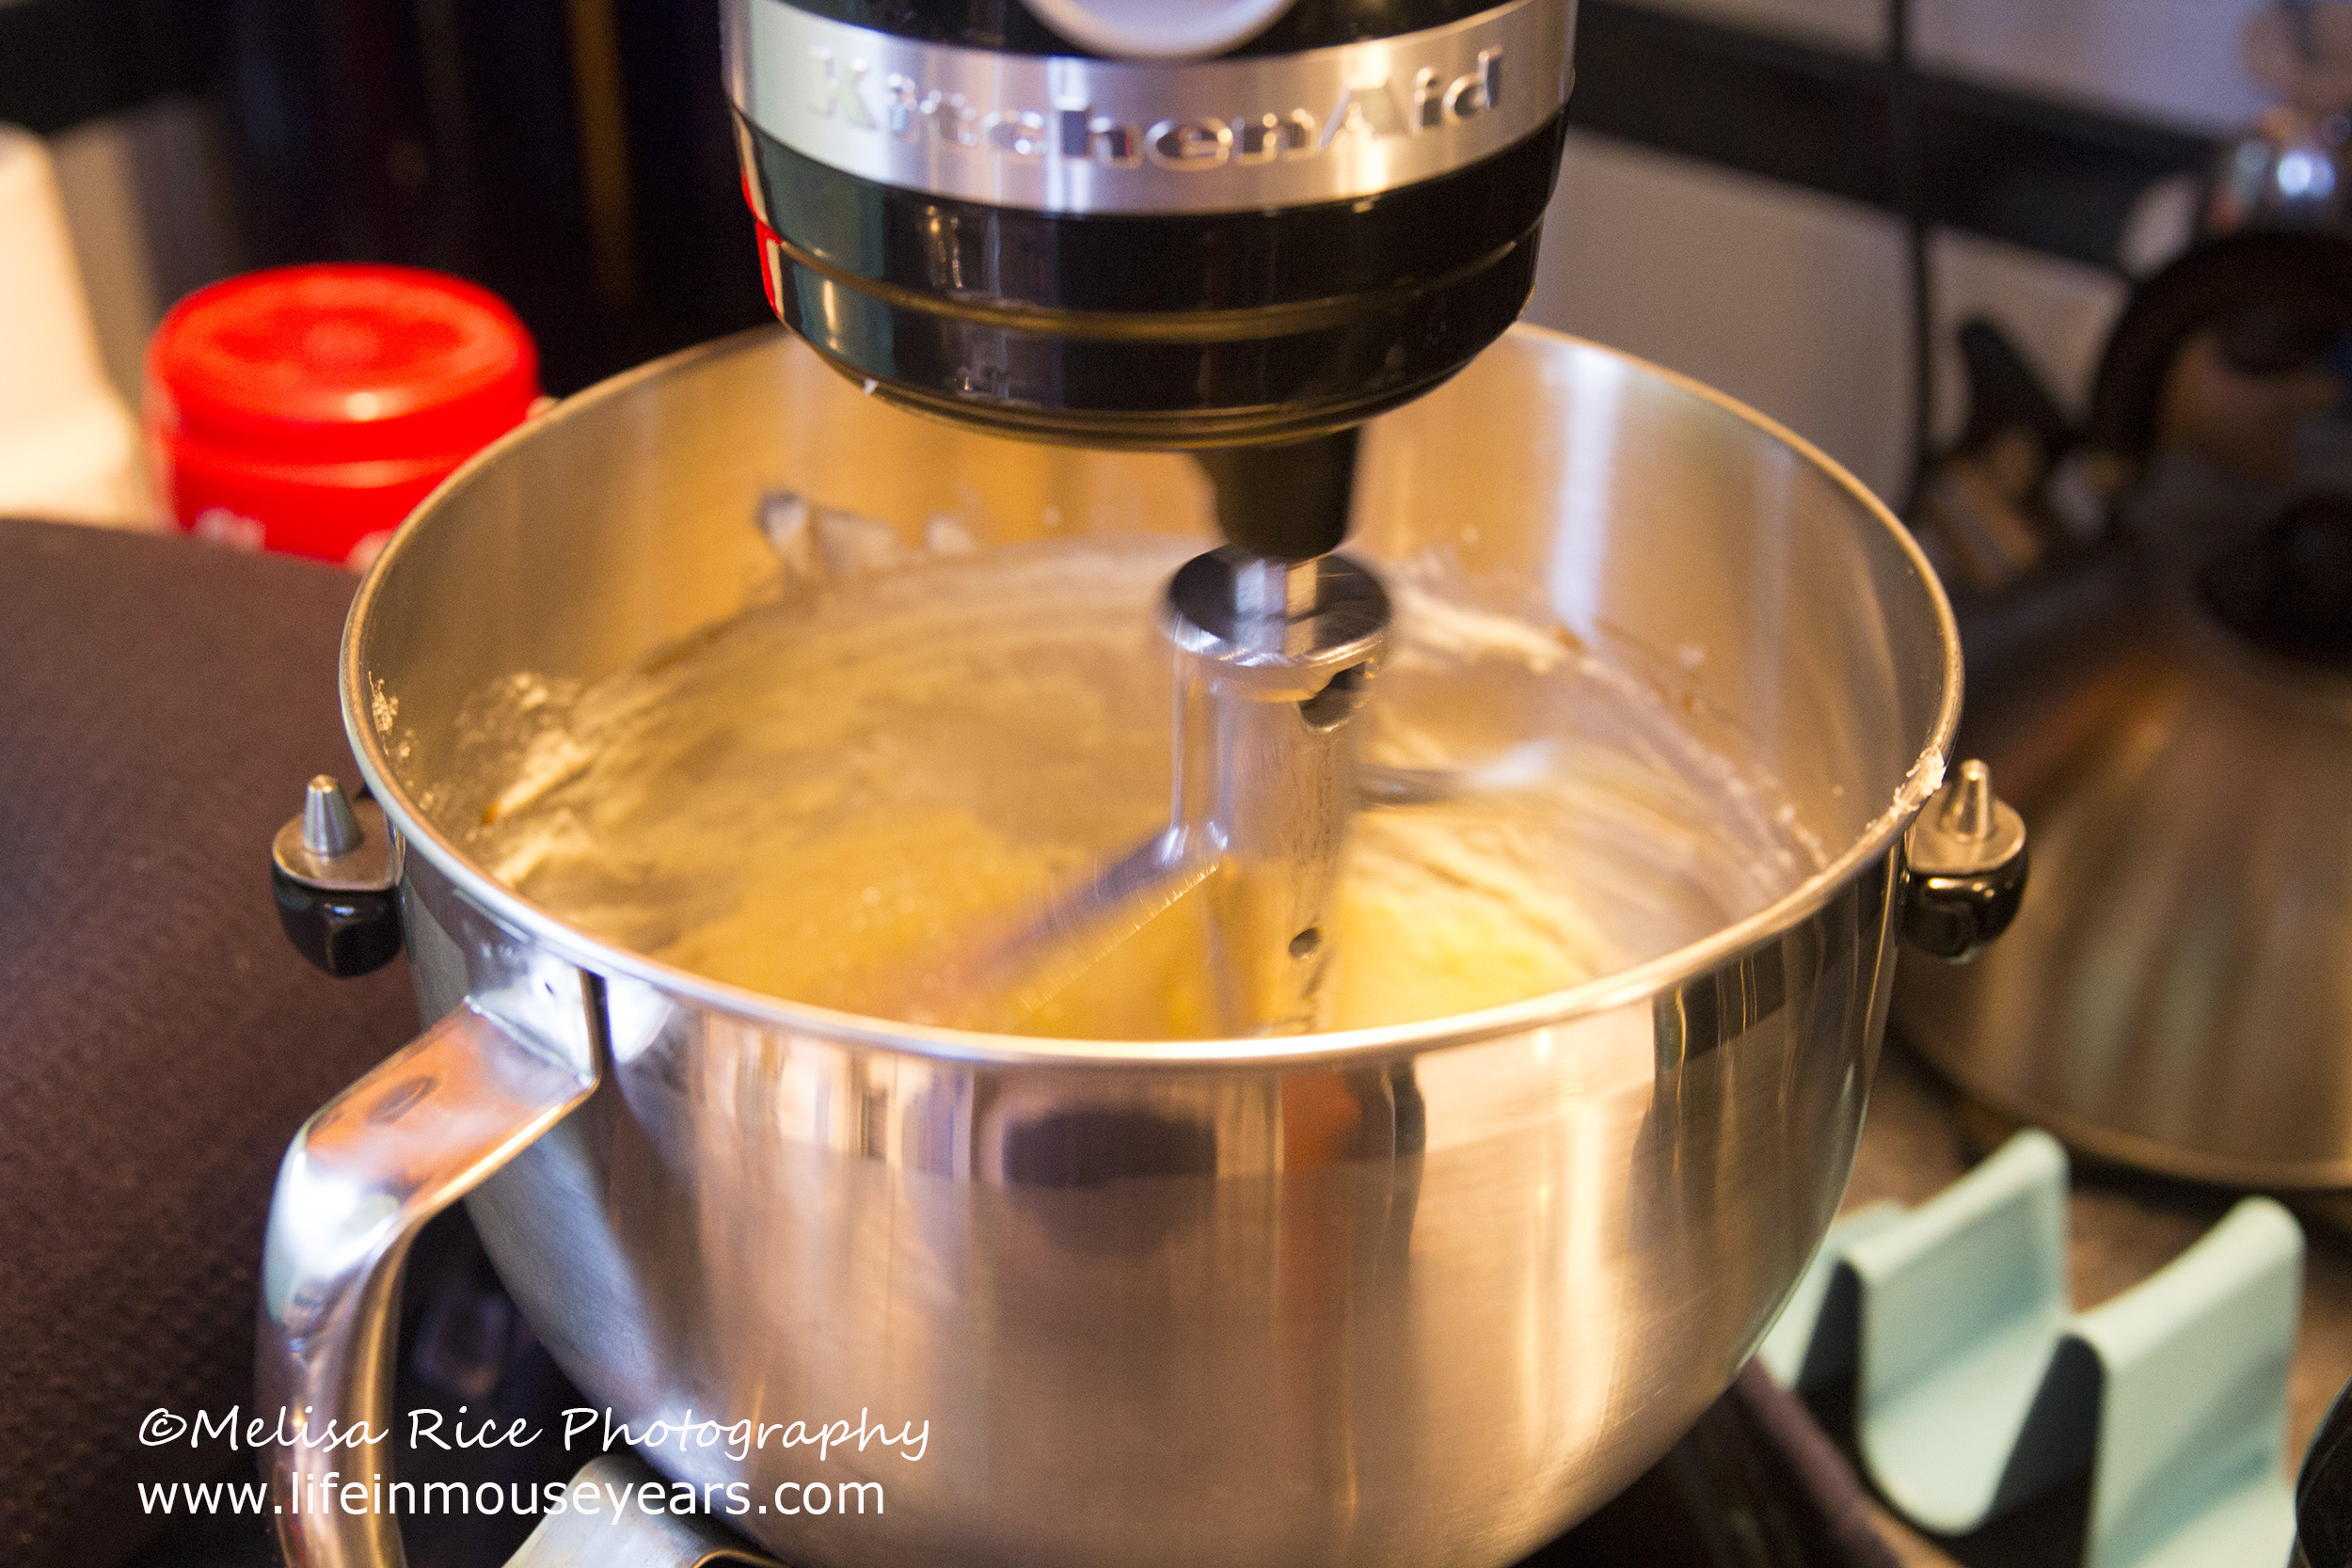
First, make the dough.
Then roll it out and cut out the shapes. I have the mini cookie cutter set from Pampered Chef. They are a perfect size. I used the flower-shaped one for the cupcakes. I made extras to have sitting out on a plate that also included hearts and star shapes as well.
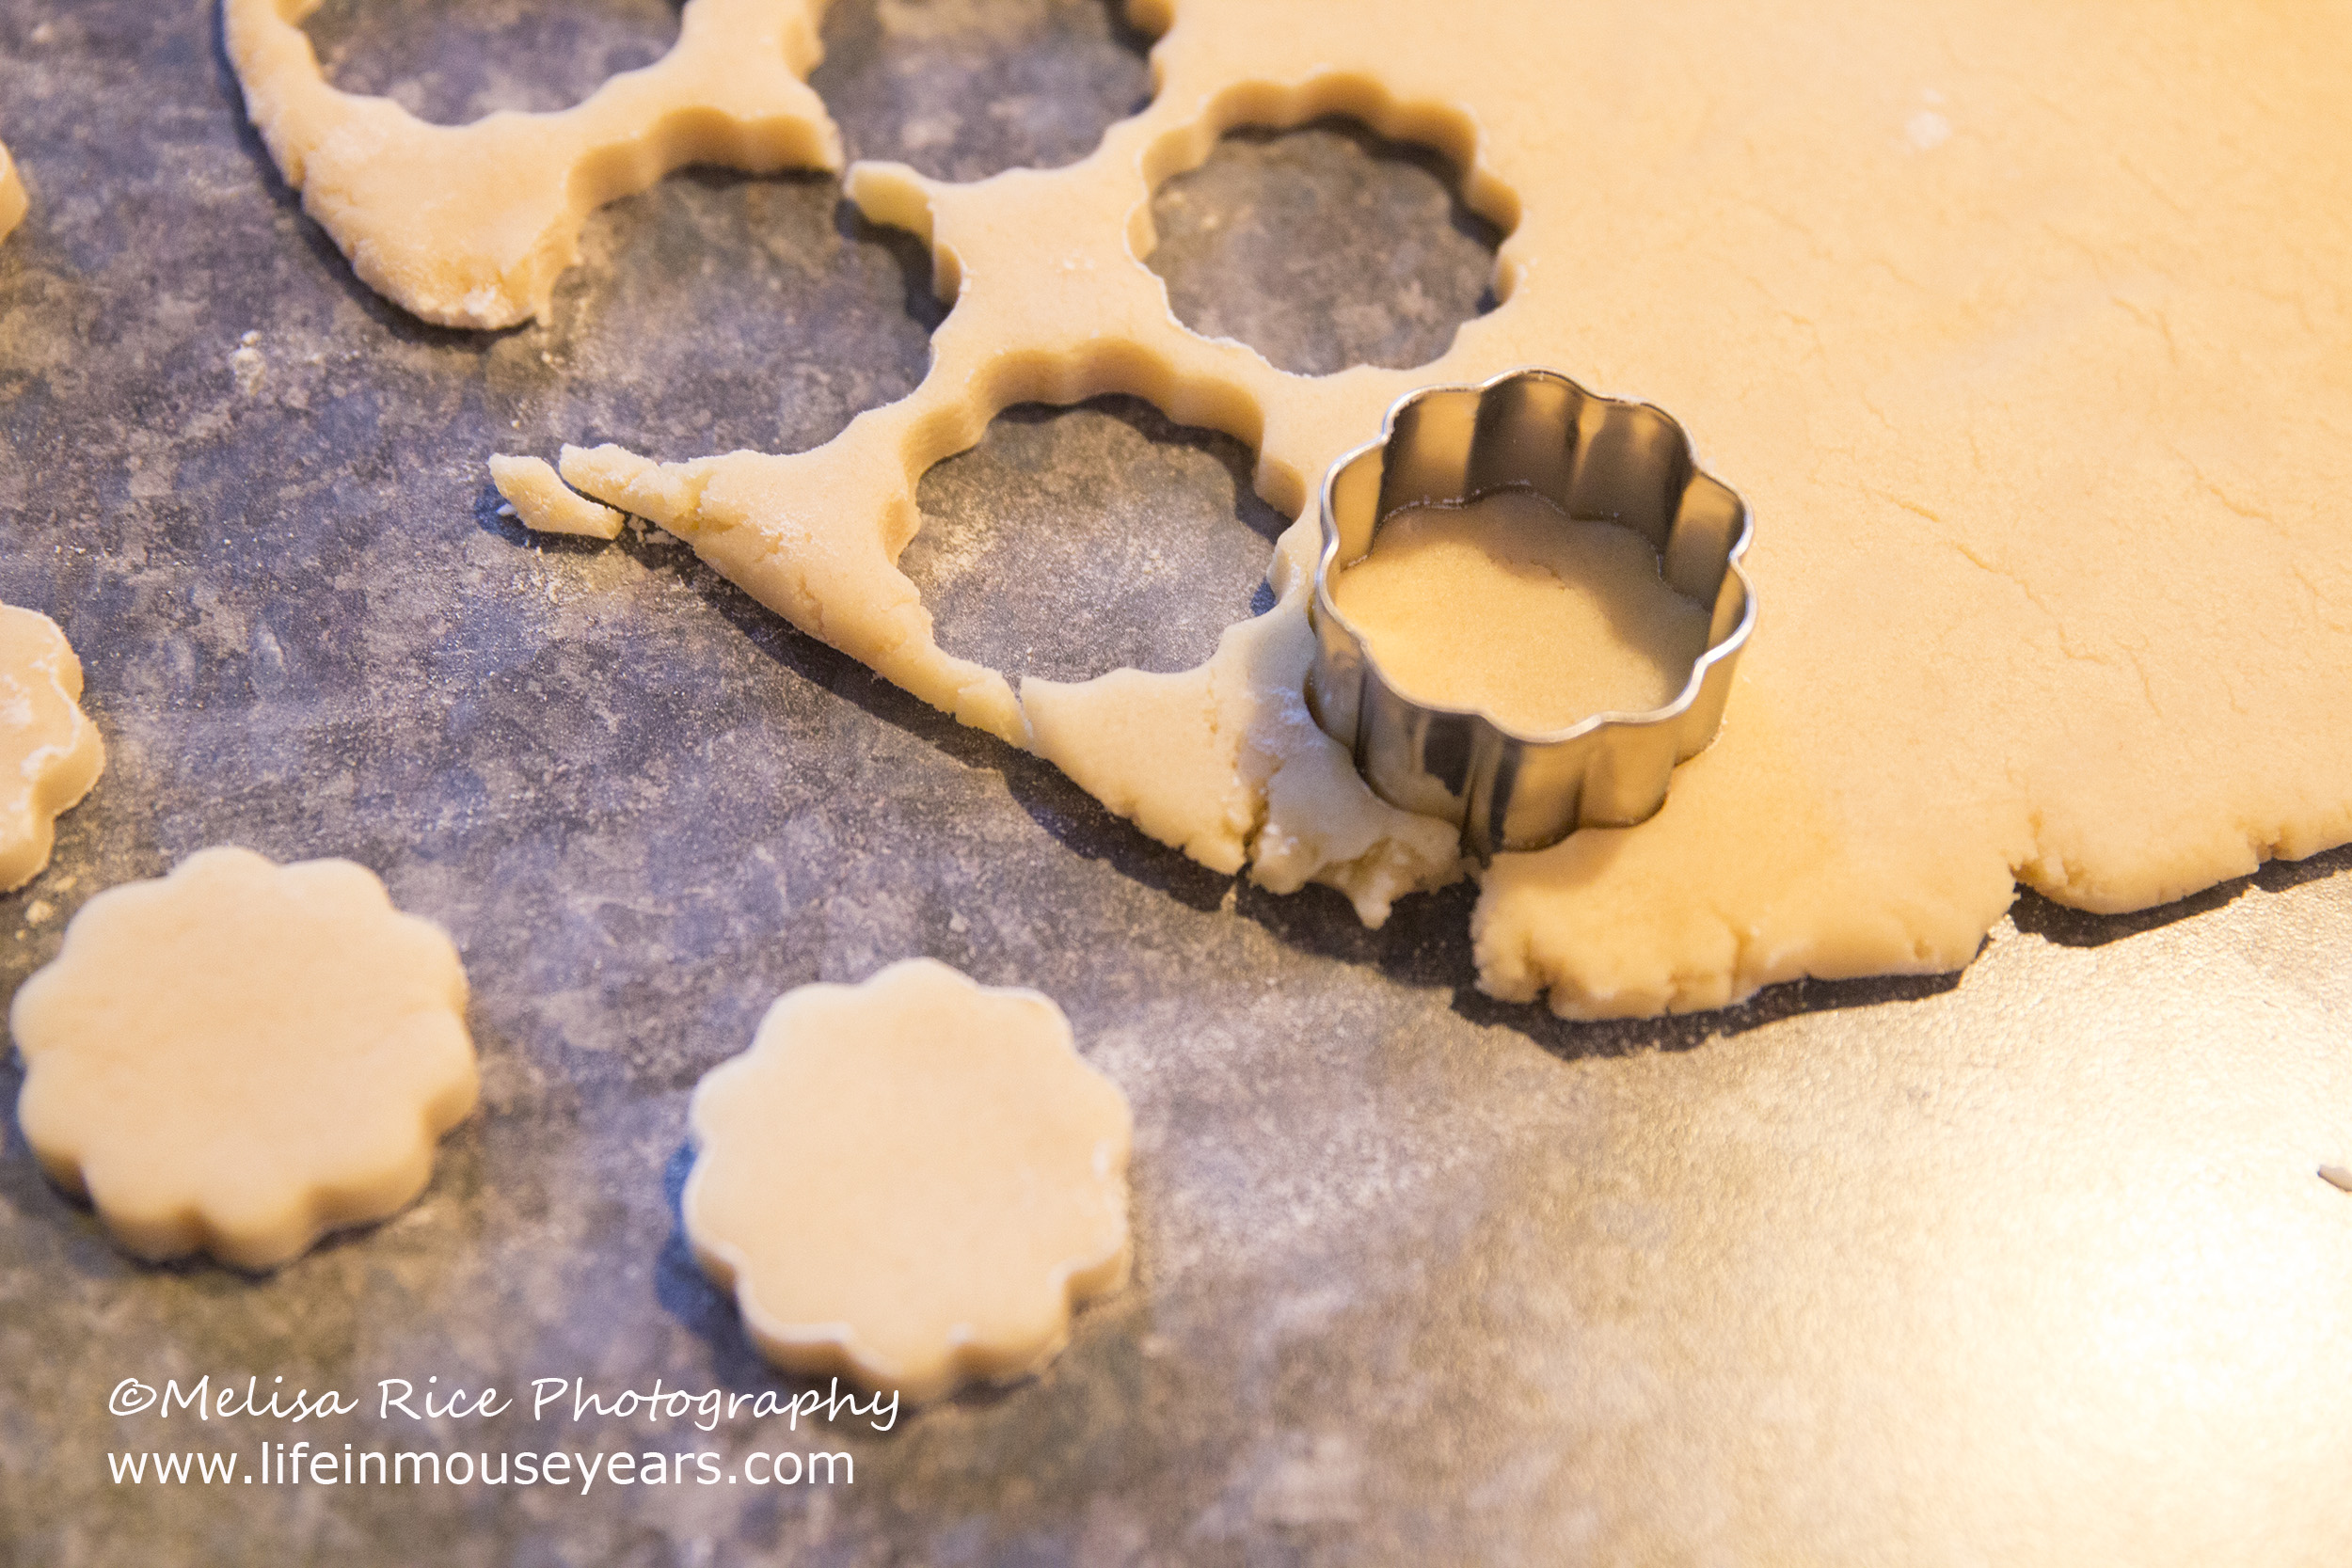
Be sure to make extra cookies. Because you need to make sure they are edible. *wink wink*
Then place them on a cookie sheet and bake.


Be sure to cool completely before frosting.
Royal Icing
Then comes the royal icing… While the cookies are cooling you can whip up the batch of icing.
This was my first experience with royal icing. It took some time before I got the hang of it. But once you do, they turn out great! This is the recipe I used for the Royal Icing.
First I put down the base layer. Some purple, some gray. Then I waited for them to harden.
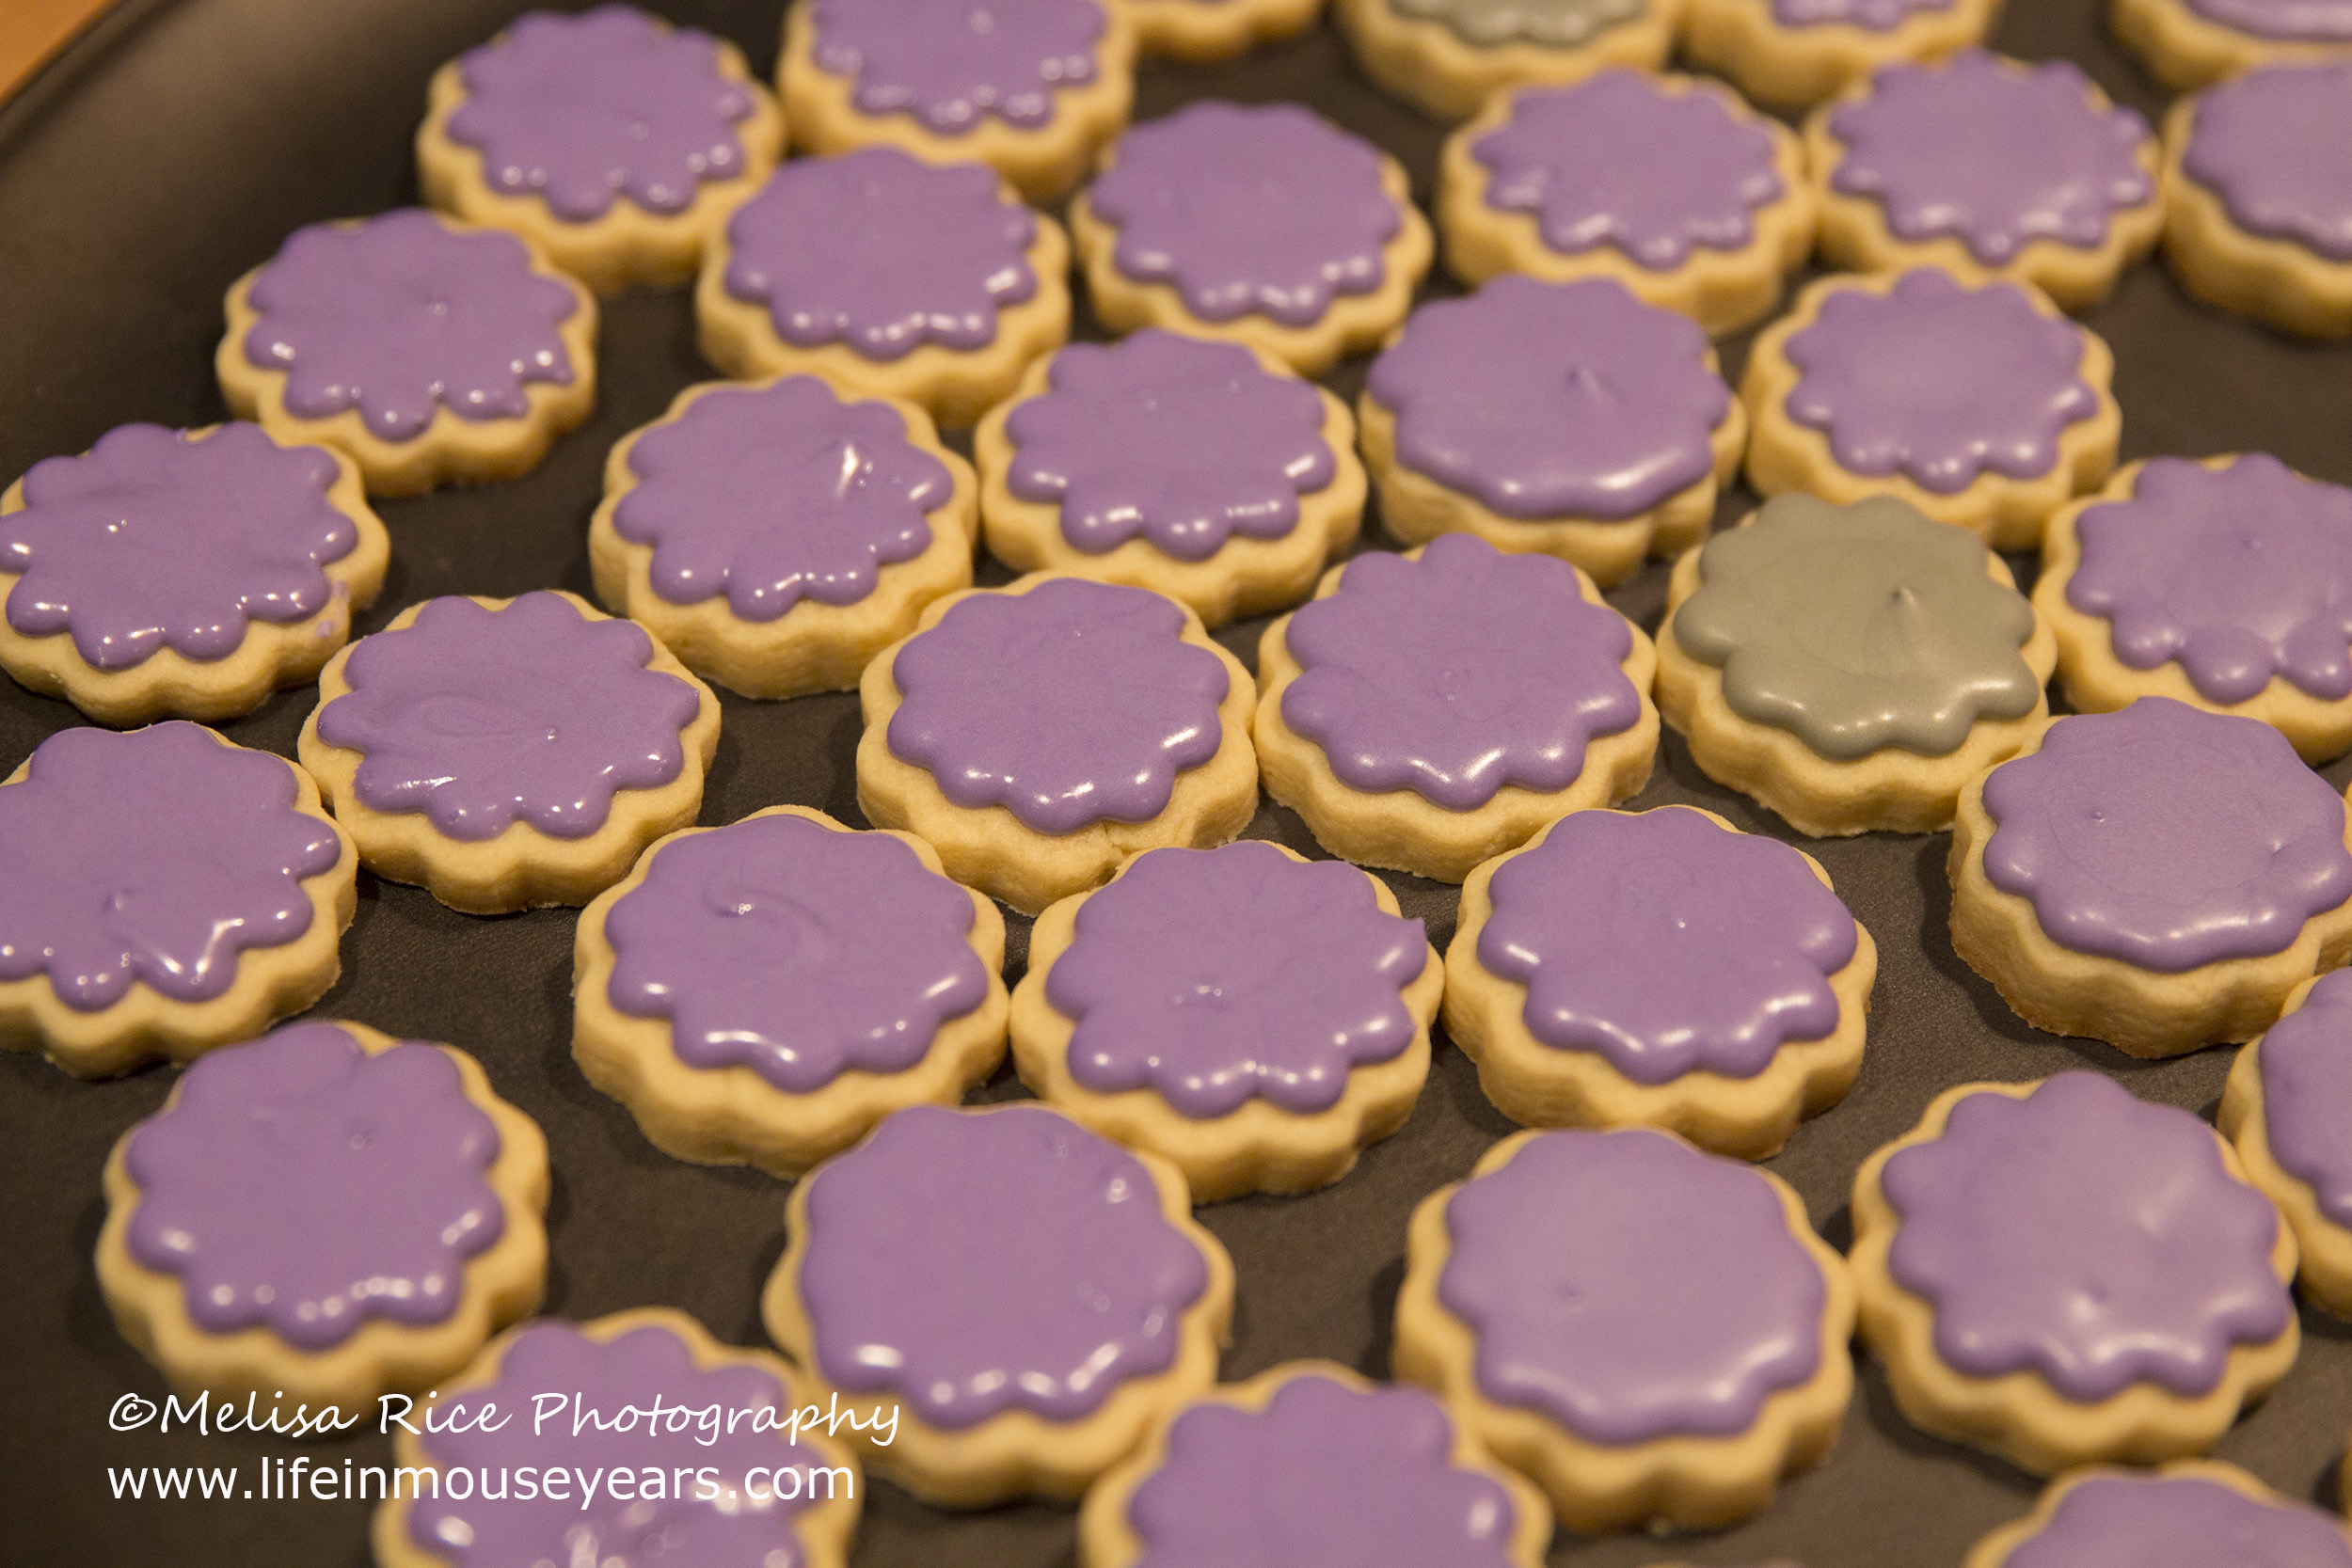
Then I added the words “EAT ME” in white on top. Then wait for them to harden before stacking. From everything that I researched online, the best recommendation for wait time is 24 hours before stacking.


I made these cookies 3 days ahead of time. They can be done ahead. When the icing was dry, I put the cookies in a sealed bowl to keep them fresh.
Cupcake Frosting
The day before the party, in the morning, I made up the frosting for the cupcakes. I made Wiltons Buttercream frosting. You can find the recipe here. I make this 8-12 hours ahead to make sure the color is right because it darkens over time.
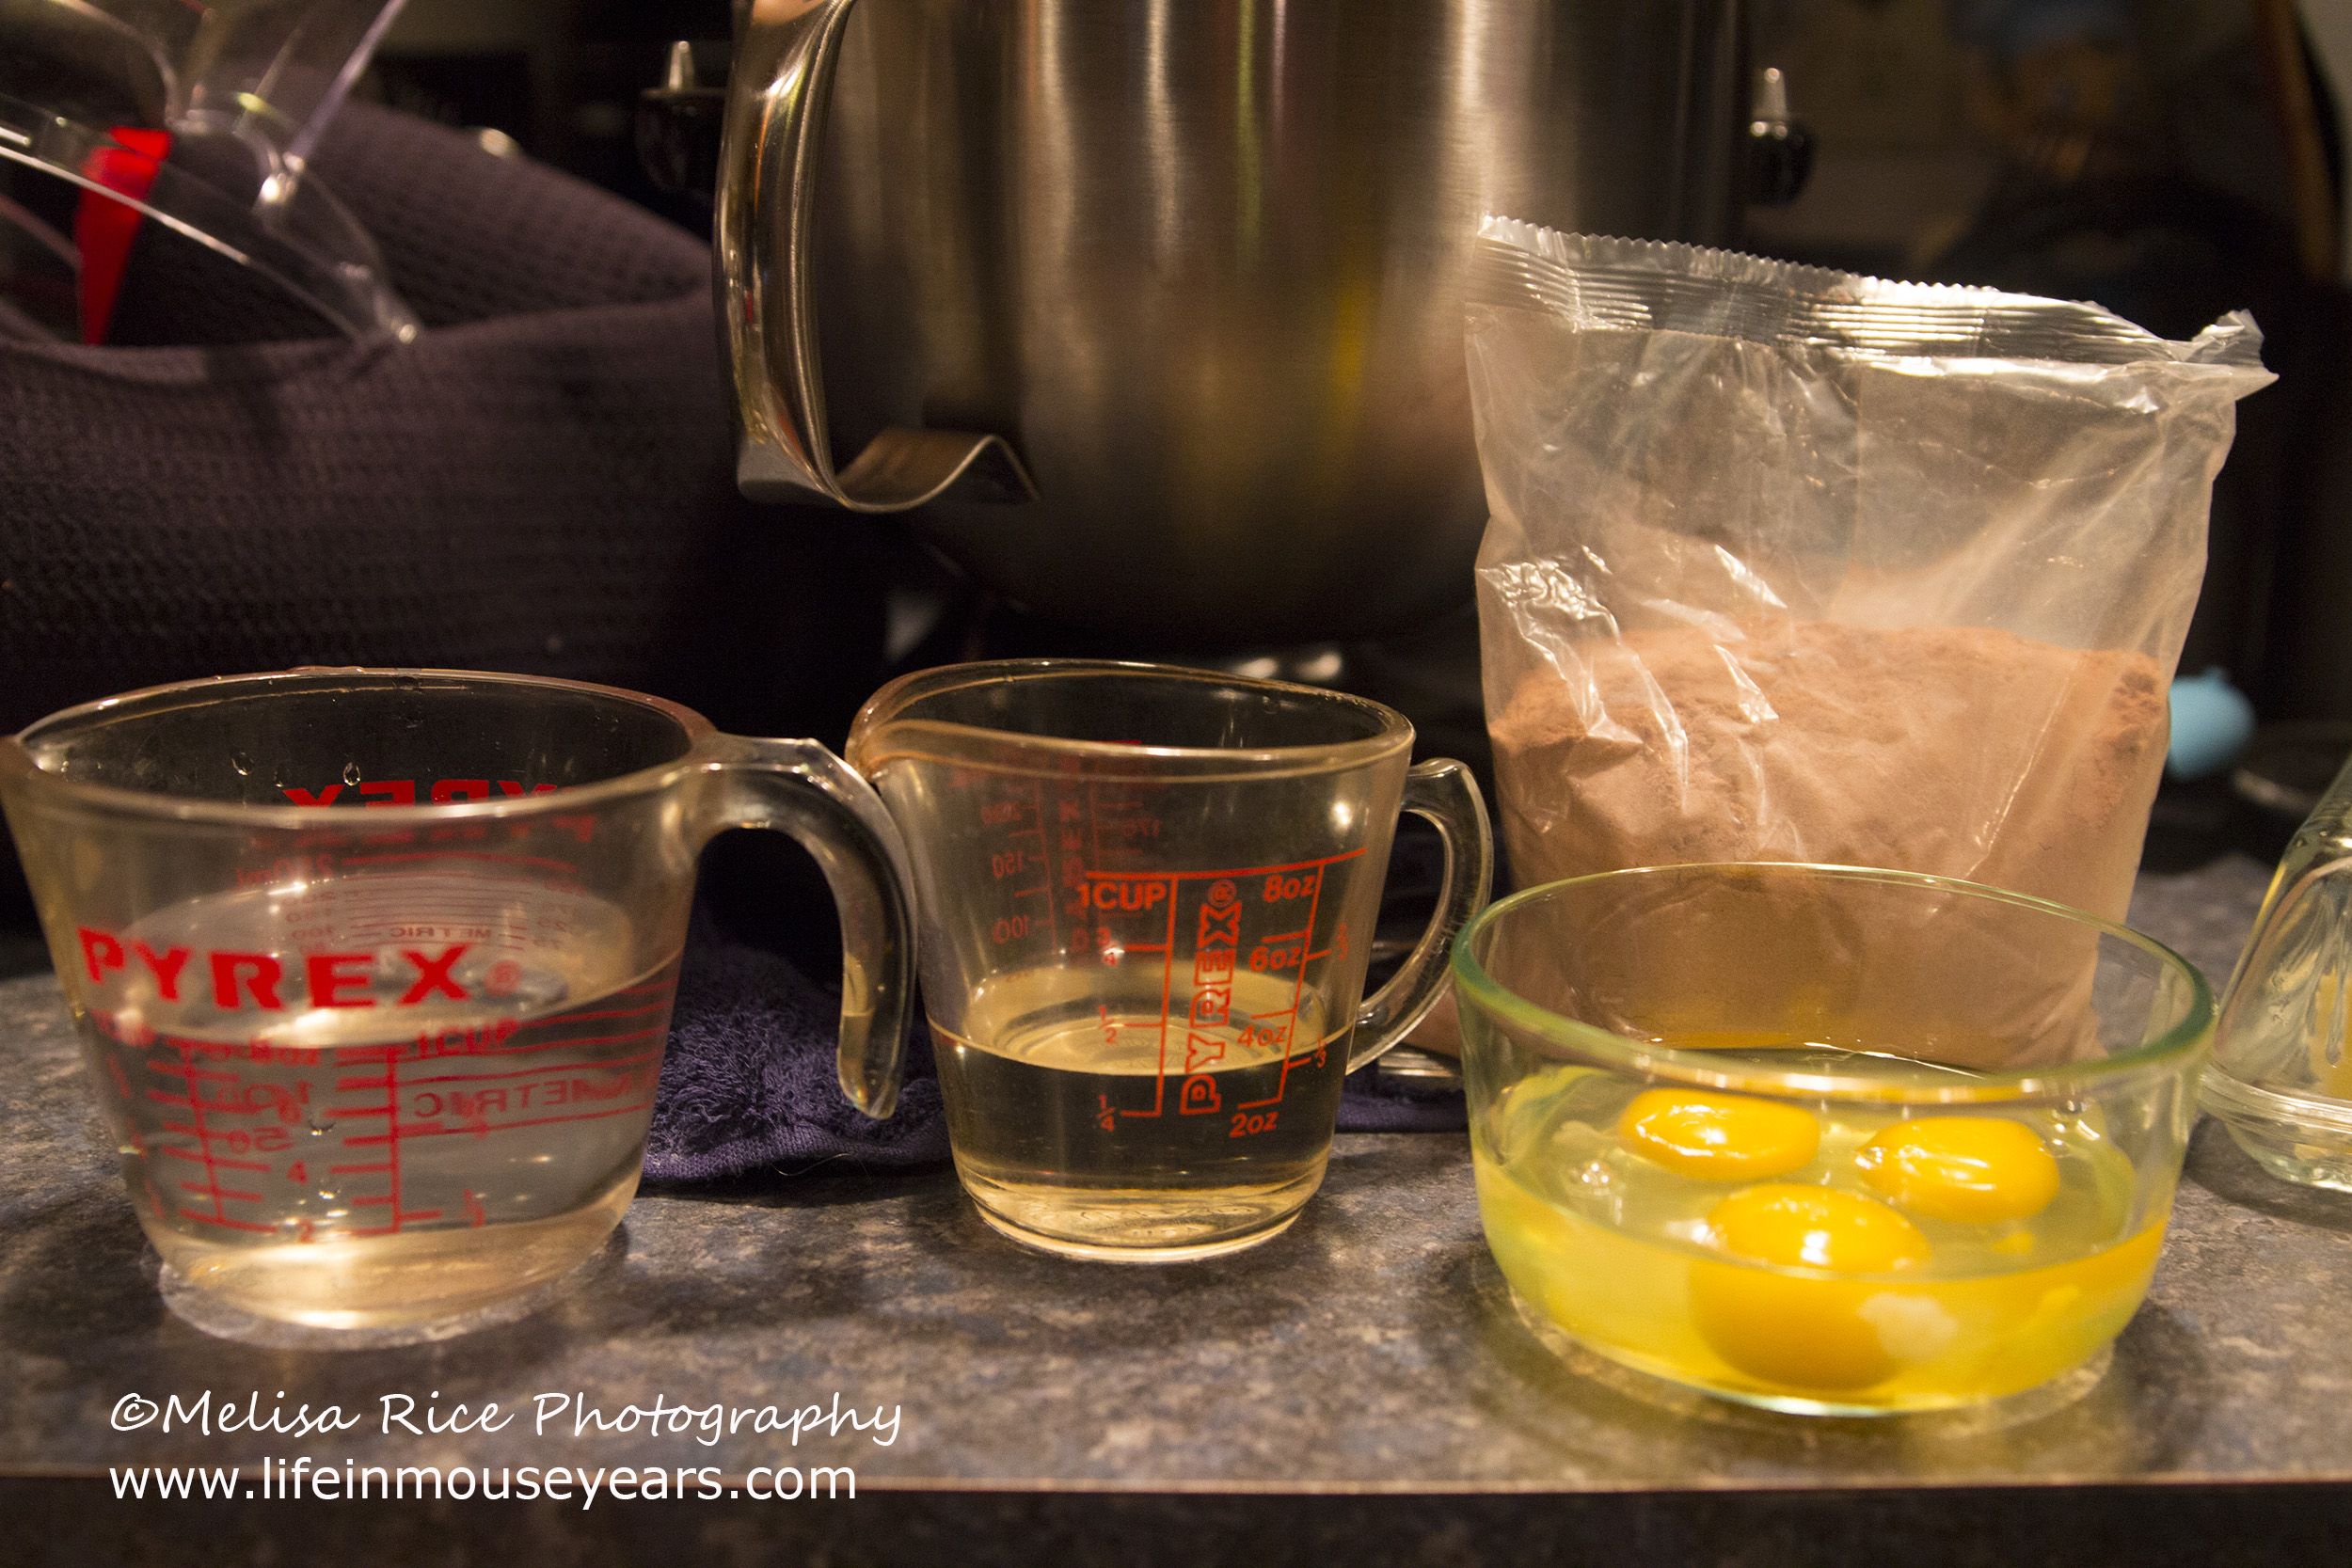
Cupcakes
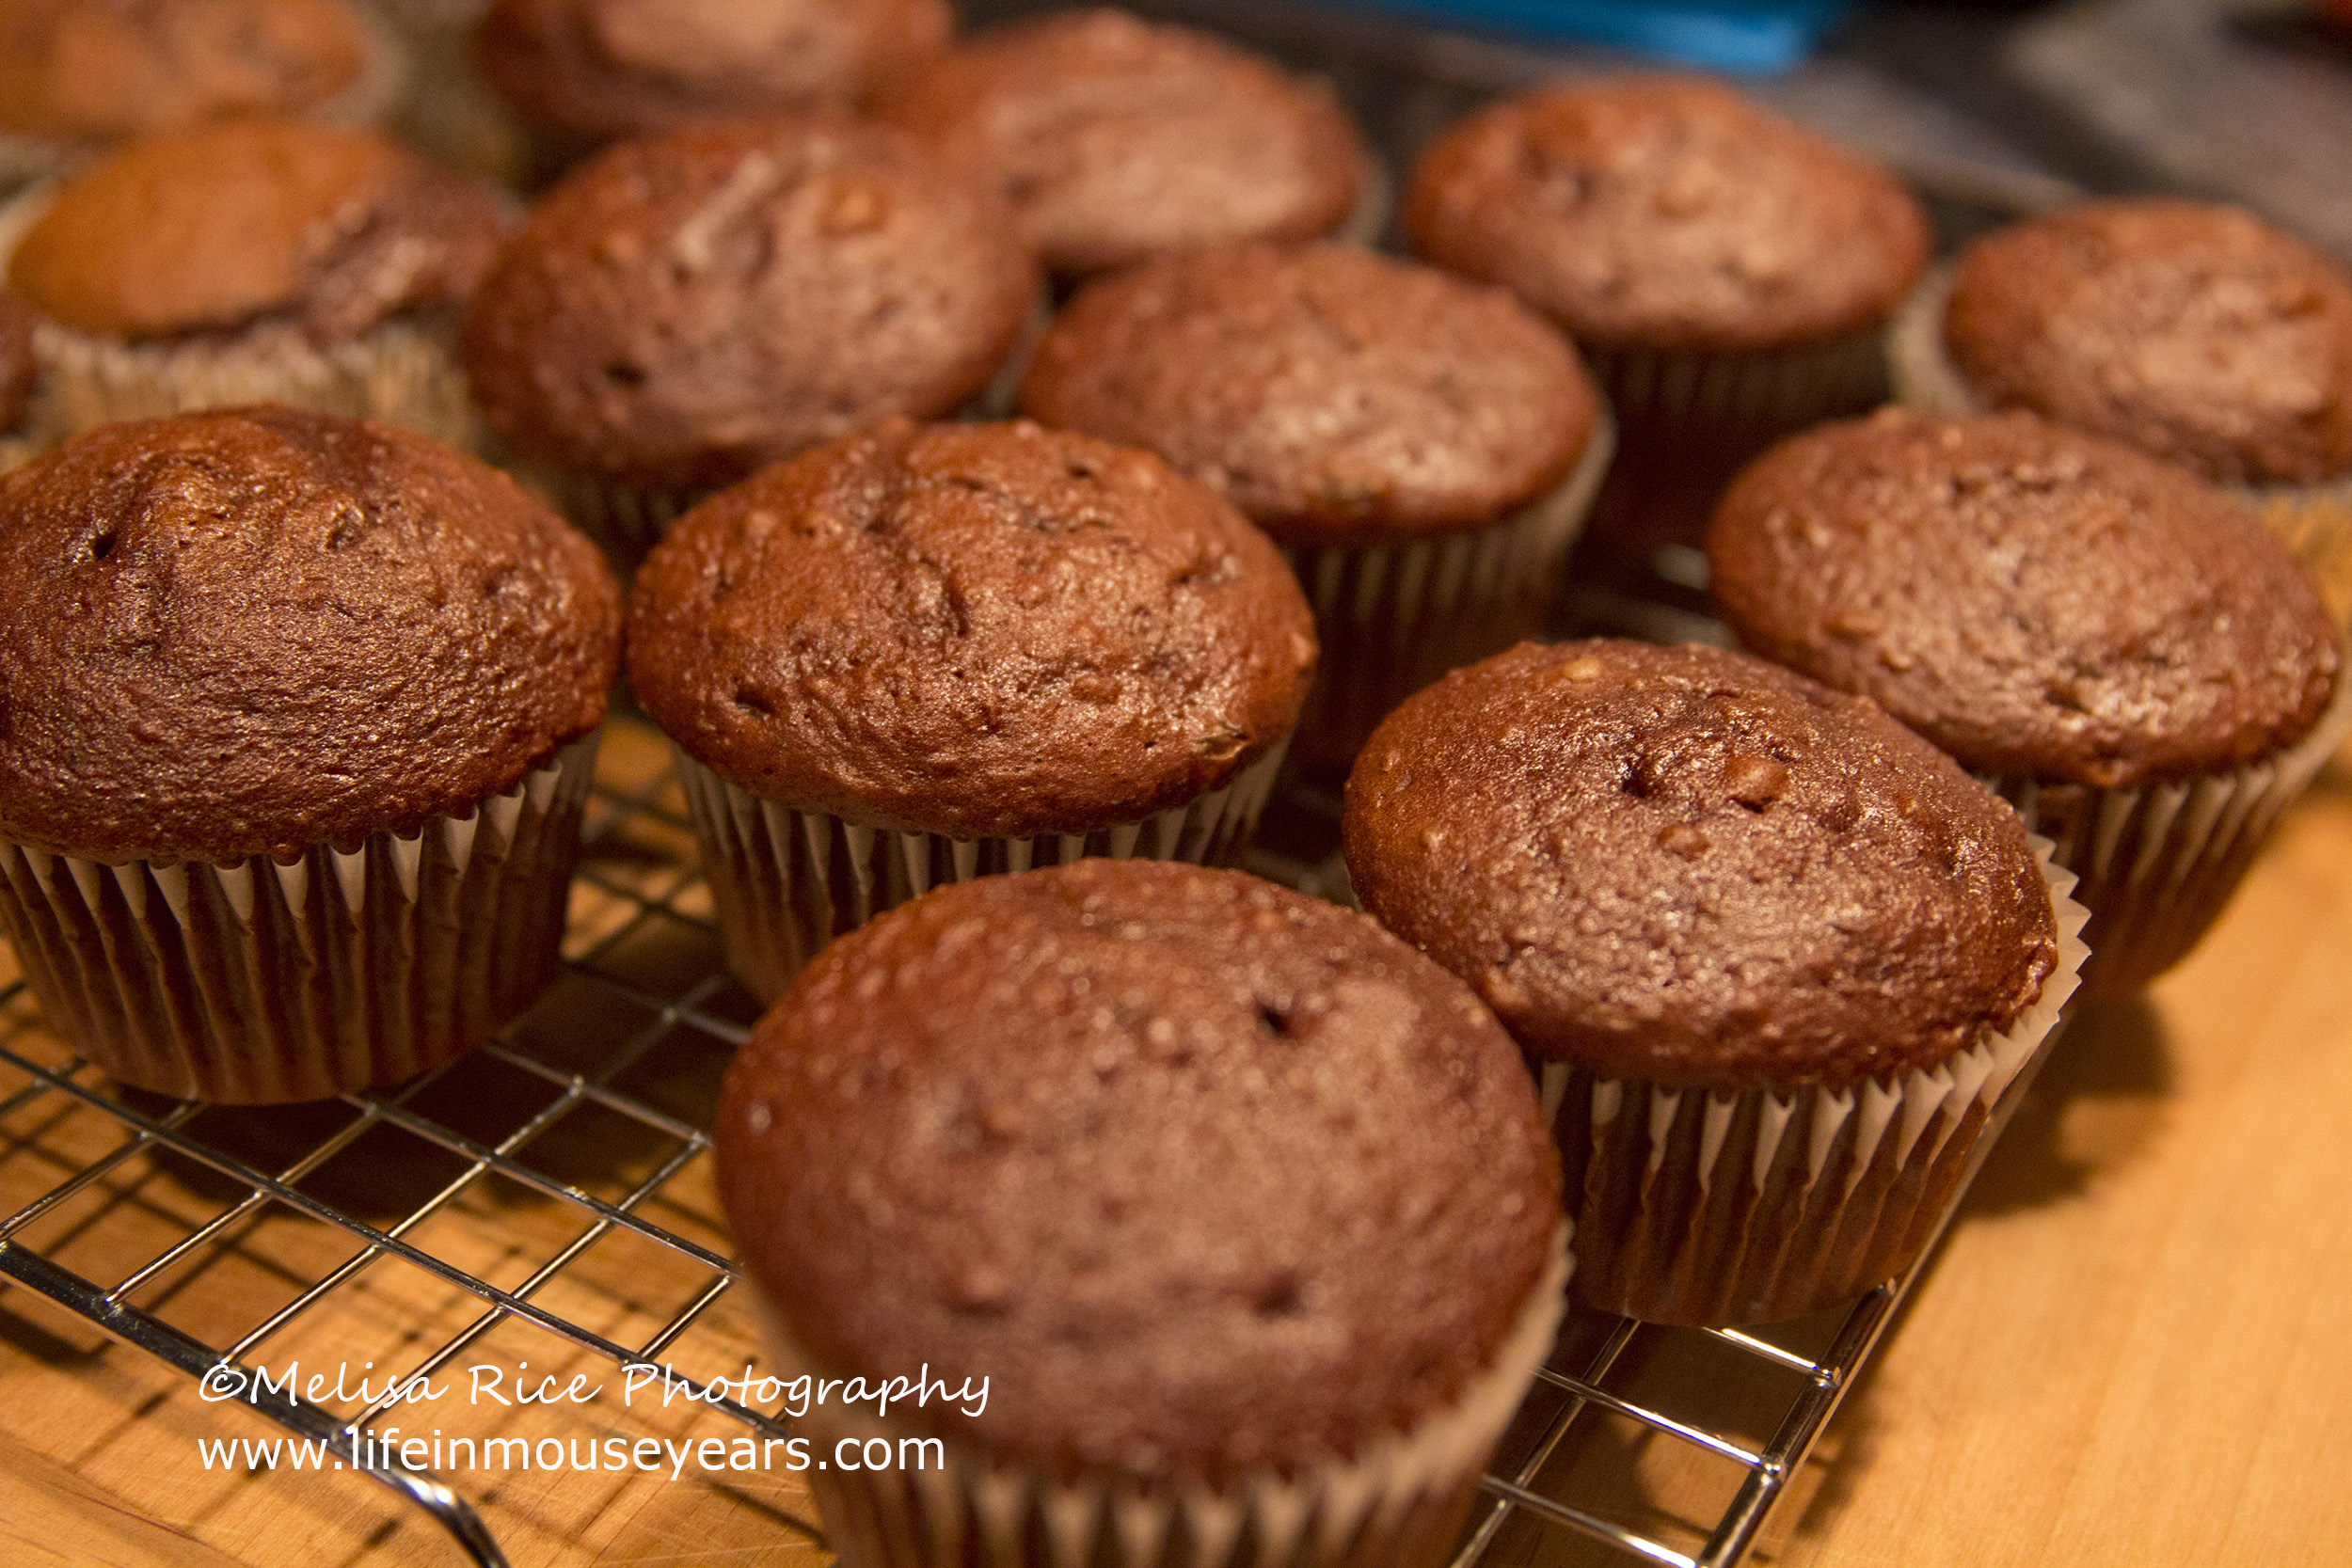
Now for the cupcakes. I have to admit… I use a boxed cake mix. Ah! I know… While I really like to make everything from scratch, 20+ years ago I made a cake from scratch and it was horrible! I have never gotten over my fear of trying it again. But I think I will try it out soon. Homemade is so much nicer.
I mixed, poured, and baked the cupcakes. Then let them cool completely.
Update: I made the switch to a scratch-made cake mix! I used my best friend as the taste tester. (She was a willing guinea pig. lol) And it tasted just like the boxed! Nice and moist and chocolatey! It is now my go-to chocolate recipe. The recipe is from Hershey’s. (I made 2 ingredient changes.) It is available online here, or you can find it on the Hershey’s Cocoa Powder container. The first change is to use Extra Virgin Olive Oil in place of the vegetable oil. The second change is to use buttermilk in place of regular milk. It tastes amazing, and I won’t go back to the box.

Frosting the Cupcakes
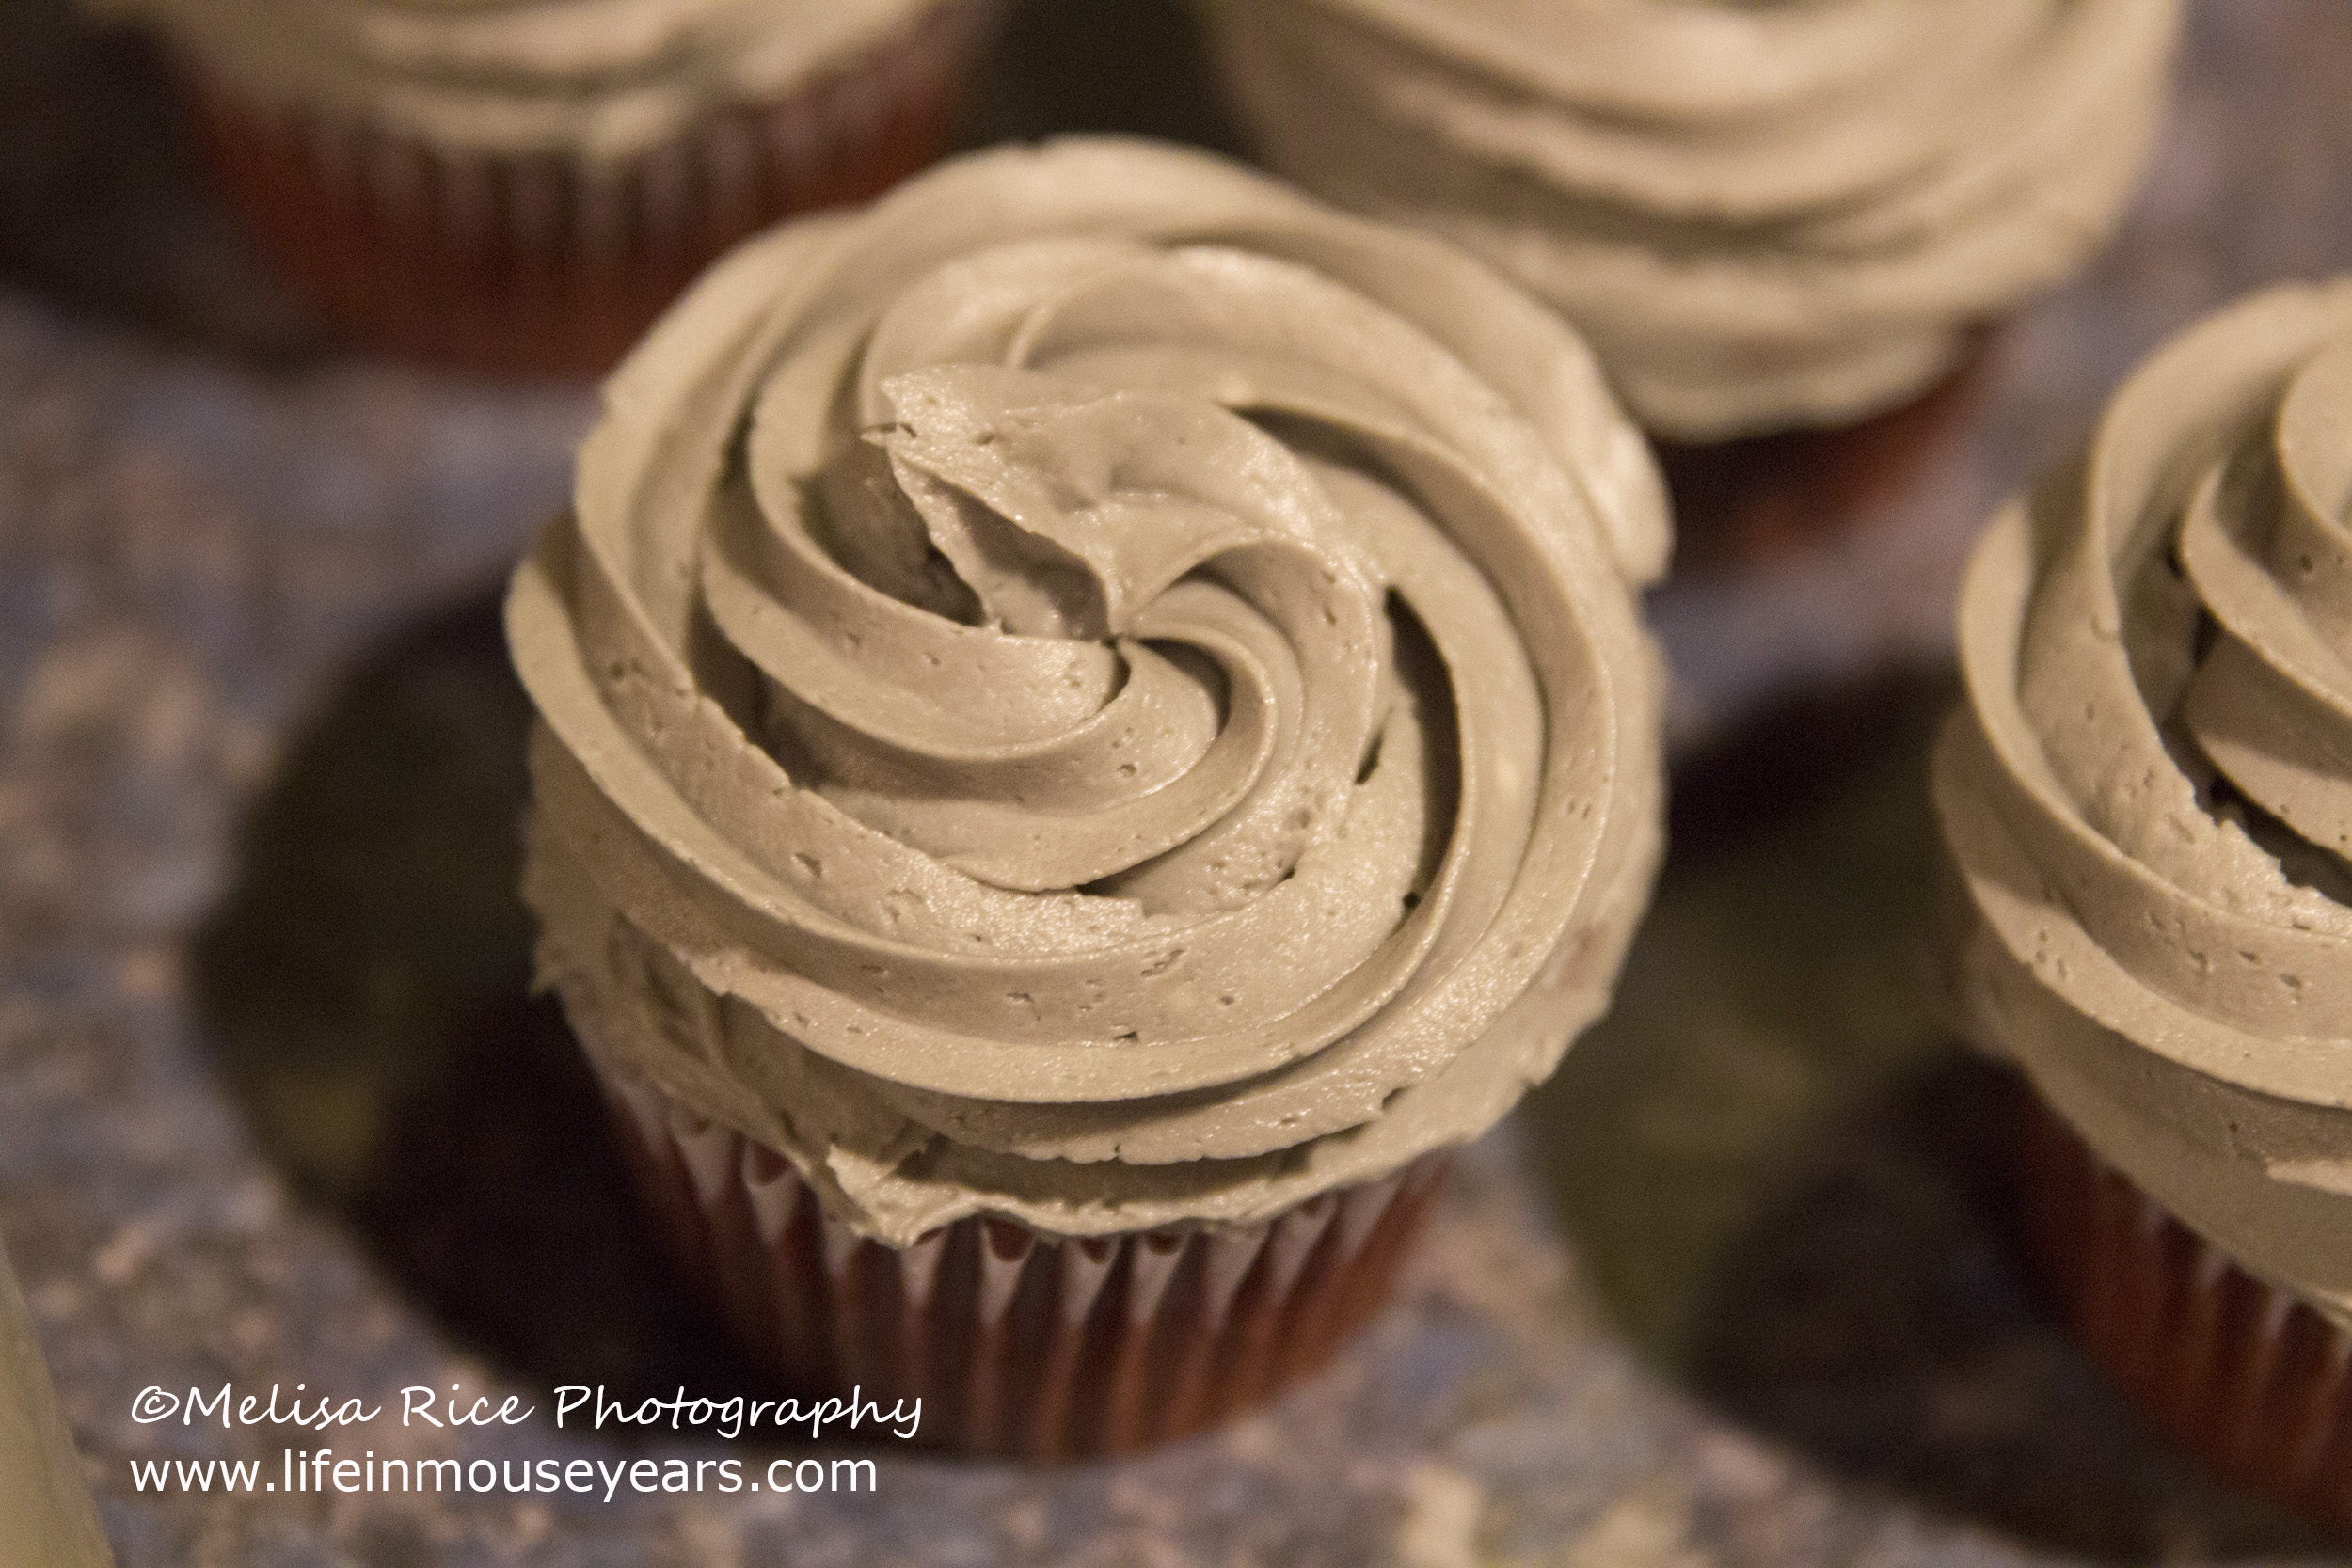
Now to frost those cupcakes. Using a large star tip, I filled my piping bag with the gray frosting. I took some of the gray frosting and spread a thin layer on the top of the cupcakes to fully cover it.
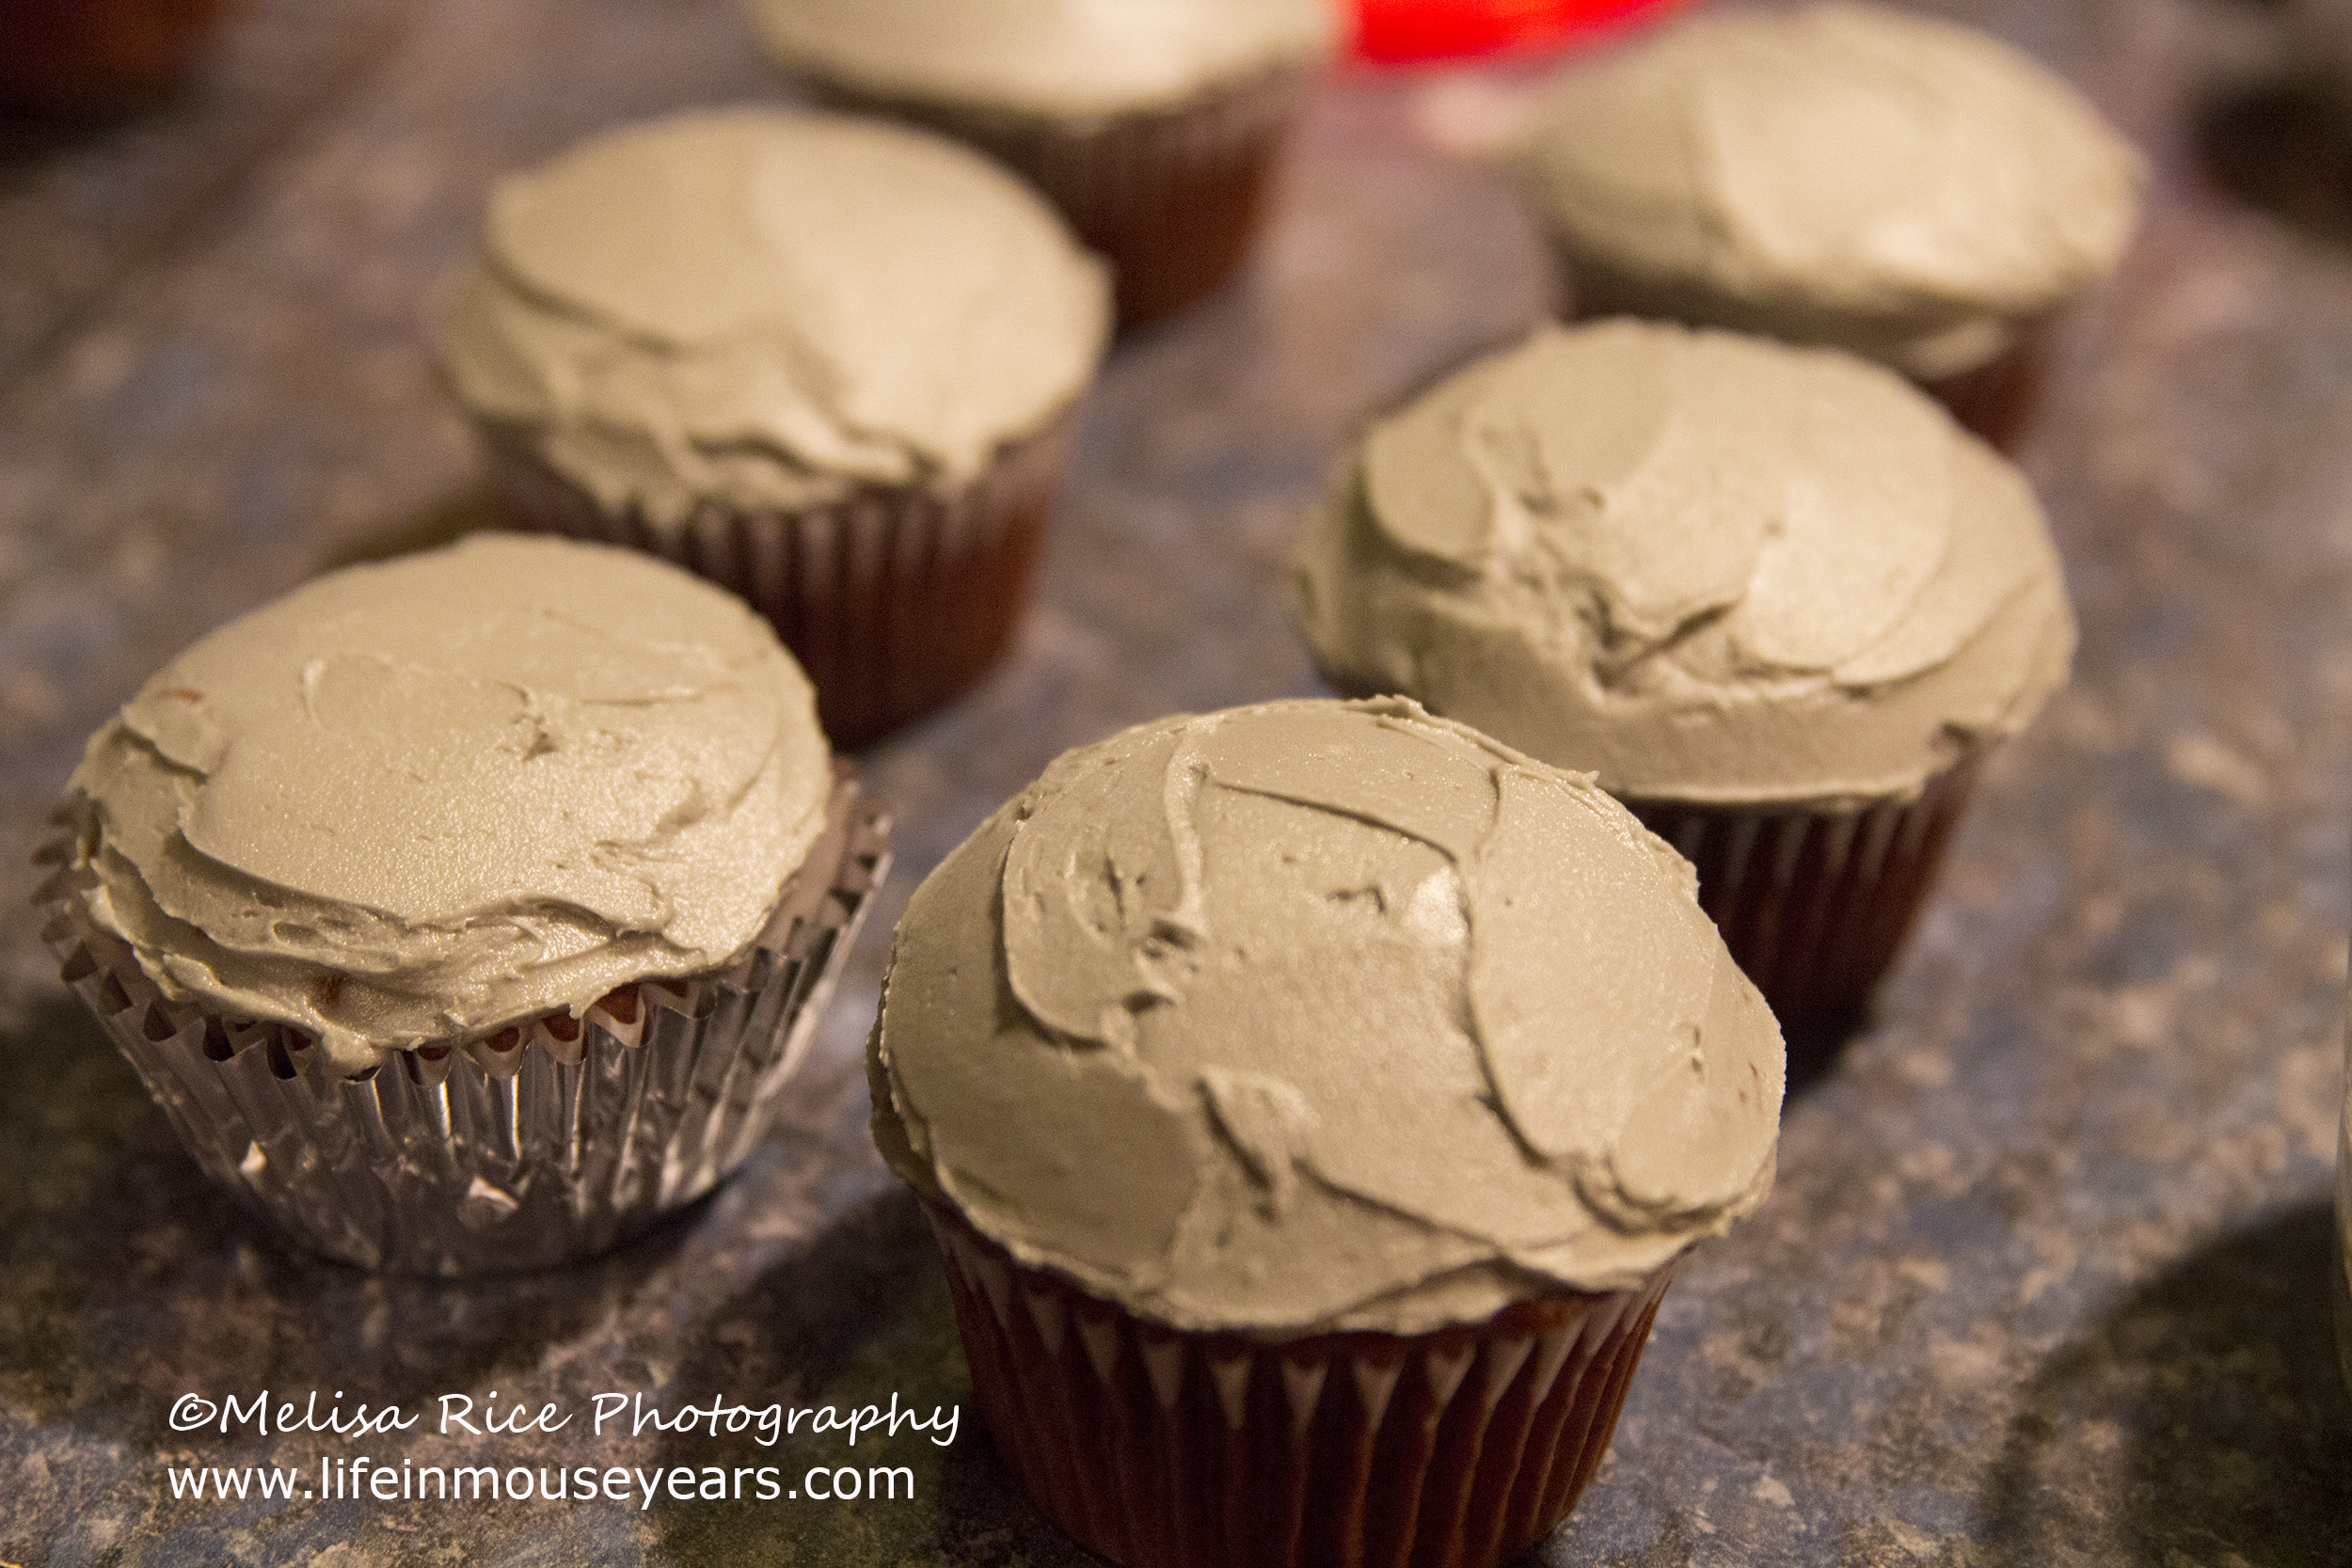
Then I took the piping bag and piped a swirl of frosting on top. I do the thin layer first because I don’t like to see any bare cupcake. After I piped the swirls, I packaged them in a cake box and stored them in the fridge.
I waited to add the cookies on top until the day of because I didn’t know if they would absorb the moisture from the frosting.
They held up very well by the way. 🙂 They are a mighty cookie.
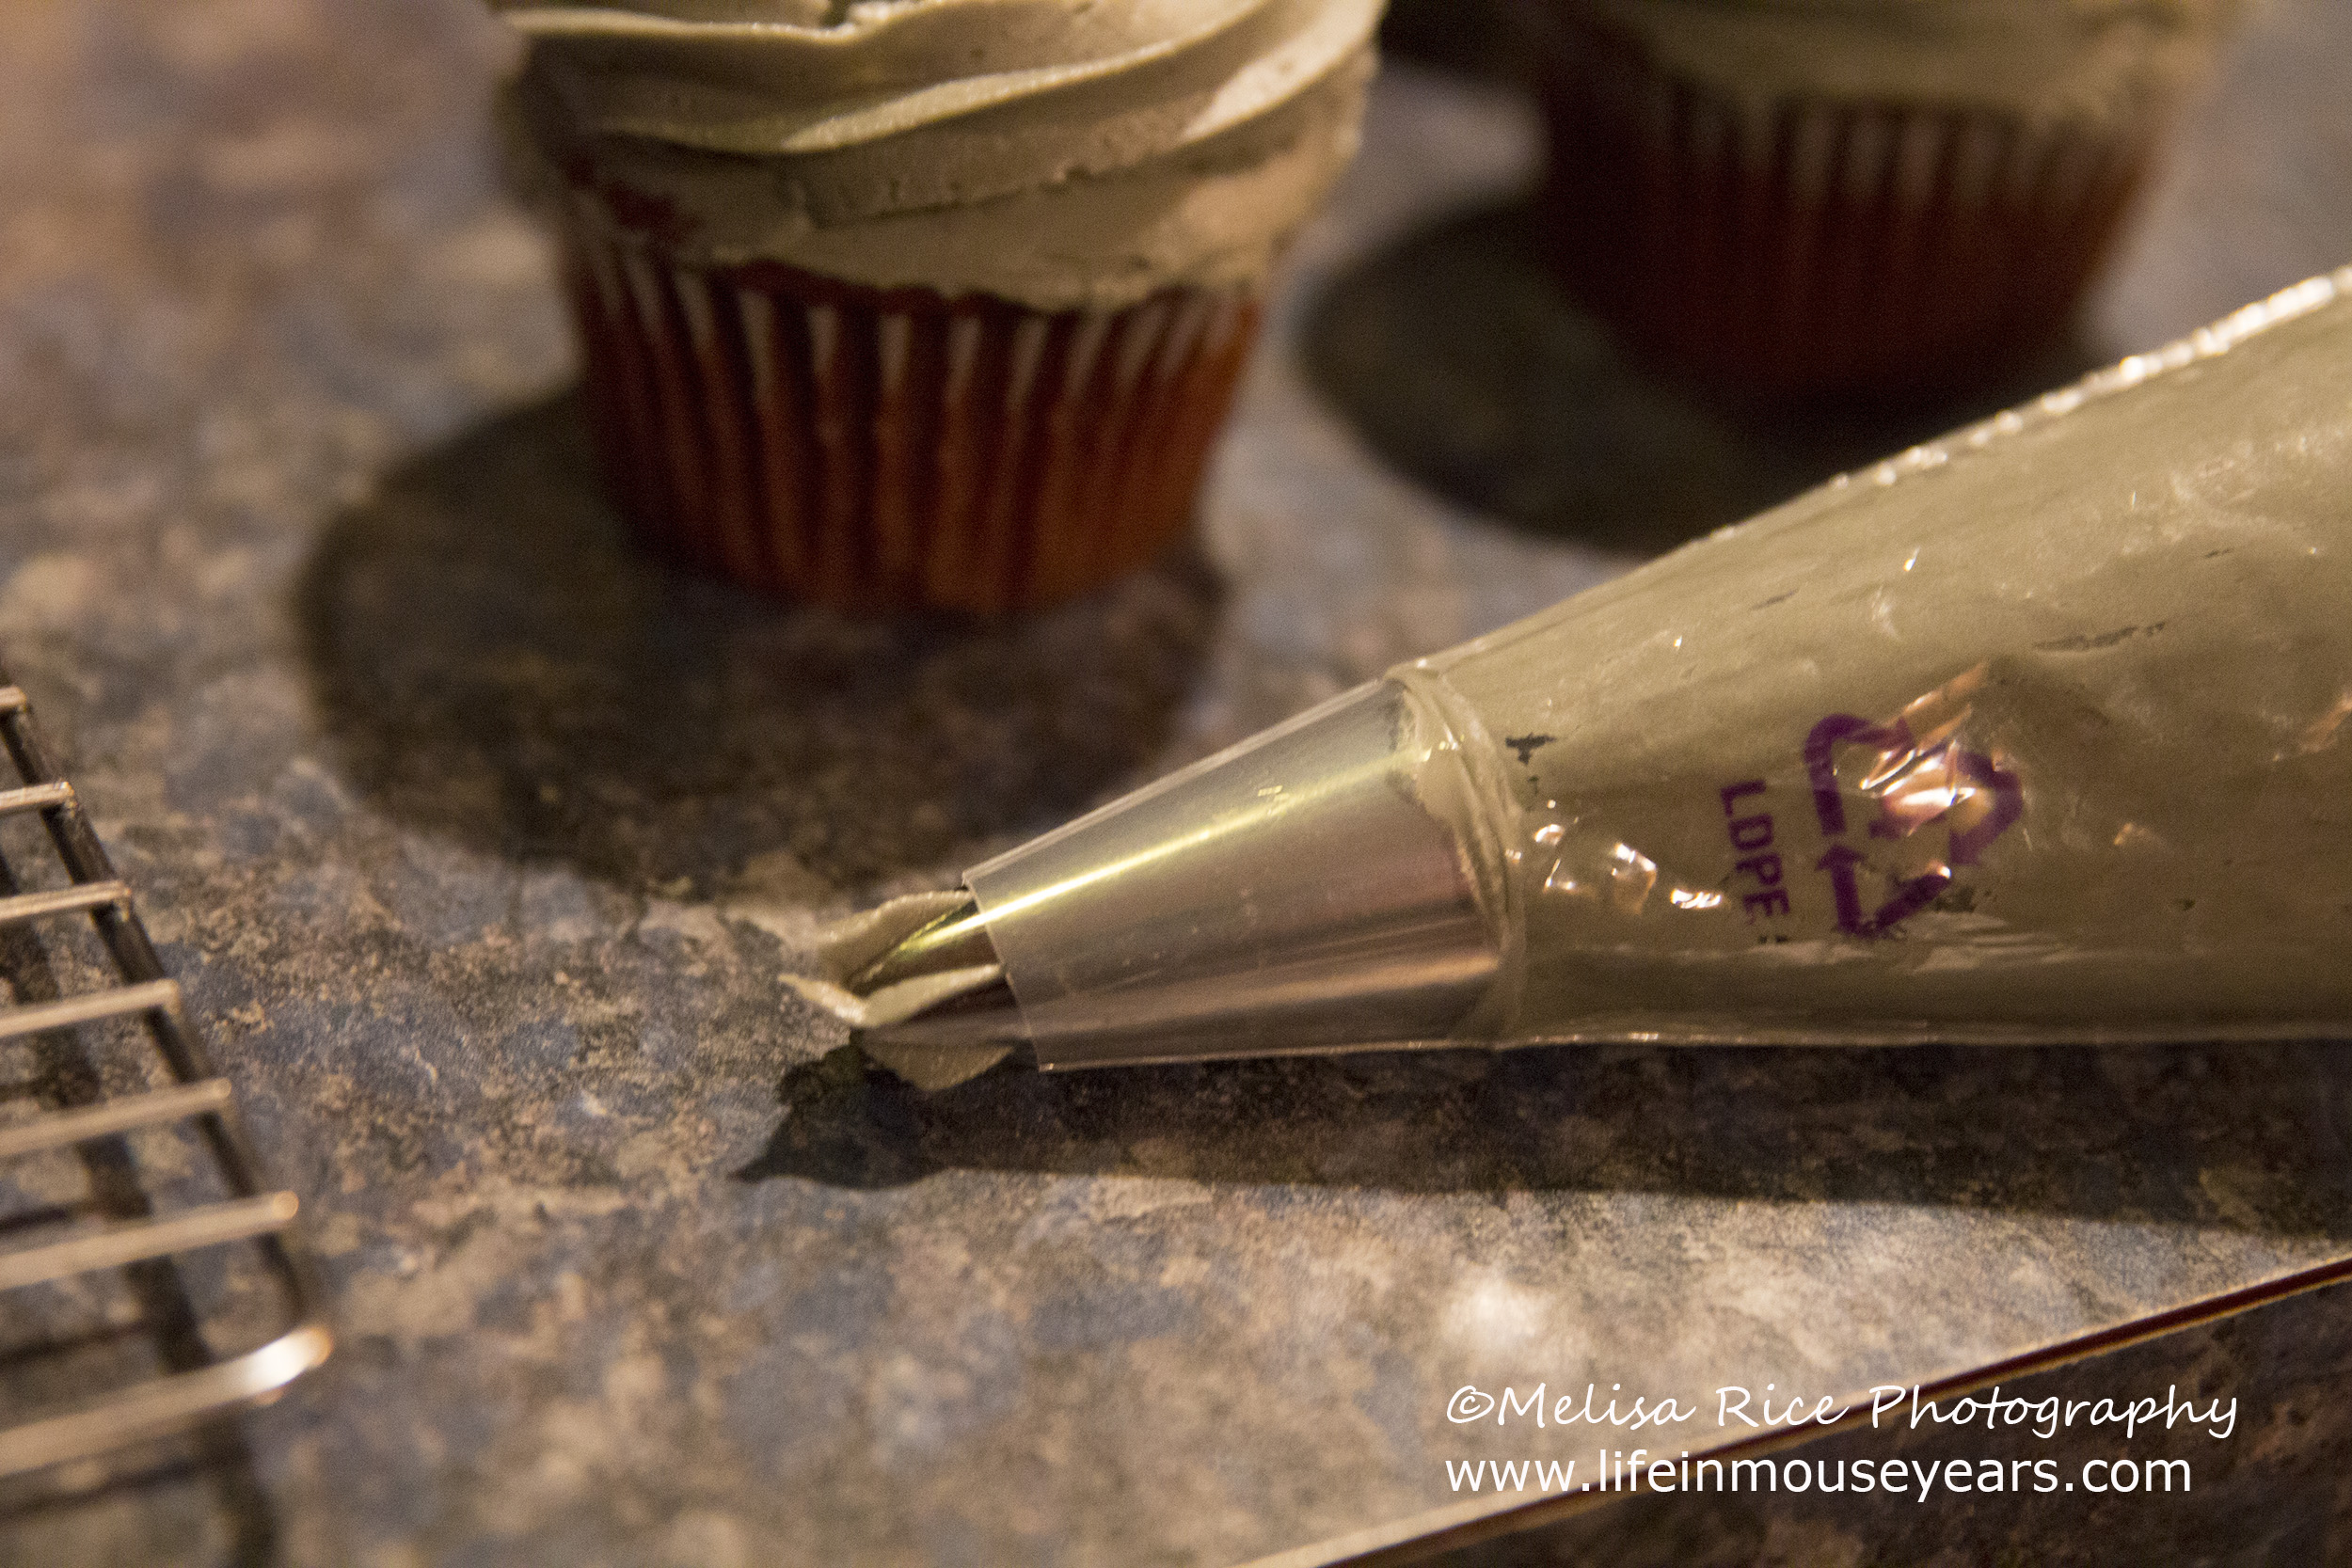
Adding the Cookies
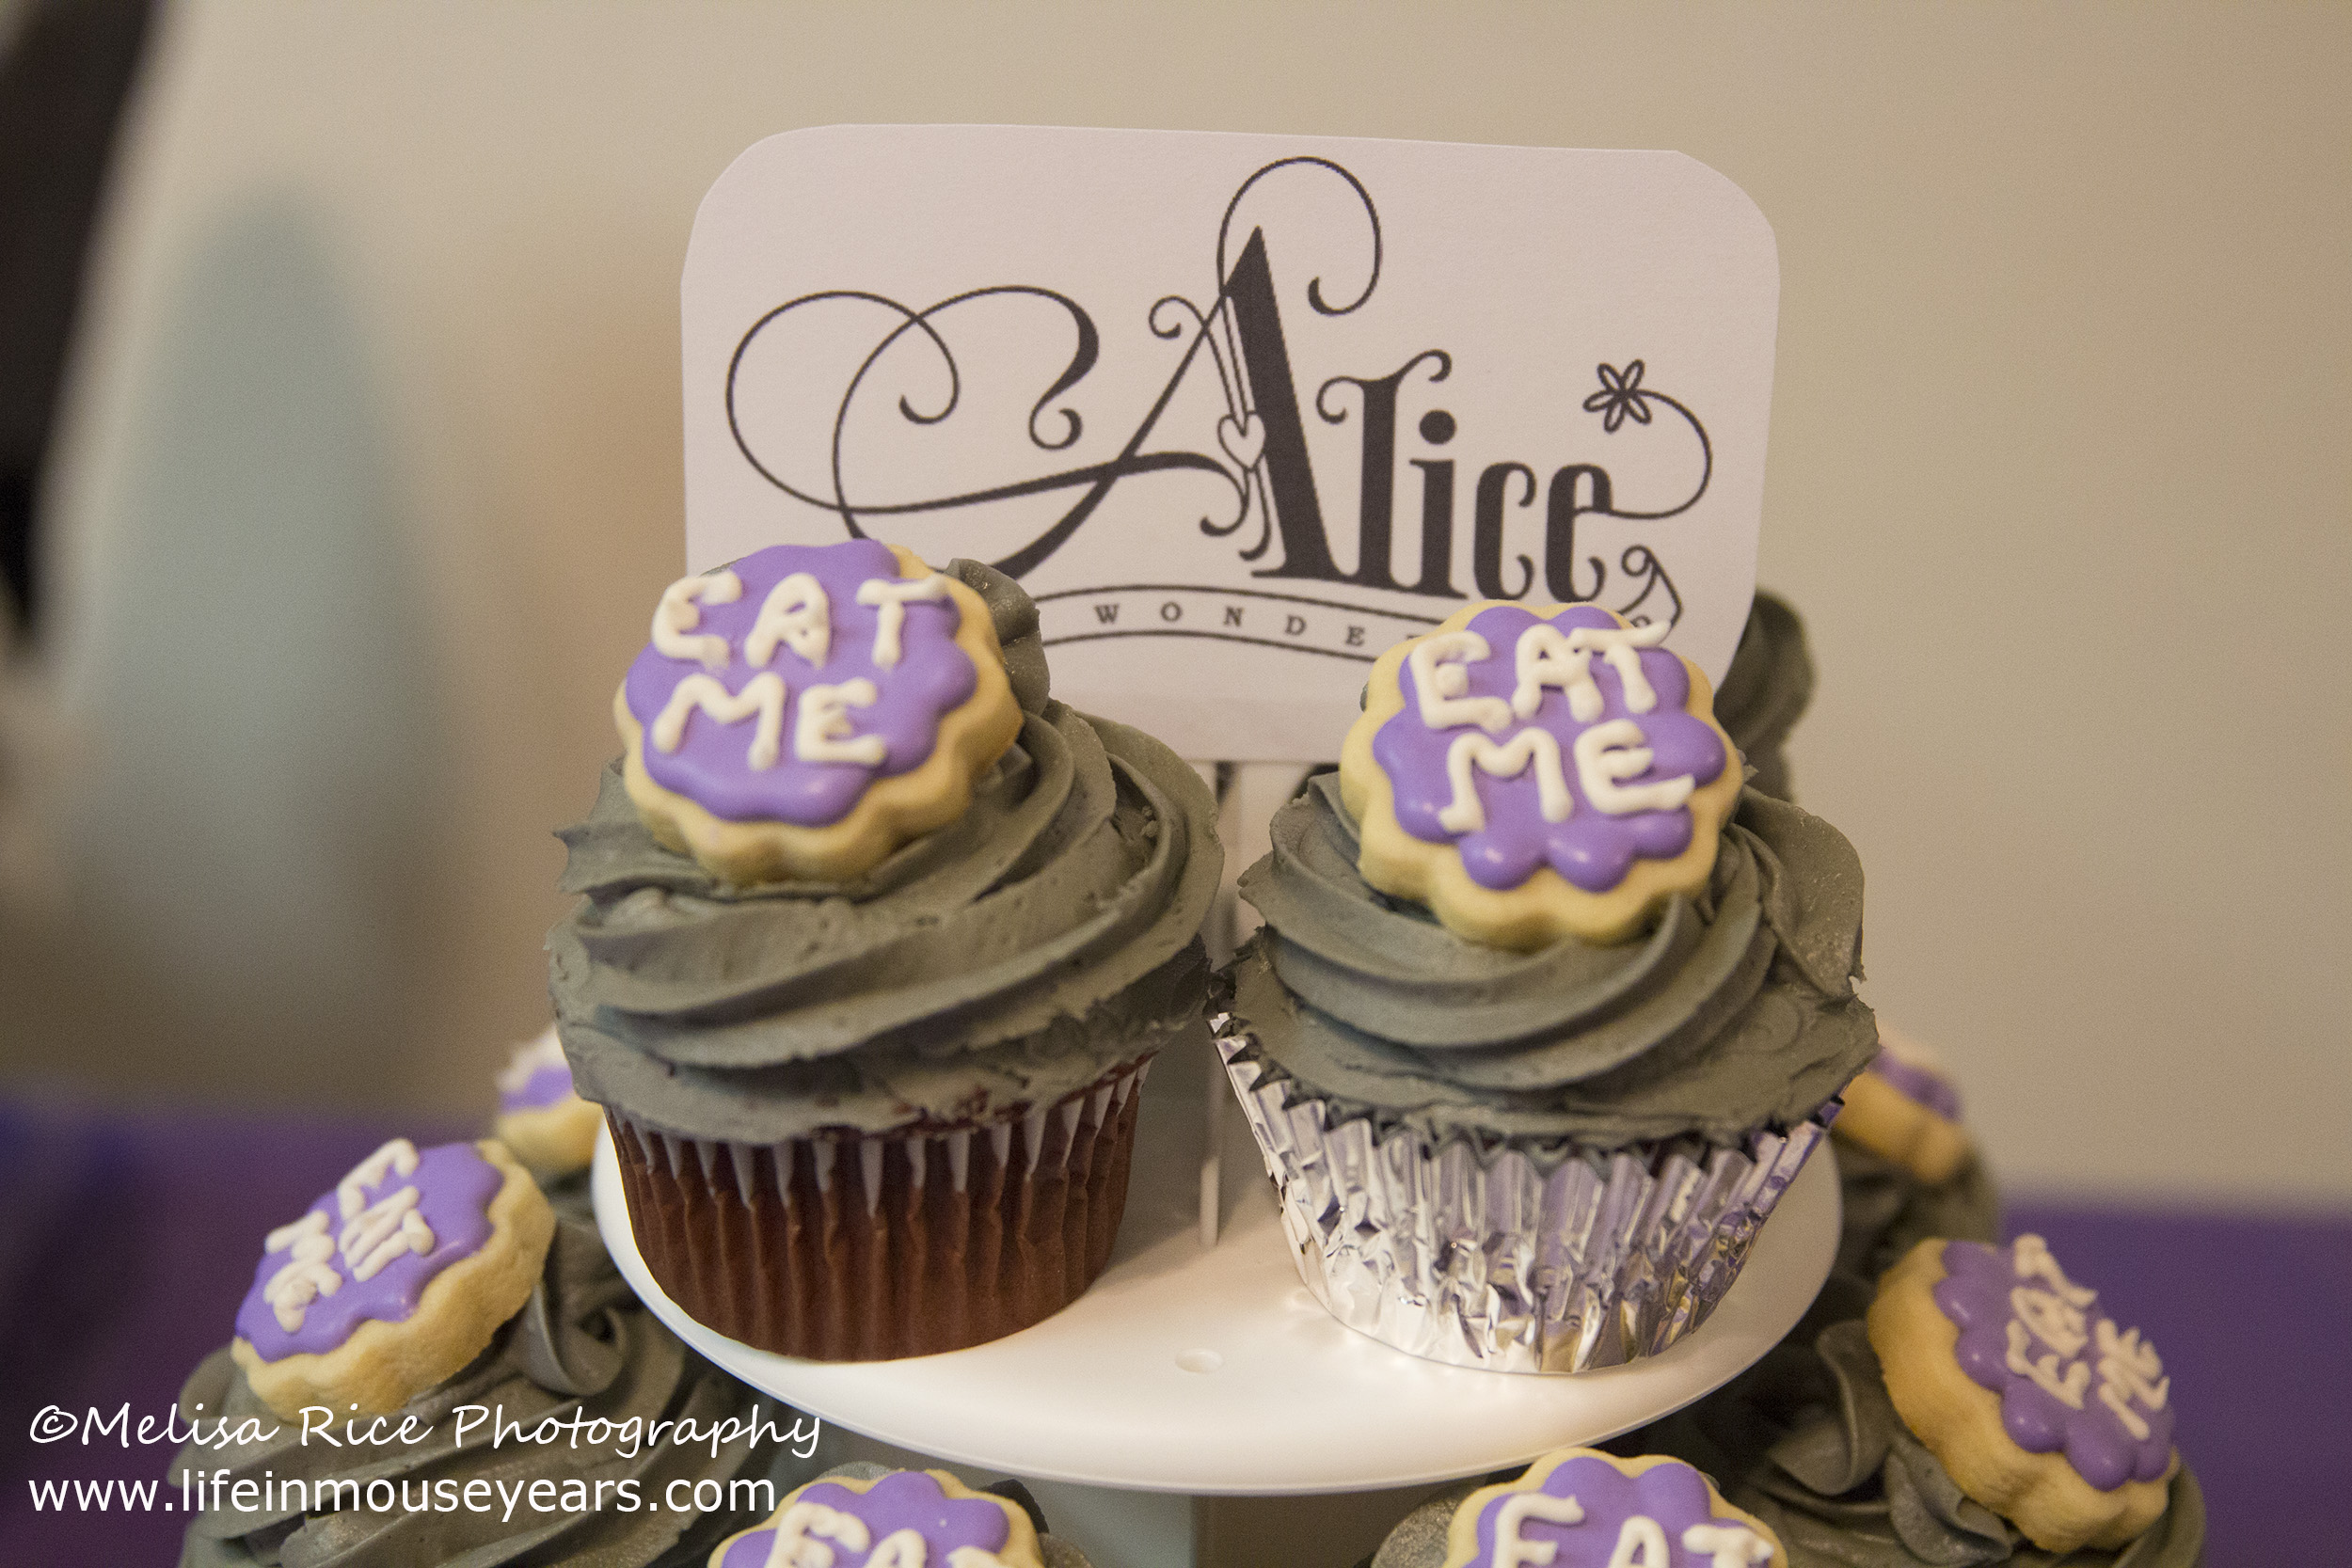
When I got to my friend’s house on the day of the party, I piped a star in the middle of the cupcake and added the cookie. Kind of on the side of the frosting I just added so that the cookie was more visible from the side. Not just from above the cupcake.
And here is the final product.
My friend was thrilled with the cupcakes, and everyone complimented me on how good they tasted too!
Question’s or Comments
I hope you enjoyed today’s post on how to make Alice in Wonderland cupcakes. I hope to share more party themes, ideas, and cakes again soon. If you have any questions please feel free to ask them below.
Thanks for stopping by Life in Mouse Years!
New Here?
Here are a couple of my most popular posts on Pinterest. Don’t forget to follow me on Pinterest or on Facebook. Like what you see? Please feel free to pin and share!


Leave a Reply