
Have you been wondering how to Make Mickey Mouse Cookies? This post will share with you how to make sugar cookies and how to decorate them with royal icing. I’m still practicing on the decorating part, however, I would like to share with you what I have learned, over the years about decorating these cookies!
How to Make Mickey Mouse Cookies
In the past, I have made these cookies for an Alice in Wonderland birthday party and again for a road sign party. When my birthday rolled around this year, I wanted to make Mickey Mouse cookies for my party! (Along with a Mickey Mouse Shaped-Cake.) With no specific plan on the decorating, I just played around with different designs and I will share them with you!

Cookie Recipe
First on How to Make Mickey Mouse Cookies is the cookie recipe! I have a cousin who is into baking as well and I asked her what recipe she uses. This is what she shared with me.
When you are making shaped cookies, you want the cookies to hold their shape after baking. This recipe stands up to the task! They also taste really good too! I really like the flavor that the almond extract gives.
Hint: I used real almond extract. I have heard that some people can taste a weird after taste from imitation almond extract. Generally, I try to use real flavors with my cakes and cookies. I like the wholesome ingredients plus I think it raises the bar on the flavors.
Since you are working in the kitchen, check out these cute Disney cooking tools!
Make the Dough
Next on How to Make Mickey Mouse Cookies is to make the dough for the cookies. It is handy to use a stand mixer if you have one. I love my KitchenAid mixer. (Technically it’s my mom’s. Hehe) It has been such a help to use that instead of a hand mixer when making my cakes and cupcakes.
First, you add the butter and sugar to the mixer and cream them together. Basically, mix together until it is a light yellow color and looks fluffy. Next, add the vanilla extract and almond extract, and egg. Beat until mixed in. In a separate bowl, add the flour, baking powder, and salt. Add the dry ingredients a little at a time until mixed.
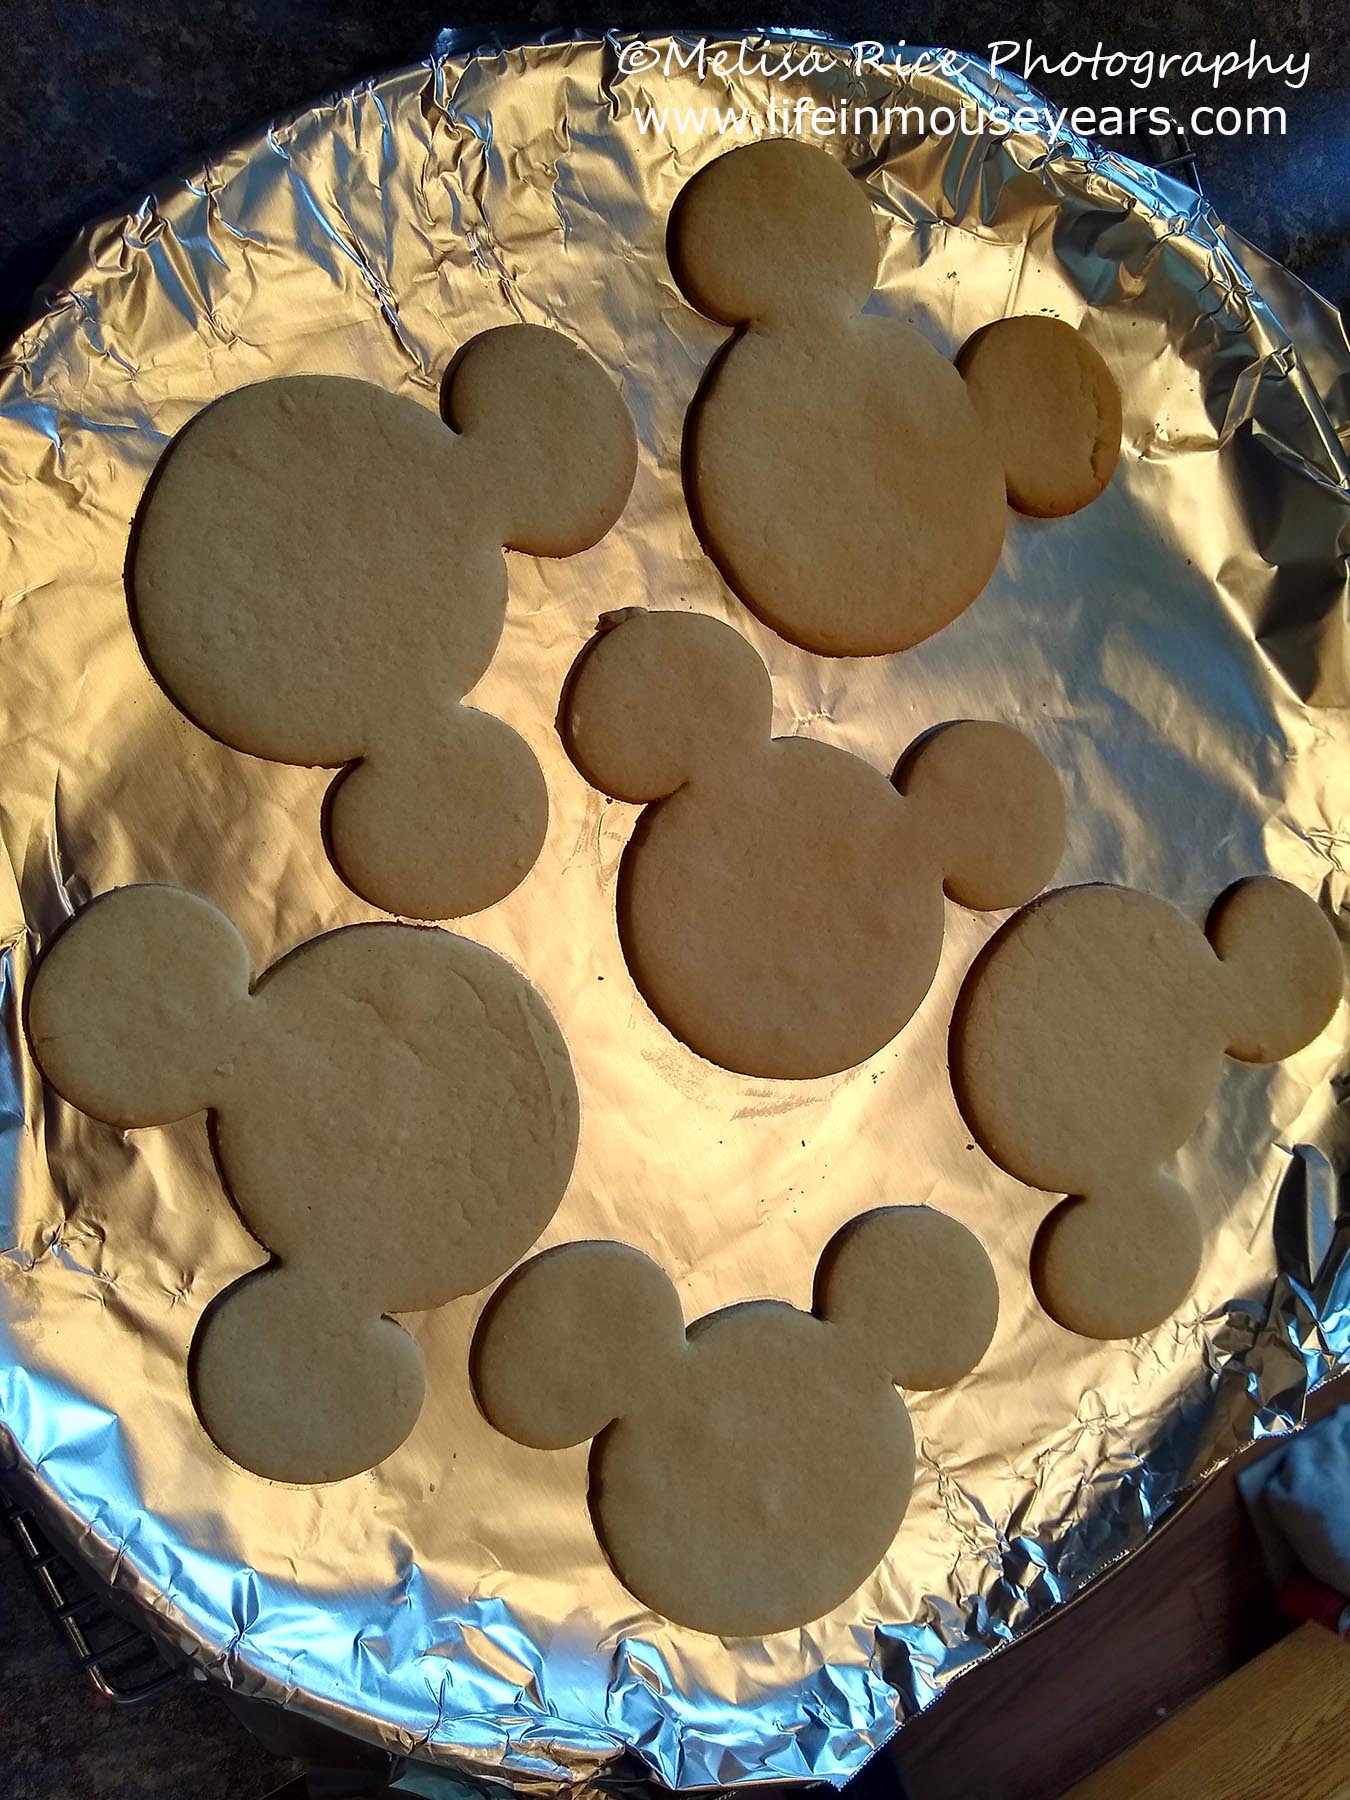
Roll and Cut out Mickey’s
Another step in How to Make Mickey Mouse Cookies is to roll out the dough and cut out the Mickey shapes.
When you roll out the dough, divide the dough into two or three sections. Roll the dough out to approximately ¼ inch thick. Next, using a Mickey Shaped cookie cutter, (find it here) start to cut out the shapes and add them to a cookie sheet leaving a smidge of space between the cookies.
Time to Bake!
Next on How to Make Mickey Mouse Cookies is to bake them! Put the cookies in a preheated oven at 350 degrees Fahrenheit. She says to bake 6-8. I get nervous about whether they are fully cooked because they do not brown. Unless they are left in for a long time. If they start to brown, they will be crispier, but still good. Make sure to leave the cookies on the cookie sheet until they cool enough to move them. If they are moved right away they will fall apart. Trust me… I know.
For larger cookie cutters the bake time is 8-9 minutes.

Making Royal Icing
Another step on How to Make Mickey Mouse Cookies is to make royal icing. Royal icing is very different from buttercream. If you prefer to use buttercream, you can totally do it! The royal icing is runnier until it dries. When it does dry it hardens and they can be stacked on each other.
I make my royal icing by using meringue powder. This way, I do not have to worry about using raw egg whites and having it go bad faster. Being that the meringue powder is shelf-stable, the royal icing lasts longer.
The recipe I use can be found here.
Once you have the royal icing made, it is similar to the consistency of marshmallow fluff. But, it does not taste like it. I do not recommend licking any spoons with this recipe. Once it is dry and on the cookie it is good. But by itself, it is not very tasty.
Color and Thin the Icing
Now is the time to divide up the icing into smaller bowls and add color. I like the Wilton Color Right or Americolor Gel Food Coloring. When you thin the icing, use just small amounts of water. Some bakers recommend using a spray bottle. (I just added little drops from a spoon.) After it is mixed, take a spoon full and let it fall into the bowl of icing. Move the spoon back and forth to make a line on top. Next, count how many seconds before it sinks back into the icing. There are so many different counts. It varies, depending on the person. I went for a 15 to 20-second count. I can flood the cookies with it and also add decorations/second layer to the cookies.
If you want to pipe a border and then flood the center area of the cookie, you will need one that is 6-10 seconds for flooding, and one that is 30 seconds for the outline. I personally have found that I like the 15-20 second count and do both the outline and flood together. I like the look better than having that firm outline with the flood. It doesn’t seem to blend together the way I like.
Royal Icing Tips
When the royal icing dries, it ends up darker than what you start out with. Make sure to have your colors a bit lighter than what you want to end up with. Another tip is to make more than you think you will need. It will be impossible to recreate the same shade of color if you run out. It is better to have too much than too little.
Time to Decorate
Next on How to Make Mickey Mouse Cookies is to decorate! Before decorating, I leave the cookies out overnight to dry a bit. This helps to avoid color bleed. Color bleed is when the color from the icing runs out and all over the cookie. This happens because of the butter and if the cookies are not totally cool, it will pull the color from the icing.
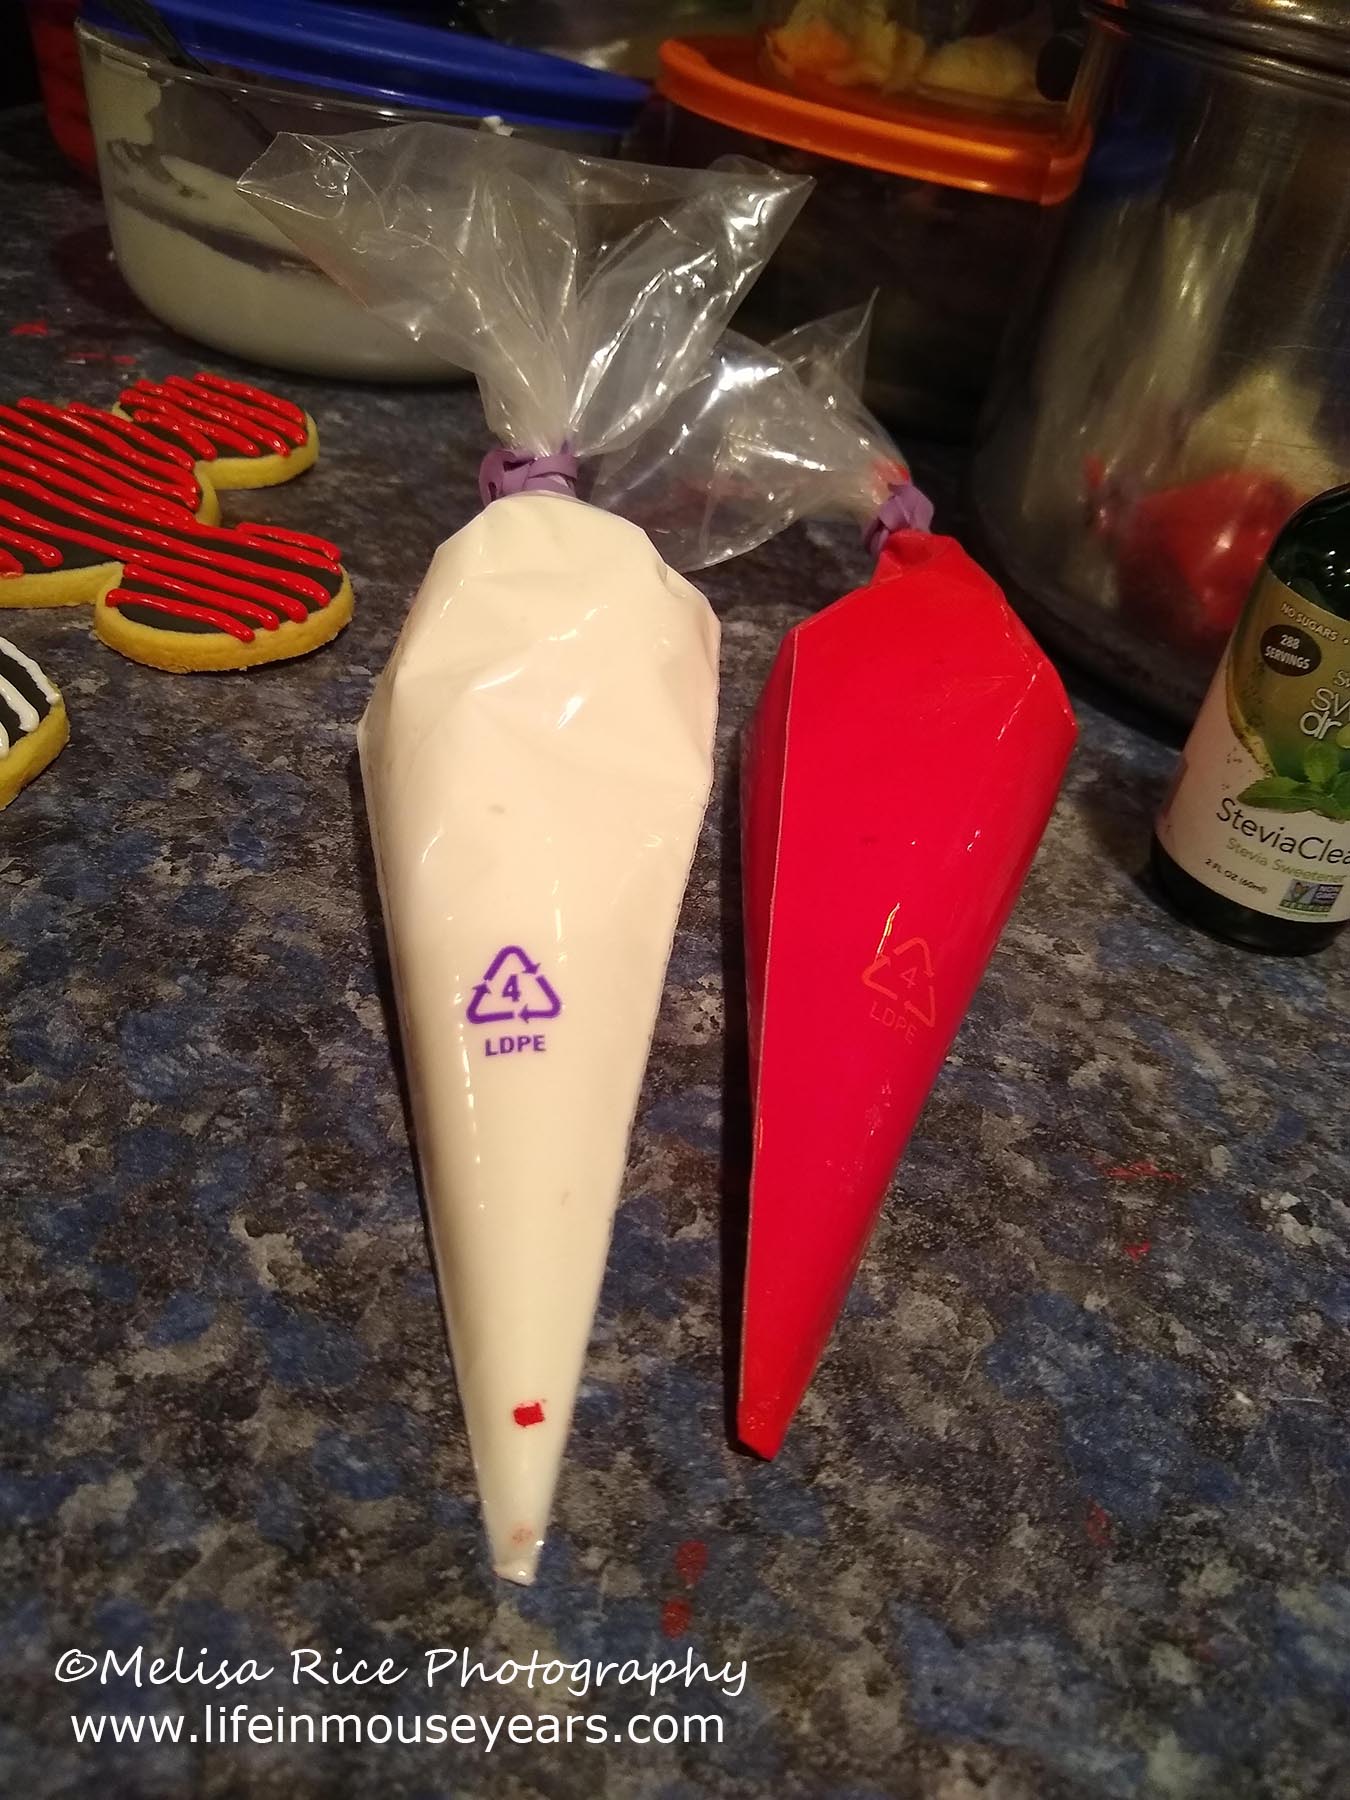
Add the royal icing to piping bags. I like to put it straight in the bags and cut a little bit of the tip-off that bag. Some people like to use tips, like #2. I find that by just cutting the tip off the bag, I can control the icing better and it doesn’t run out as bad as using the tip.
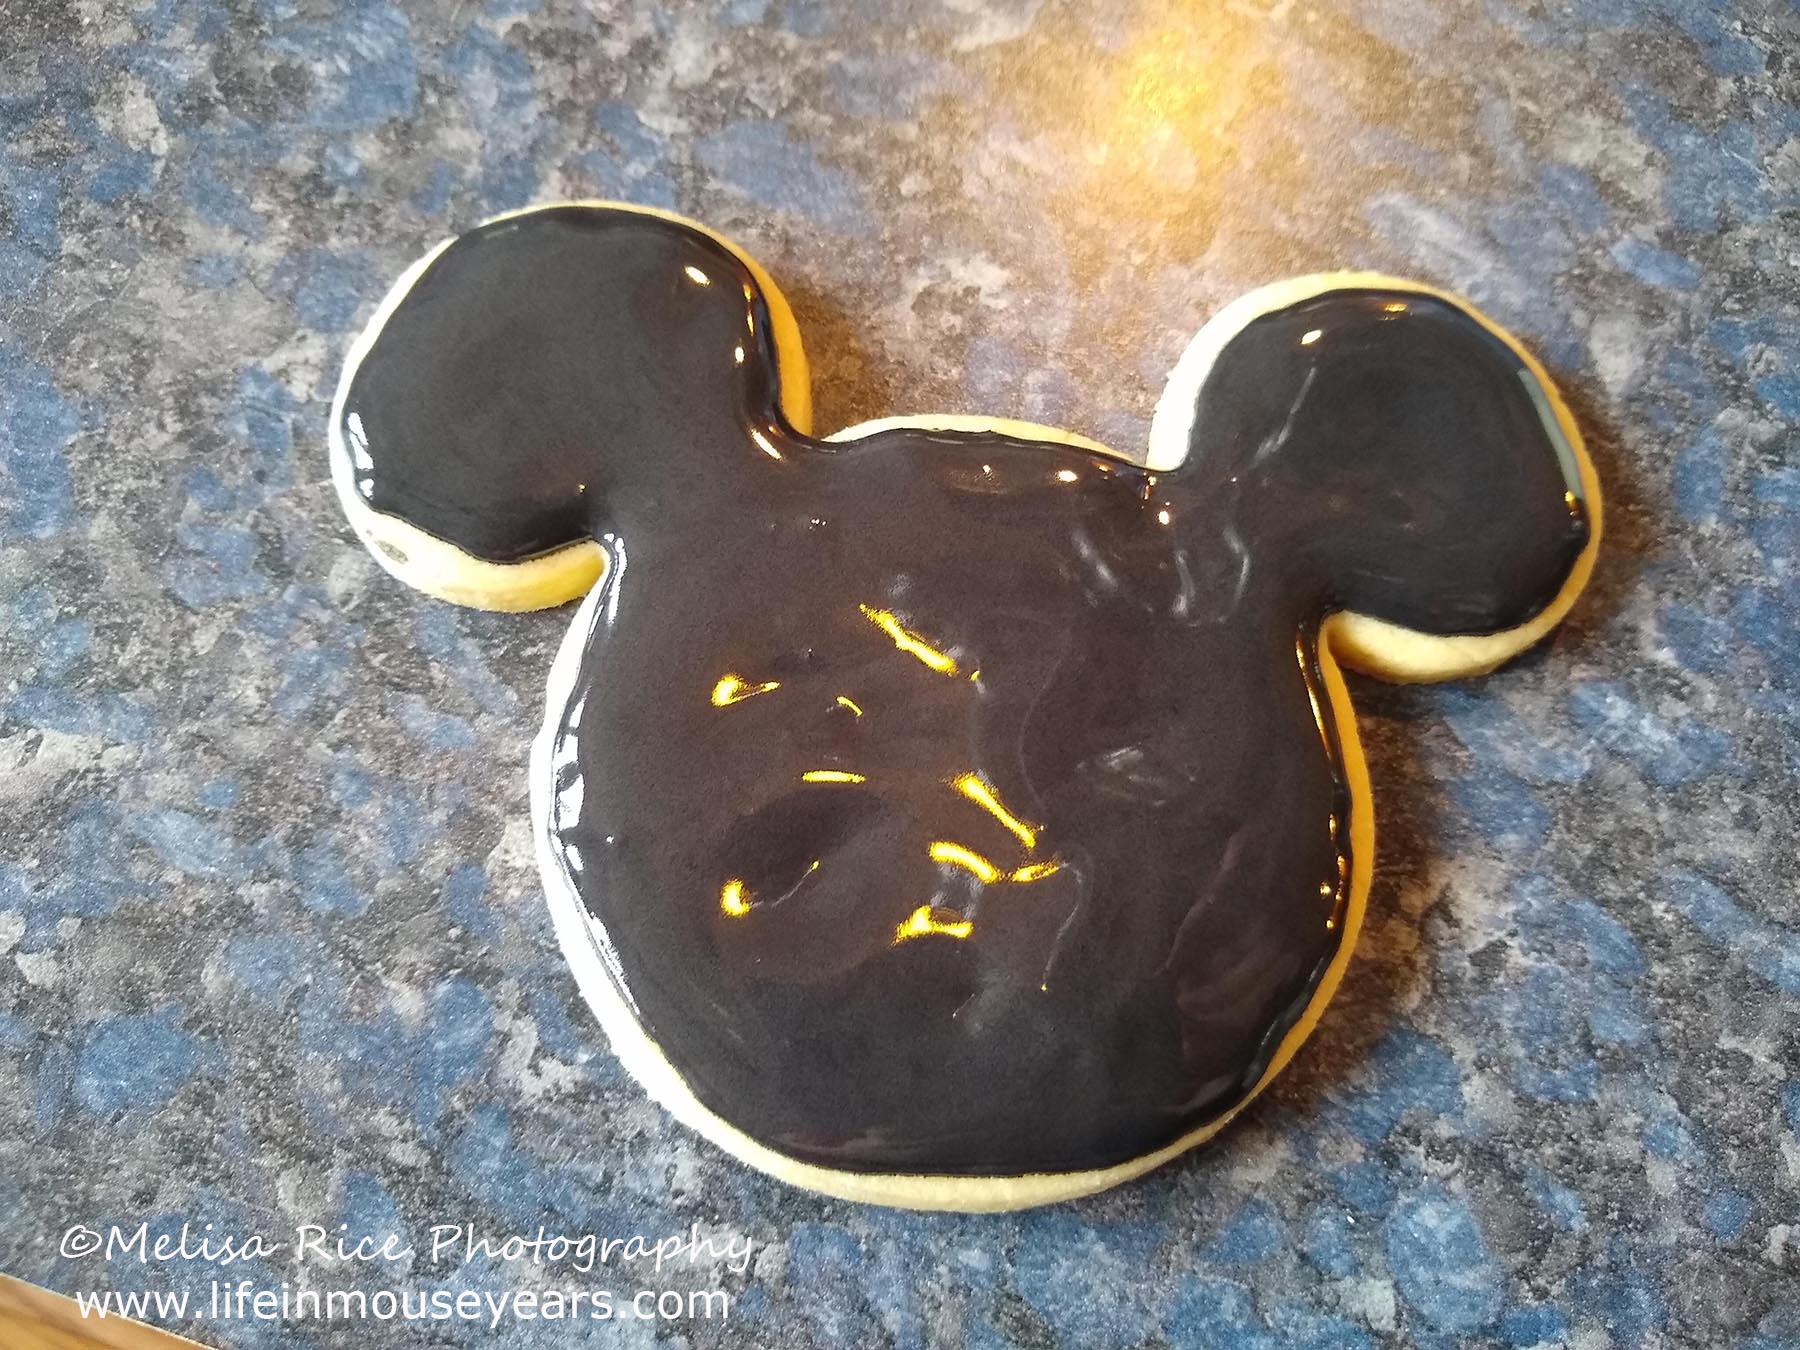
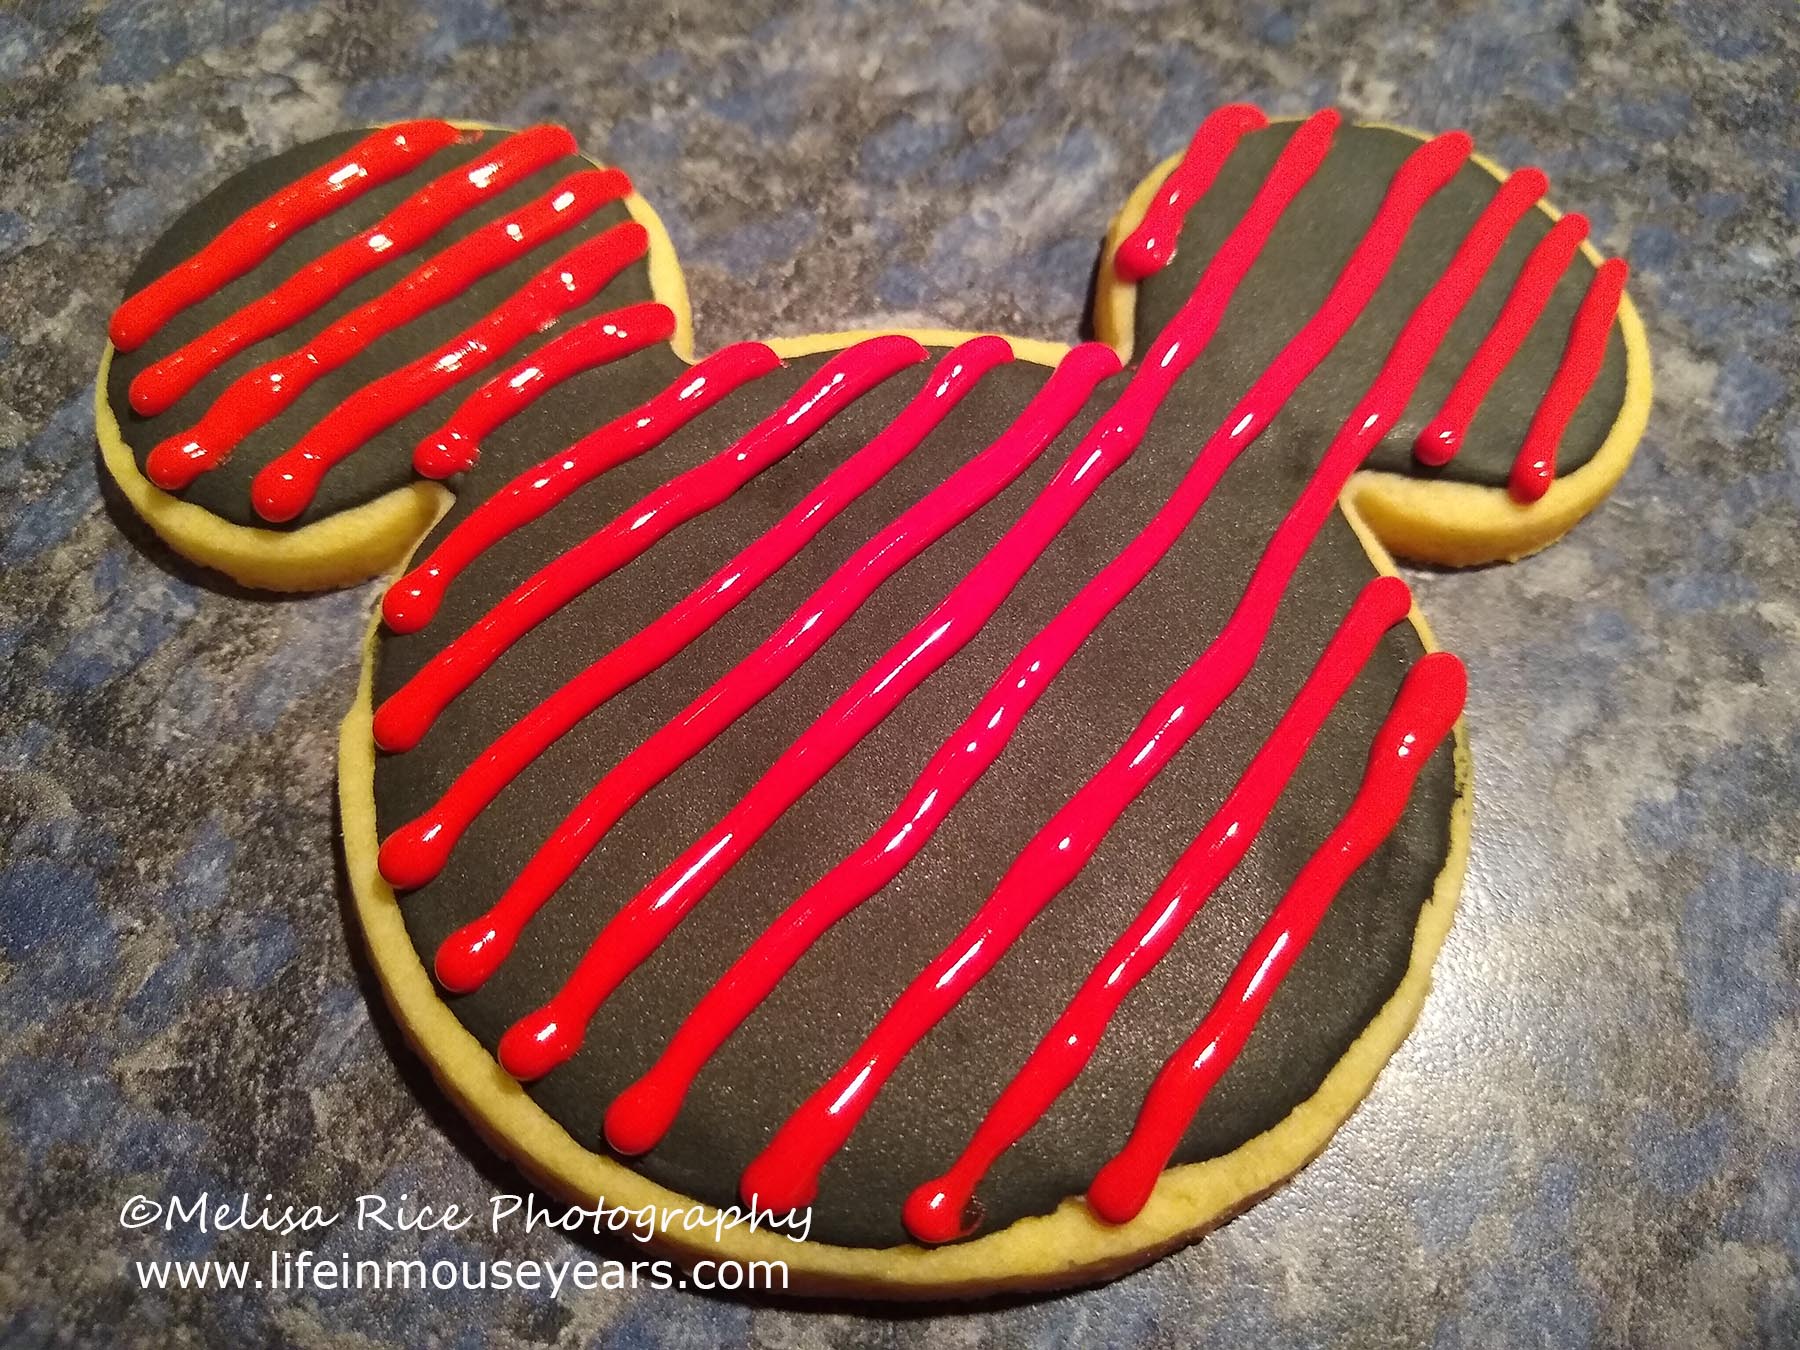
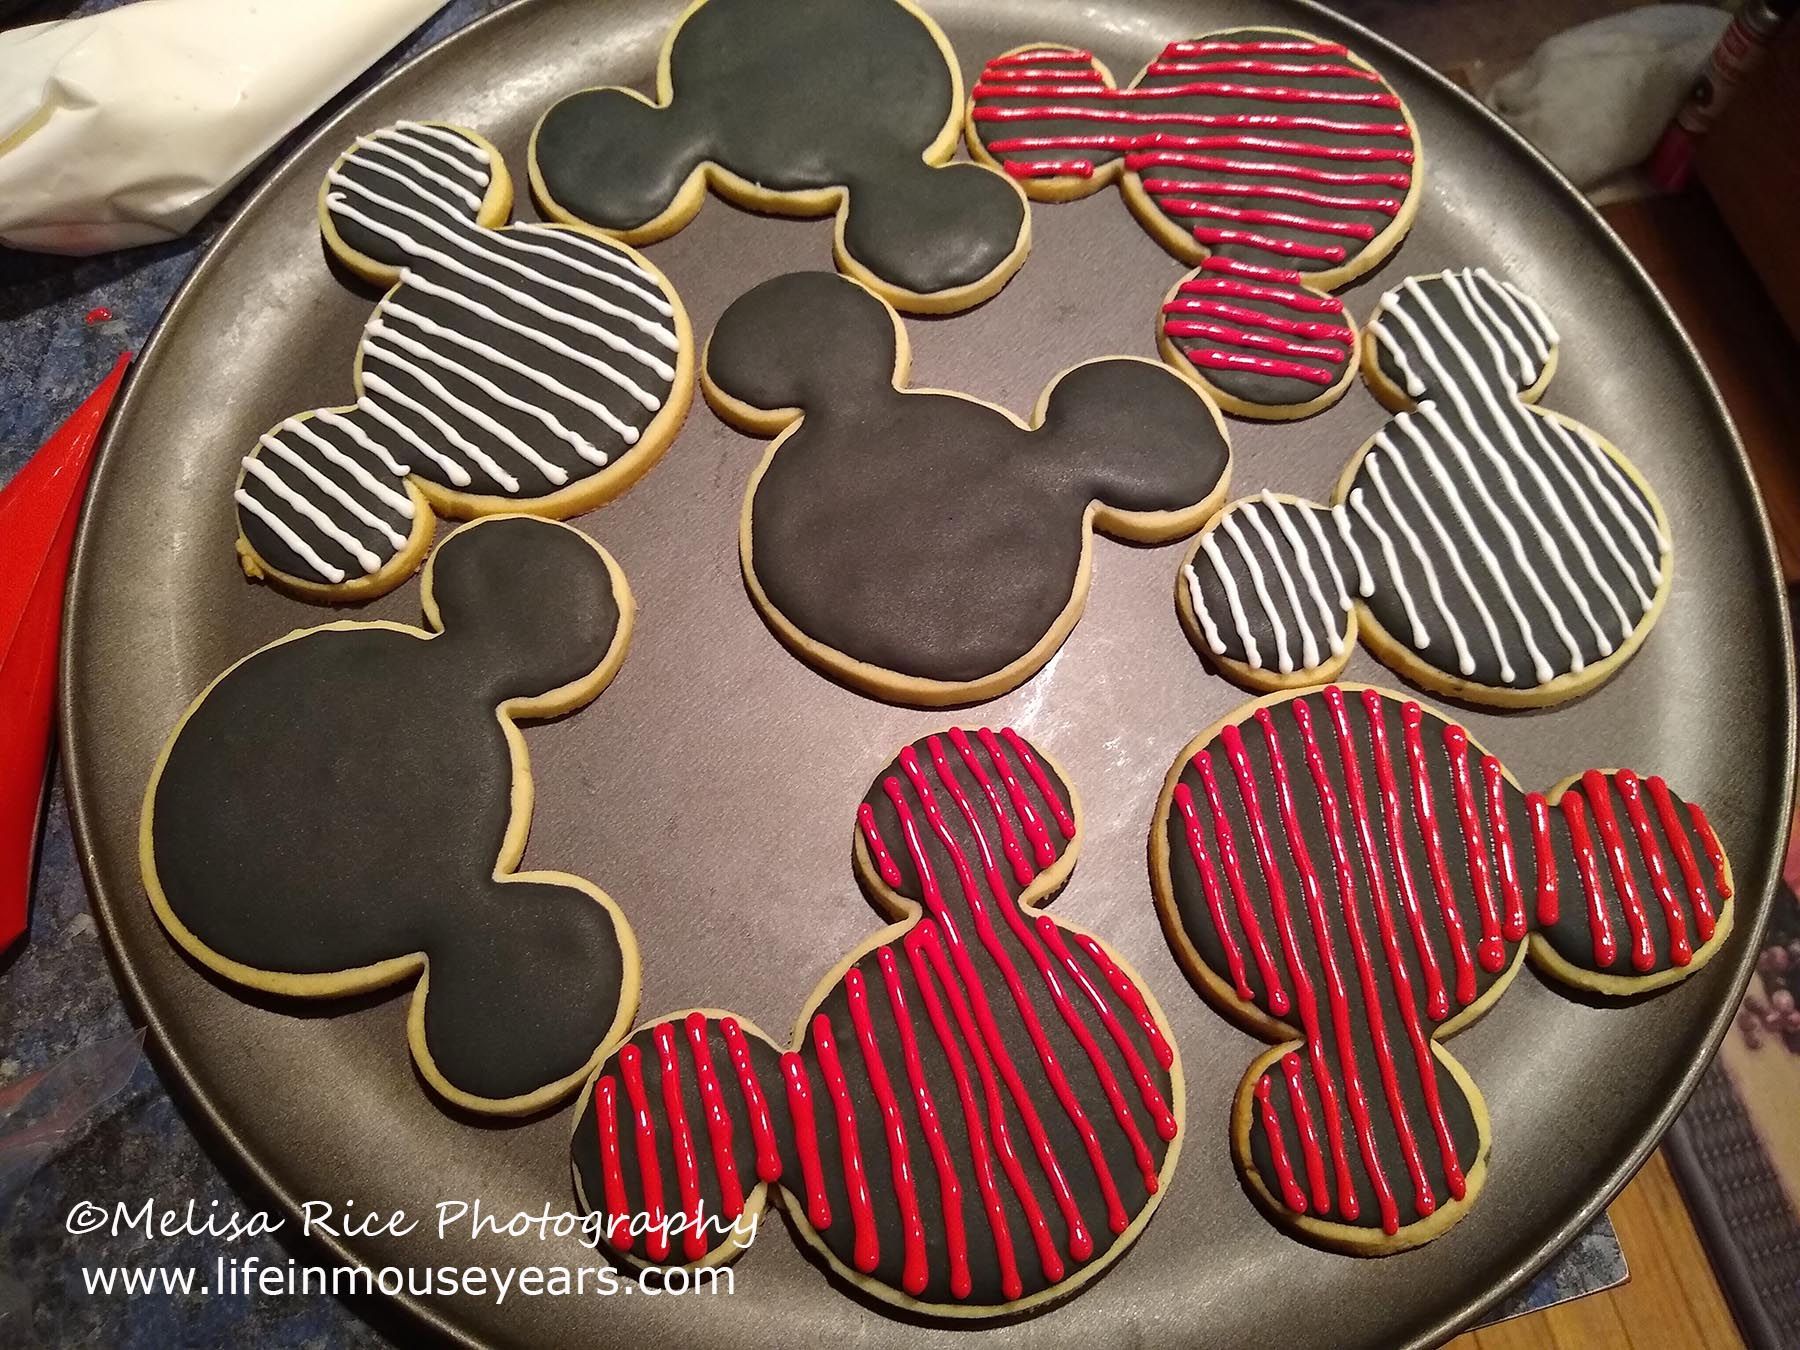
I used black first and piped an outline on the Mickey cookie. Next, I flooded the cookie with black. I used a toothpick to make sure the whole cookie was covered. Then I tapped it on the counter a little bit to try and bring any air bubbles to the surface. If any start to form, just use the toothpick or quilling tool to pop and smooth. Just don’t wait too long otherwise you will have trouble smoothing, royal icing starts to dry pretty quickly.

Dry Iced Cookies Between Layers
Another step in How to Make Mickey Mouse Cookies is to let them dry between piping layers. After I applied the black icing, I let them sit for 6-8 hours. I read that some people will have a fan blowing on the cookies to help with drying and it’s supposed to have a shiny finish. It does help with drying but I haven’t gotten a shiny finish. I may have mixed my icing too much though.
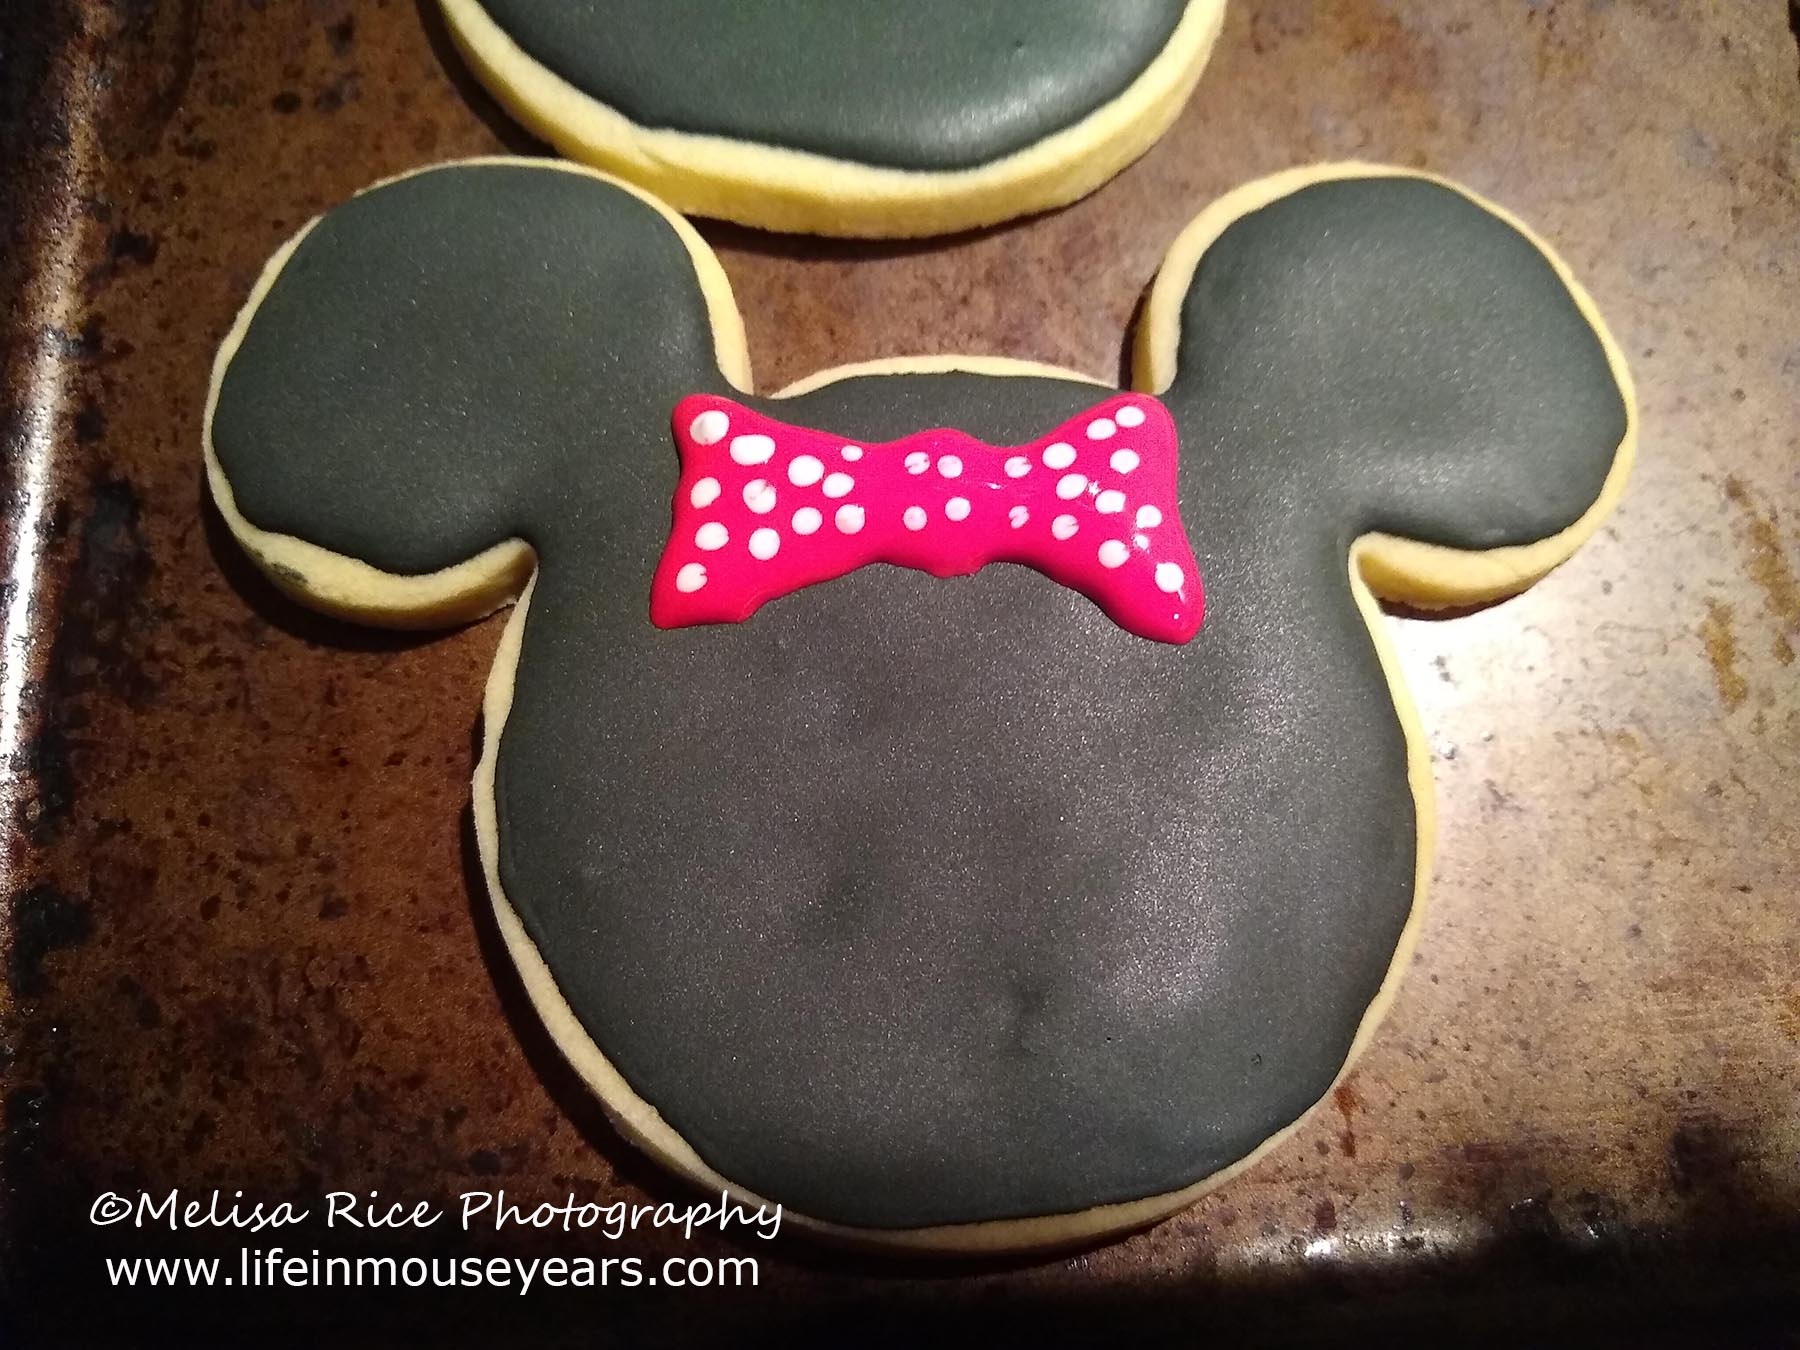
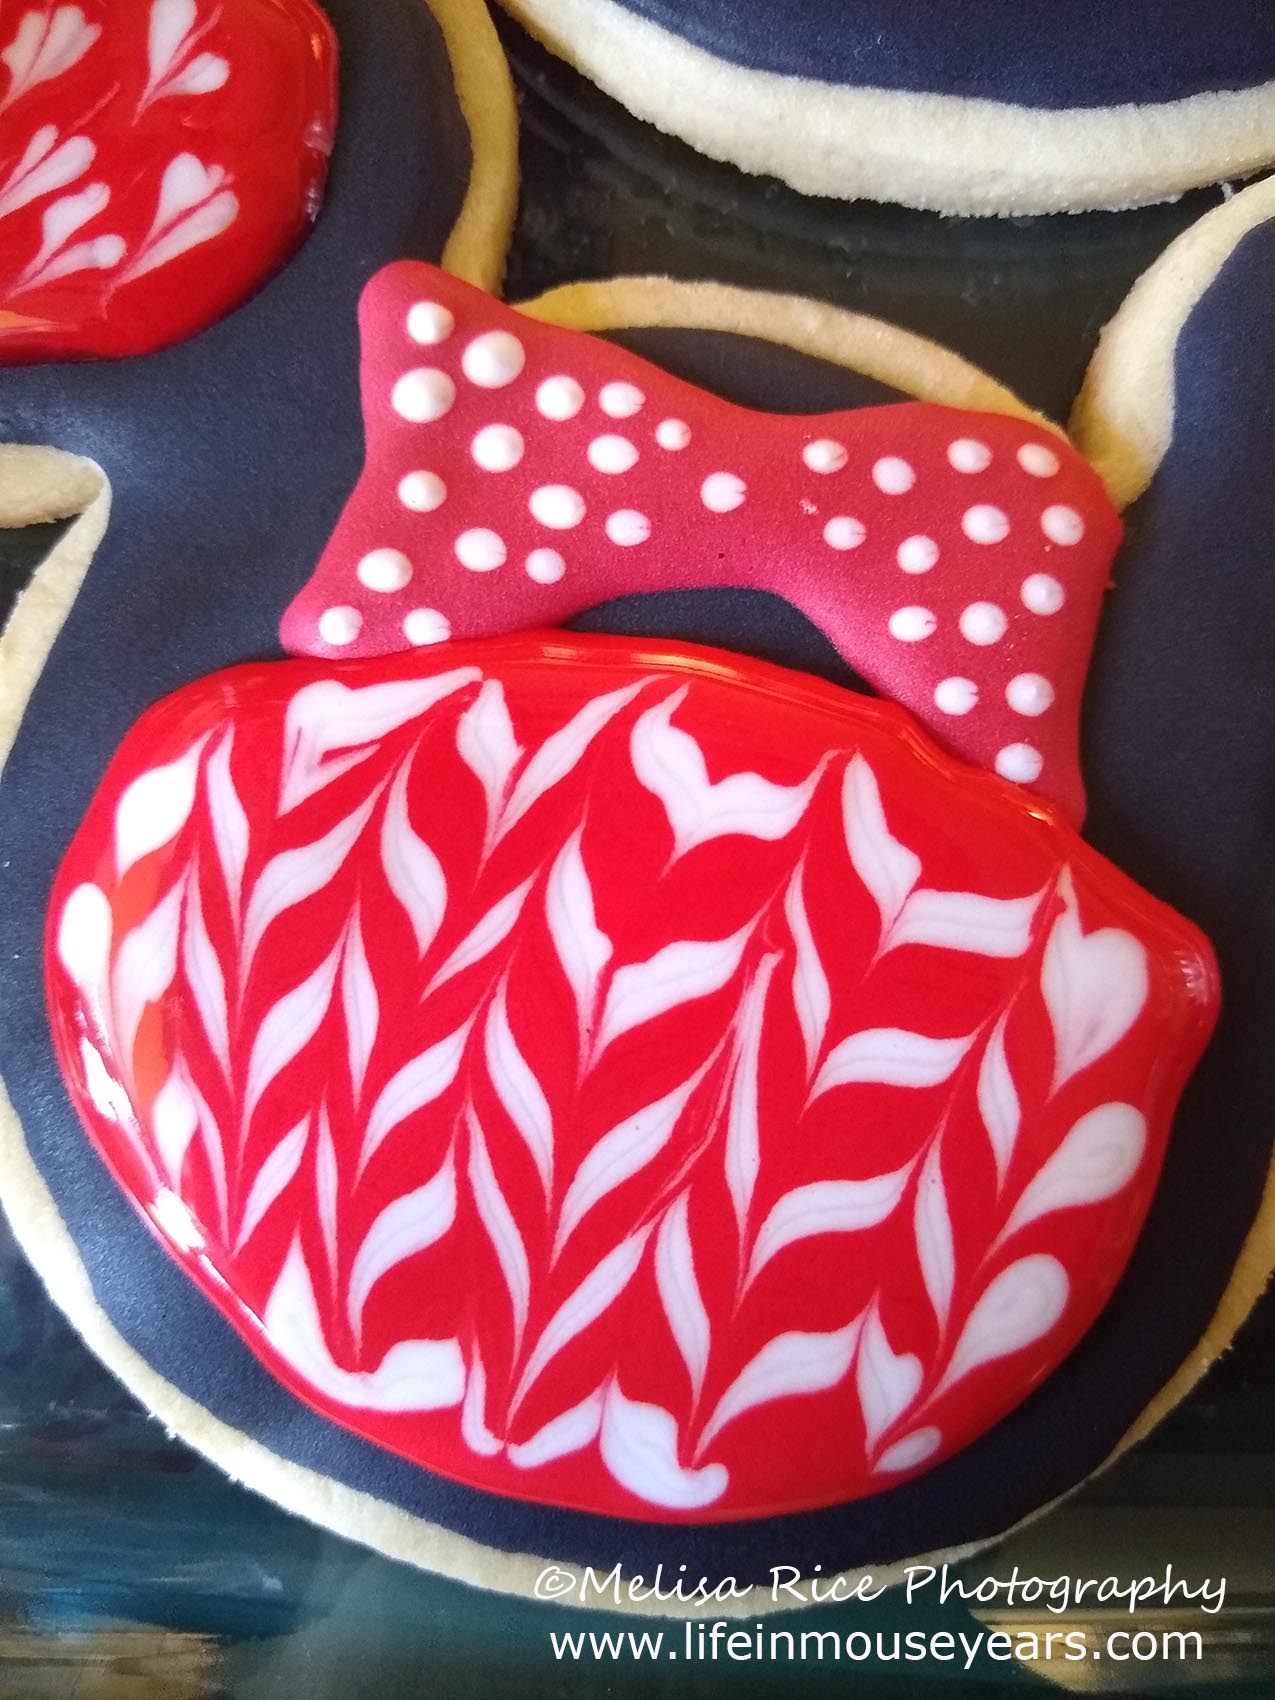
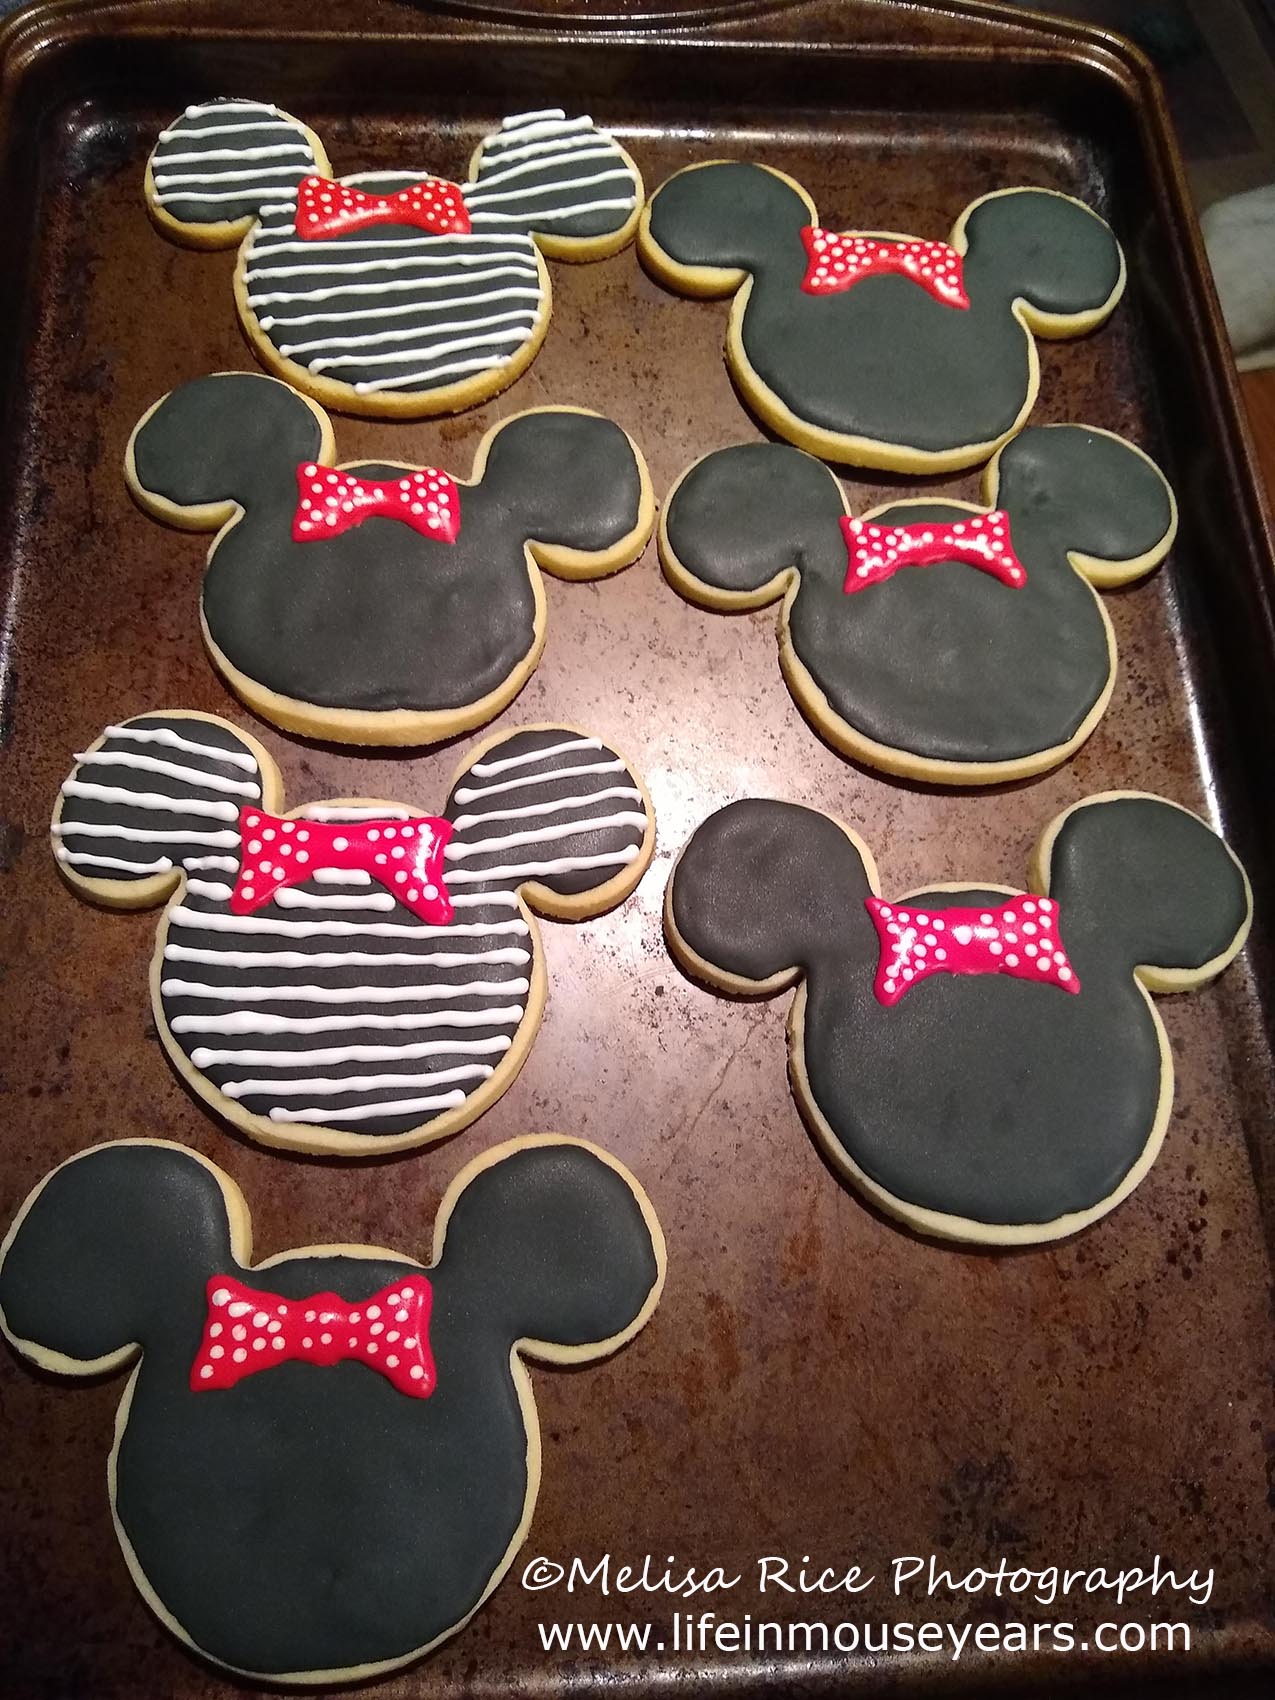
After the first layer was dry, I then started to add different designs. I added a bow to some to turn them into Minnie Mouse Cookies. Others I took red and made lines all across the cookies. Likewise, I used the white icing to make lines as well.

After I was done with cookies, I thought about another design I could have tried. I wished I had thought of it sooner. It was to cover the cookie in red and while it was still wet, add in some white lines across the cookie. Next, take a toothpick and run it through the icing. Up one spot of the icing then clean the tip, and move over a little bit, then run it back down. Alternating across the whole cookie. It creates a cool marbling effect.
I will have to try this again! Oh darn. More cookies that need sampling. Hehe
Final Tip: Make sure to let the cookies sit out again for 6-8 hours to dry. Then the cookies can be carefully stacked and stored in an airtight container.
If you are interested in a Mickey-shaped cake to go with a Disney theme, make sure to check out my post on that here.
In Conclusion
Making sugar cookies with royal icing can be a bit nerve-wracking until you try it out. It can be a lot of fun making and decorating these cookies. I hope that this post-How to Make Mickey Mouse Cookies is a help to you in learning how to make them.
Questions or Comments?
Do you have any questions or comments on today’s post-How to Make Mickey Mouse Cookies? Please feel free to leave them in the comments below. I would love to help!
Thanks for stopping by Life in Mouse Years!
Check out some beautiful jewelry from Gabriel and Co.

Leave a Reply