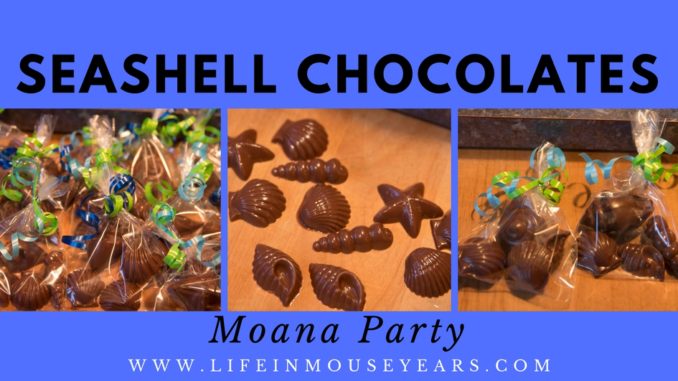
Seashell Chocolates fit a wide variety of themed parties. For example, luau, ocean, little mermaid and Moana! Or they can even just be for fun! You decide. The ones I made were for my Nieces 6th birthday party that was Moana themed.
Seashell Chocolates for Moana Party
My Niece requested a Moana Party for her birthday this year. Her Mom did an awesome job with it! I will have a more detailed post on the party decorations in a future post soon. Stay tuned for that!
For this year’s party, I did the chocolate seashells for the favor bags that were going to the guests.
Seashell Shaped Molds
Every time that I make chocolates, I have used the Wilton Candy Molds. (Wilton 2115-1561 Seashell Candy and lollipop Mold) They work great! I haven’t had too many issues with them and I get repeated use out of them. Additionally, I have done candy suckers with their sucker molds.
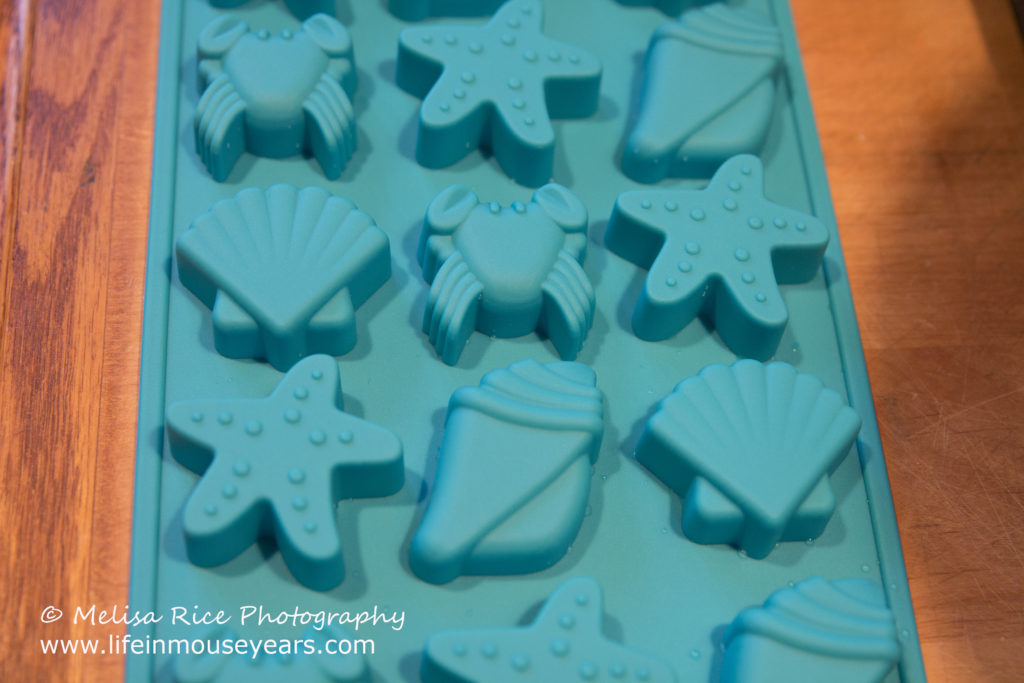
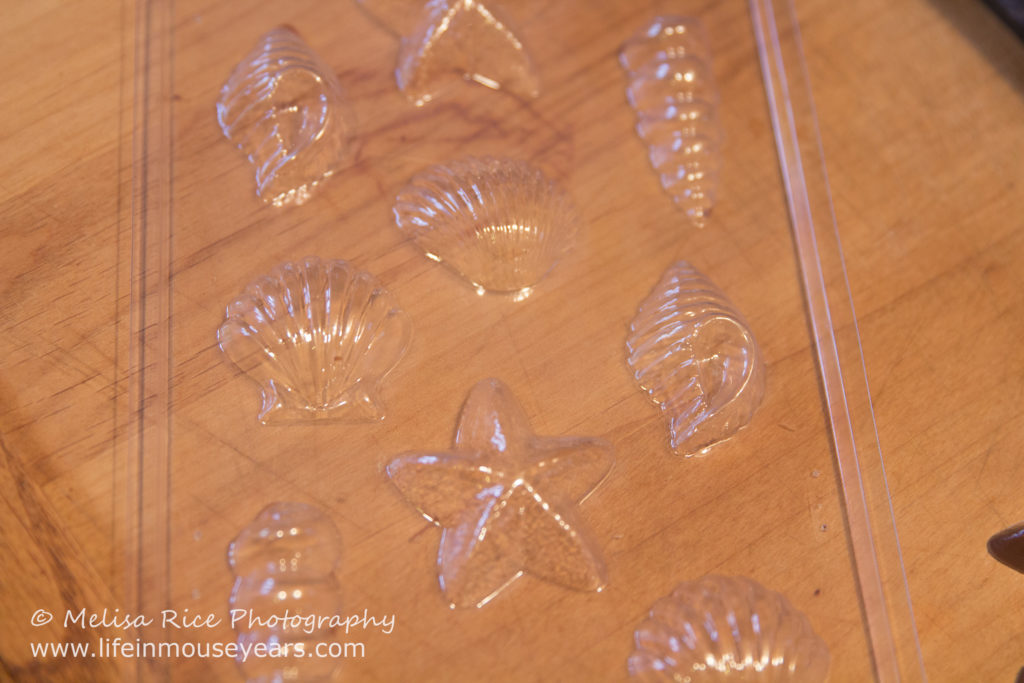
For these chocolates, I wasn’t sure if I wanted to use the normal plastic molds or the Wilton silicone molds. The silicone was a new discovery into uncharted territory. However, I got both types of candy molds to give it a whirl.
Melting
This time around I used Wilton Candy Melts. (Wilton Light Candy Cocoa Melts, 12-Ounce) In the past, I have used a microwave to melt them. Our microwave died shortly before, therefore I had to use the double boil method.
I took a pot and added some water. Then I took a glass bowl and set it on top. Next, I added the chocolate candy melts to the glass bowl.
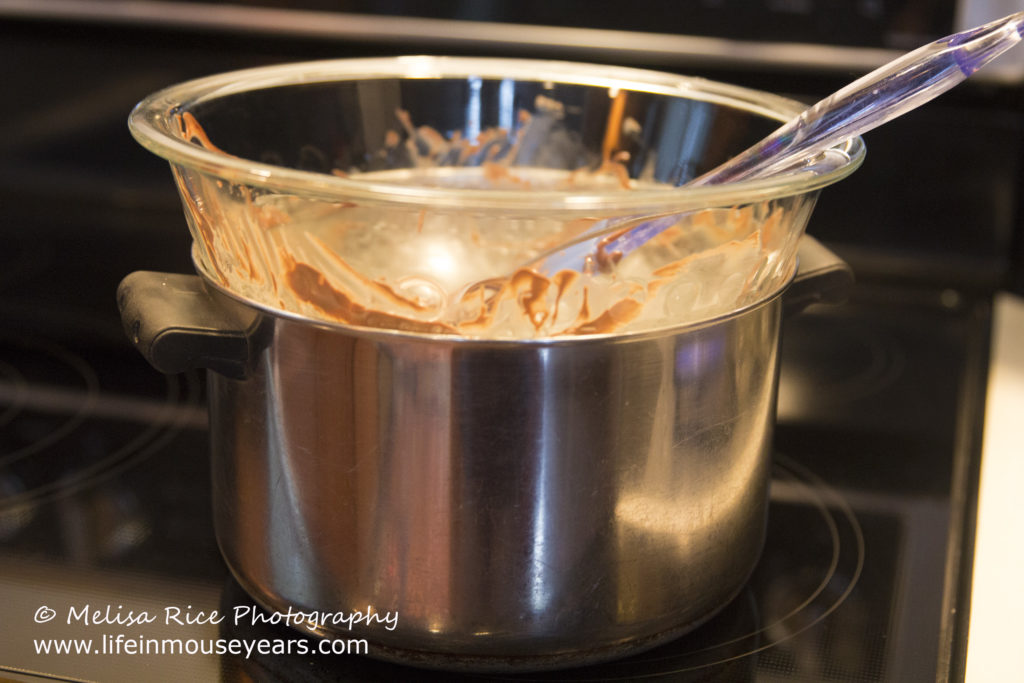
When you are heating the candy melts, you want the water to be warm but not boiling. Steam coming up the sides will cause your candy melts to seize (in the same way chocolate does), and you do not want that to happen. Stir occasionally. It takes a little bit of time to get them melted, but it will be worth it.
Filling the Molds
The seashell chocolates were going to be all one color. Therefore I used a spoon to fill up each section of the candy mold. It is faster to use just one color. When I have done shaped suckers with multiple colors, it is very time-consuming. They look great when they are all finished. However, I was glad to just do one color this time.
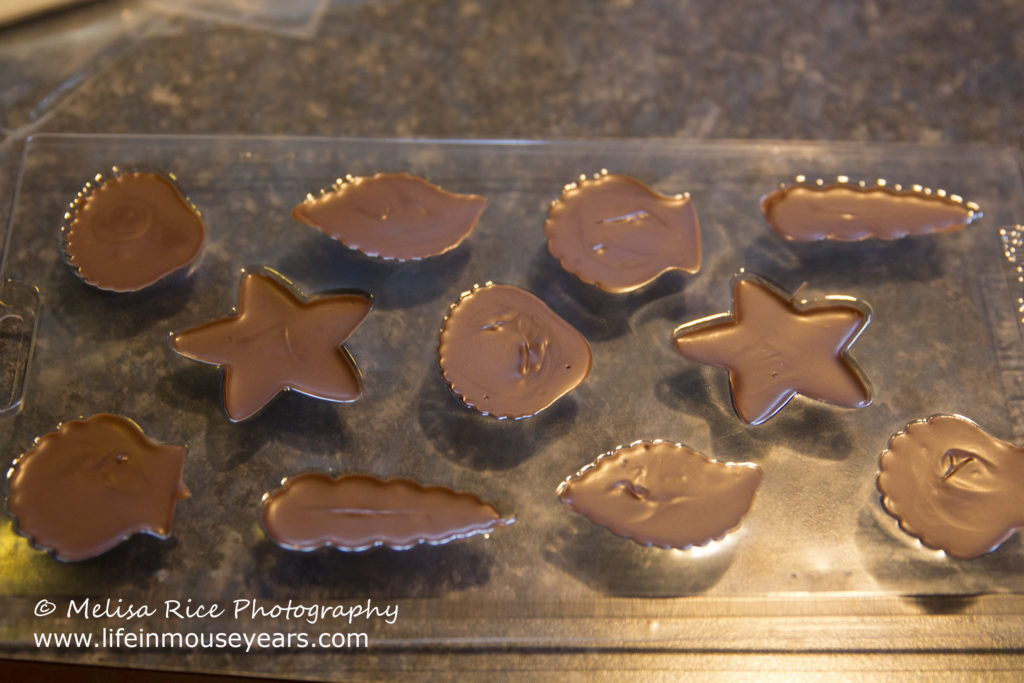
After you fill the sections with the chocolate, you gently tap the tray on the counter to get all the bubbles to come to the top. If they stay on the bottom, your shapes will have little holes all over.
Now here is where I prefer the hard plastic molds. The tapping works so much better with that tray.
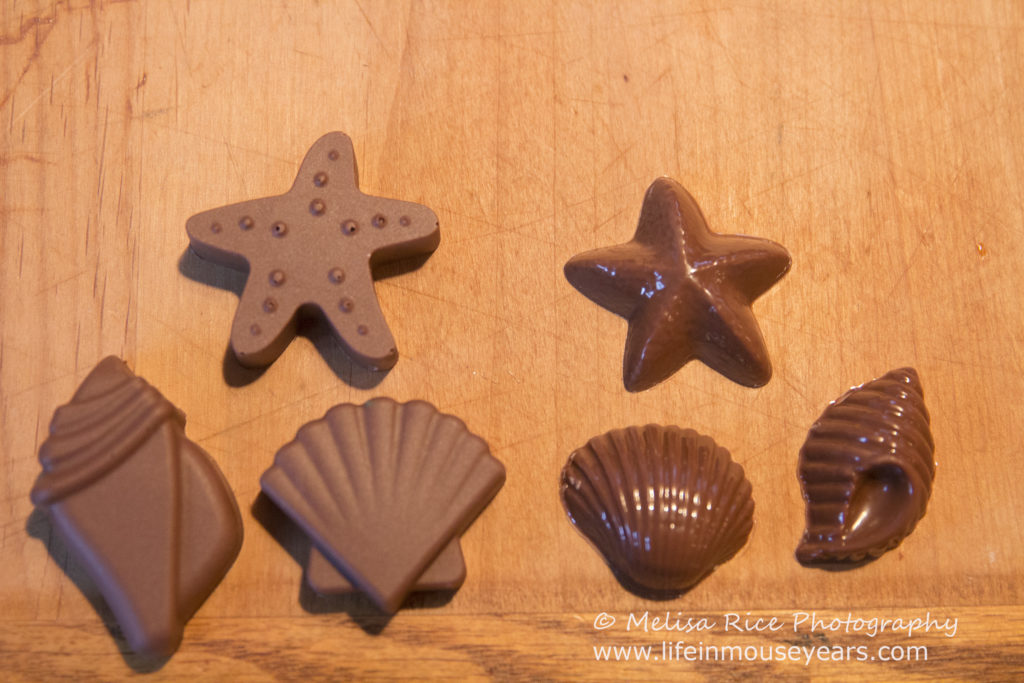
The silicone mold, however, was not working well with that. I tried it just taping it by itself and I even put it on a cookie sheet then tried to tap it that way. In the end, I still ended up with a few little holes in the chocolates.
Chill
No not you… the seashell chocolates! They need to go into the refrigerator to chill out for a bit so they set up. If you are making a big batch of candy shapes, it is helpful to have a few trays. The Wilton Candy Molds (plastic) are fairly cheap to start with. In my opinion, it is worth it to grab two or three trays to help speed up the process.
Tip: Joann’s Fabric will put them on sale from time to time. Keep an eye open for that. Or you can find some here.
Removing the Seashell Chocolates
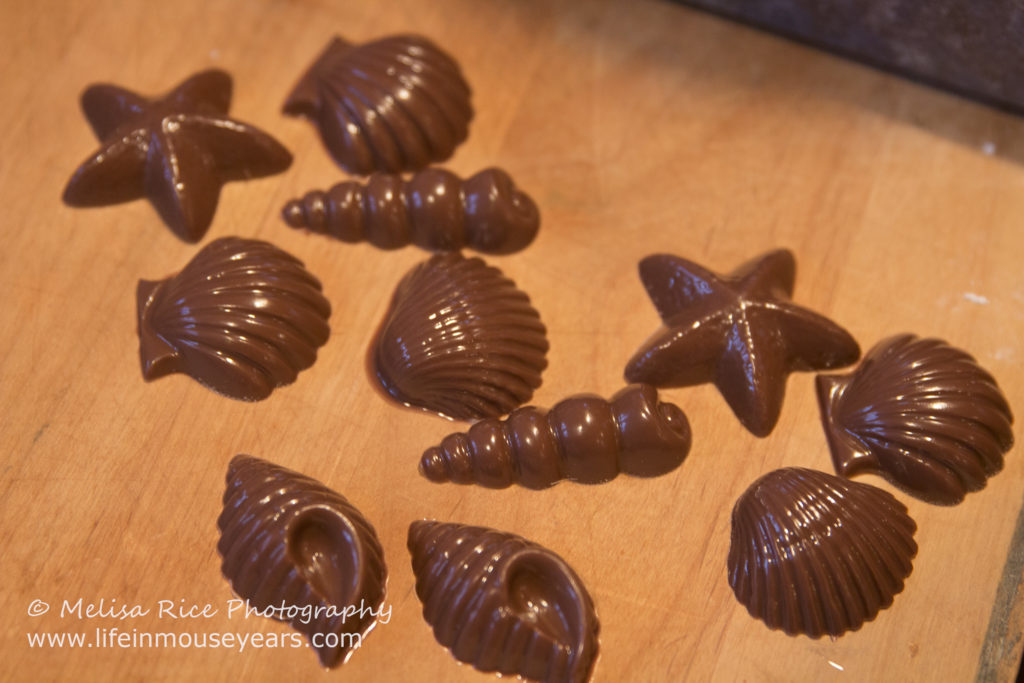
After the seashell chocolates have set, take them out of the fridge. If you are using the hard plastic tray, you will want to have it warm up for a few minutes before you try to remove them. Once they have been out for a few minutes, turn the tray over. Some may pop out on their own. If some are still in the mold, then gently tap the counter with the mold. One by one they should start falling out.
Tip: Do not twist the tray! You can twist it but be careful. I had always twisted the molds in the past when making suckers. However, this round with the candy molds, I broke one of the trays twisting to get them out. As a result, that was when I found out to tap the tray to get the seashell chocolates out.
With the silicone mold, you can literally push the chocolates out of the mold. This is where I prefer the silicone molds.
As you can see, I can’t decide which one I prefer the most.
Differences in the Molds
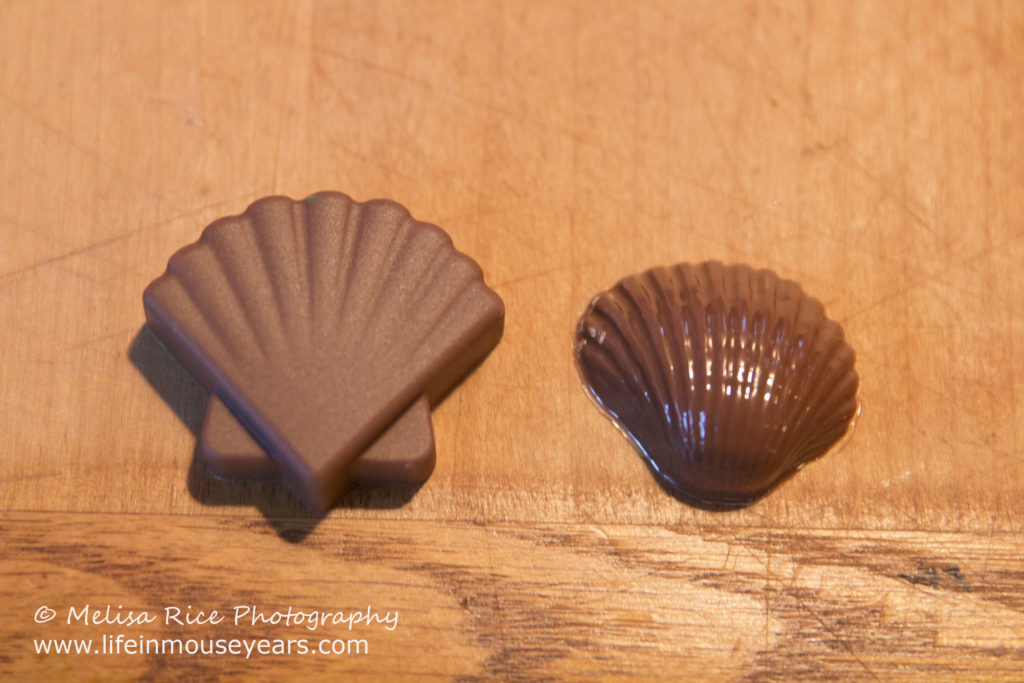
Now, as you can see in the picture below. There is a difference in the appearance of the chocolates when they are finished. The smooth, shiny seashell chocolates are from the plastic molds. The more matte looking seashell chocolates are from the silicone molds. They will both taste the same. I think that it is up to the person making these chocolates that will have to decide which one you like better. They both look good and will work for whatever party you are using them for!
Packing the Chocolates
After I had made enough chocolates, I bagged them in Wilton candy bags (Wilton 1912-2350 100/Pack Clear Treat Bags Mega Pack). I used the shiny twisty ties the bags come with to close the bags. I wrap the excess tie around itself.
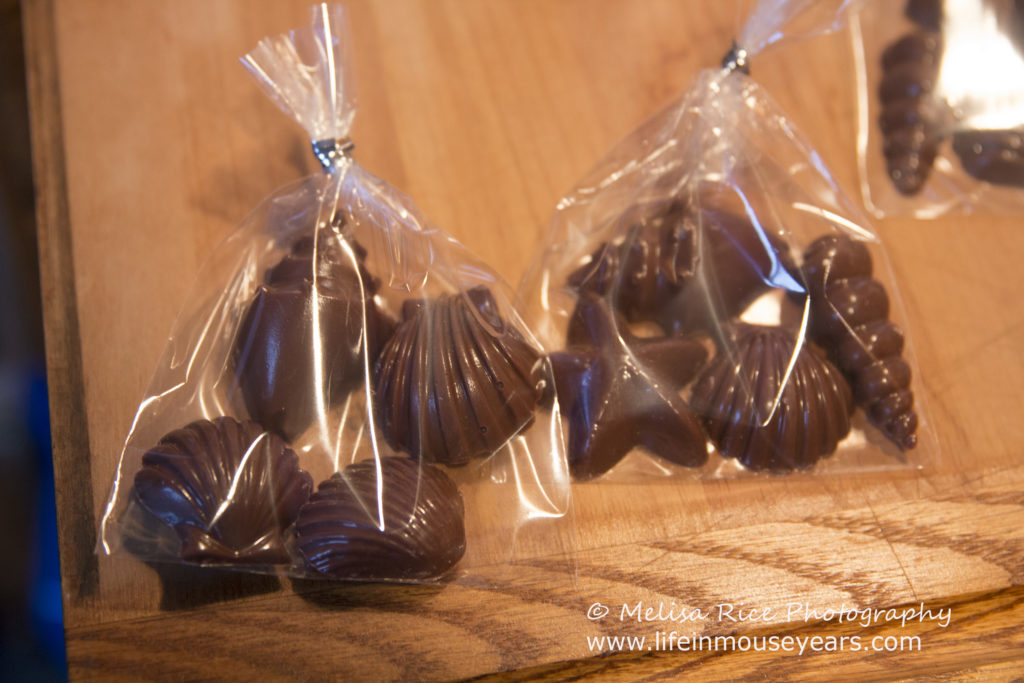
Then I took ribbon to go with the party’s colors and tied those on around the ties and curled the ends.
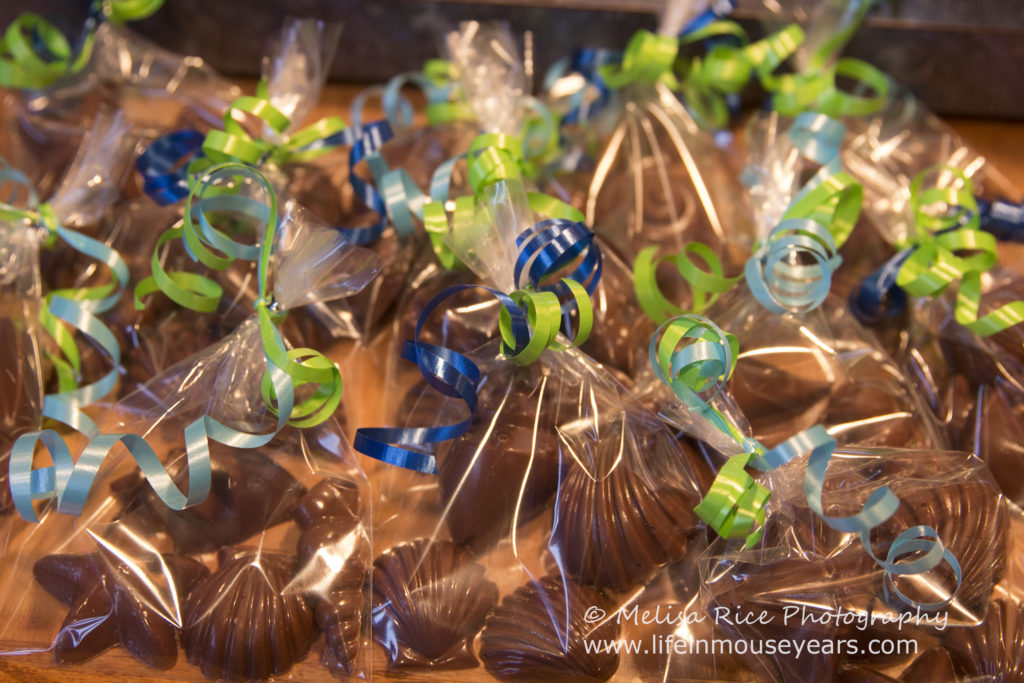
Now they are all ready for the favor bags!
In Conclusion
Making candy for a party is fun to do! All you need is some candy melts, chocolate, candy molds, heat, cold, bags, ribbon and time! I hope that these tips will help you with your next ocean themed party.
Questions or Comments
If you have any questions or comments on today’s post, Seashell Chocolates for Moana Party, please feel free to leave them below. I would love to help!
Thanks for stopping by Life in Mouse Years!
Other Party Related Posts
Here are a couple of links to some of my other party/cake posts.
DIY Disney – Lion King Baby Shower
How to Make Alice in Wonderland Cupcakes

Leave a Reply