
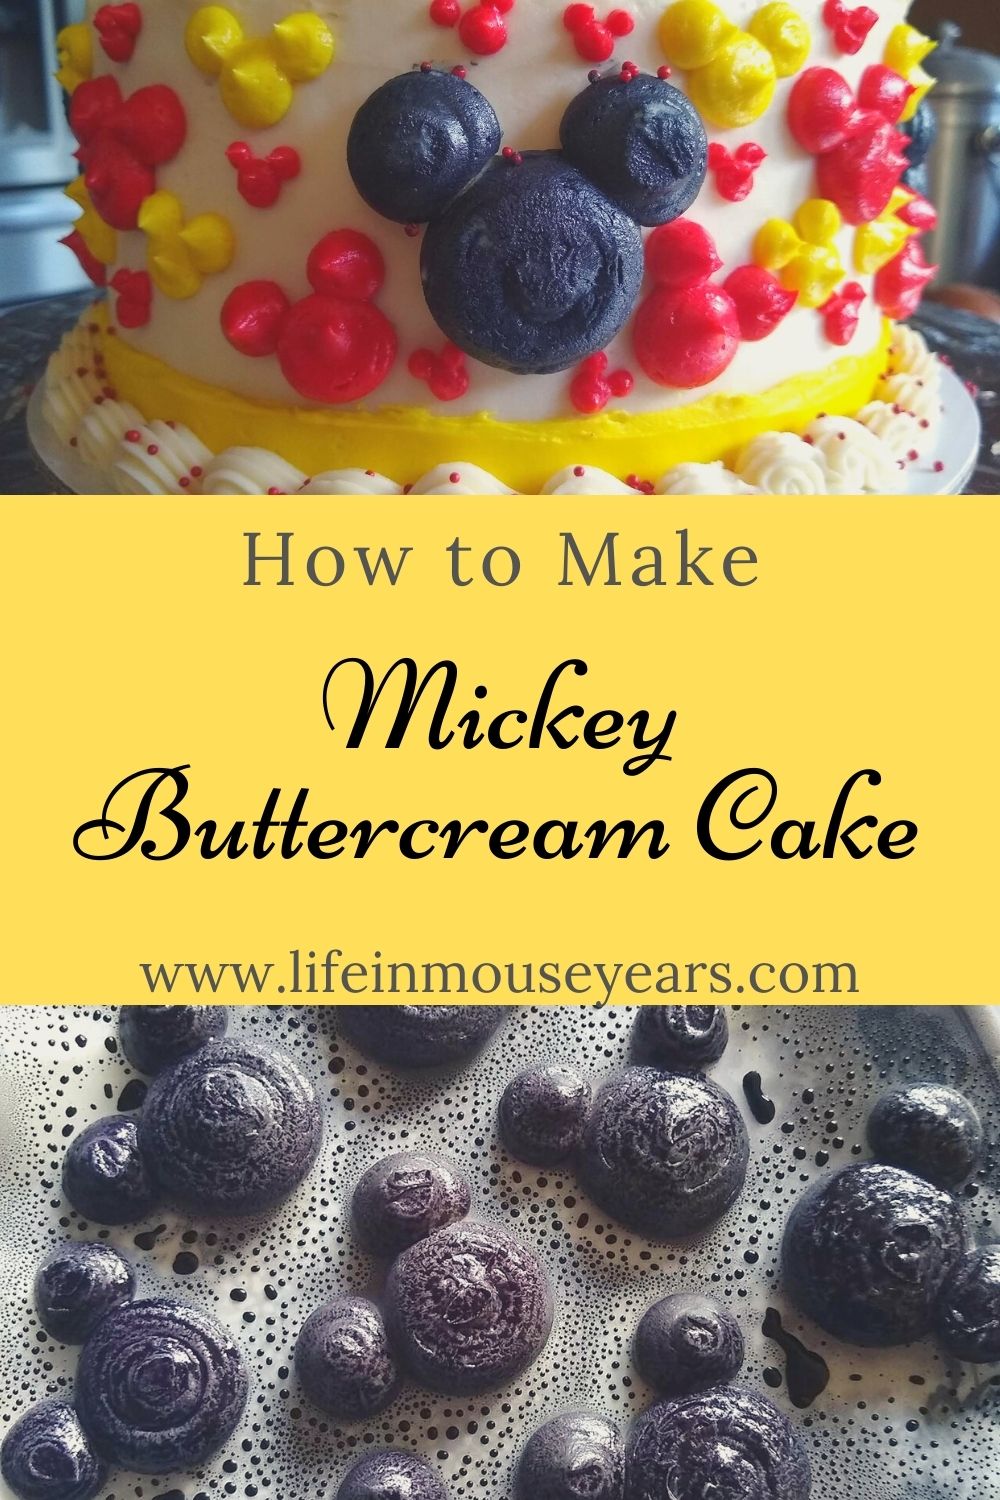
How to Make a Mickey Mouse Buttercream Cake is the subject of today’s blog post! I enjoy making cakes for others and I thought that I would share this one with you all since it is Disney-themed!
How to Make a Mickey Mouse Buttercream Cake
The Mickey Mouse buttercream cake that I am going to share with you today is not my first Disney-themed cake. But it was one of the more fun cakes I have done. Even though I was nervous about getting the red frosting to be red… It has been a challenge in the past, however, I will share with you some tricks I have learned and what worked for me this time.
Cake Supplies
First on How to Make a Mickey Mouse Buttercream Cake is the supplies you will need for this cake. I will list the supplies that I used specifically, however, you can vary it as to the look you want.
- 2- 8 inch Wilton Cake Pans
- Wilton Cake Leveler (optional)
- Cooling Rack
- 10 inch Cake Board
- Cake Lifter
- Cake Spatula
- Piping Bags
- Frosting Tips: 2D, 2A, 12, 10, 104, 22
- Couplings
- Wilton Color Mist Spray Black or Black Wilton Color Right
- Gel Color (Wilton) Lemon Yellow
- Wilton Color Right Drops Red
Ingredients for Cake
- Flour
- Hershey’s Cocoa Powder
- Sugar
- Baking Powder
- Baking Soda
- Salt
- Eggs
- Extra Light Olive Oil
- Pure Vanilla Extract
- Buttermilk
- Boiling Water
Ingredients for Frosting
- Unsalted Butter
- Powder Sugar
- Pure Vanilla Extract
- Milk of Choice (This time I used Half n Half.)
How to Make Chocolate Cake from Scratch
Next on the list for How to Make a Mickey Mouse Buttercream Cake, is how to make the cake. For this cake, I made a chocolate cake. For years I have used a boxed cake mix. (Duncan Hines was the best.) However, this year, I decided to bake from scratch and see how it worked out. (With a few changes to the ingredients, noted below.)
I used my best friend as the taste tester. (She was a willing guinea pig. lol) And it tasted just like the boxed! Nice and moist and chocolatey! It is now my go-to chocolate recipe. The recipe is from Hershey’s. It is available online here, or you can find it on the Hershey’s Cocoa Powder container.
To prep the pans, I used some butter to coat the bottom and sides of the pans. Next, I used a mixture of flour and cocoa powder together and put it in the buttered pans, and coated the bottom and sides of the pans.
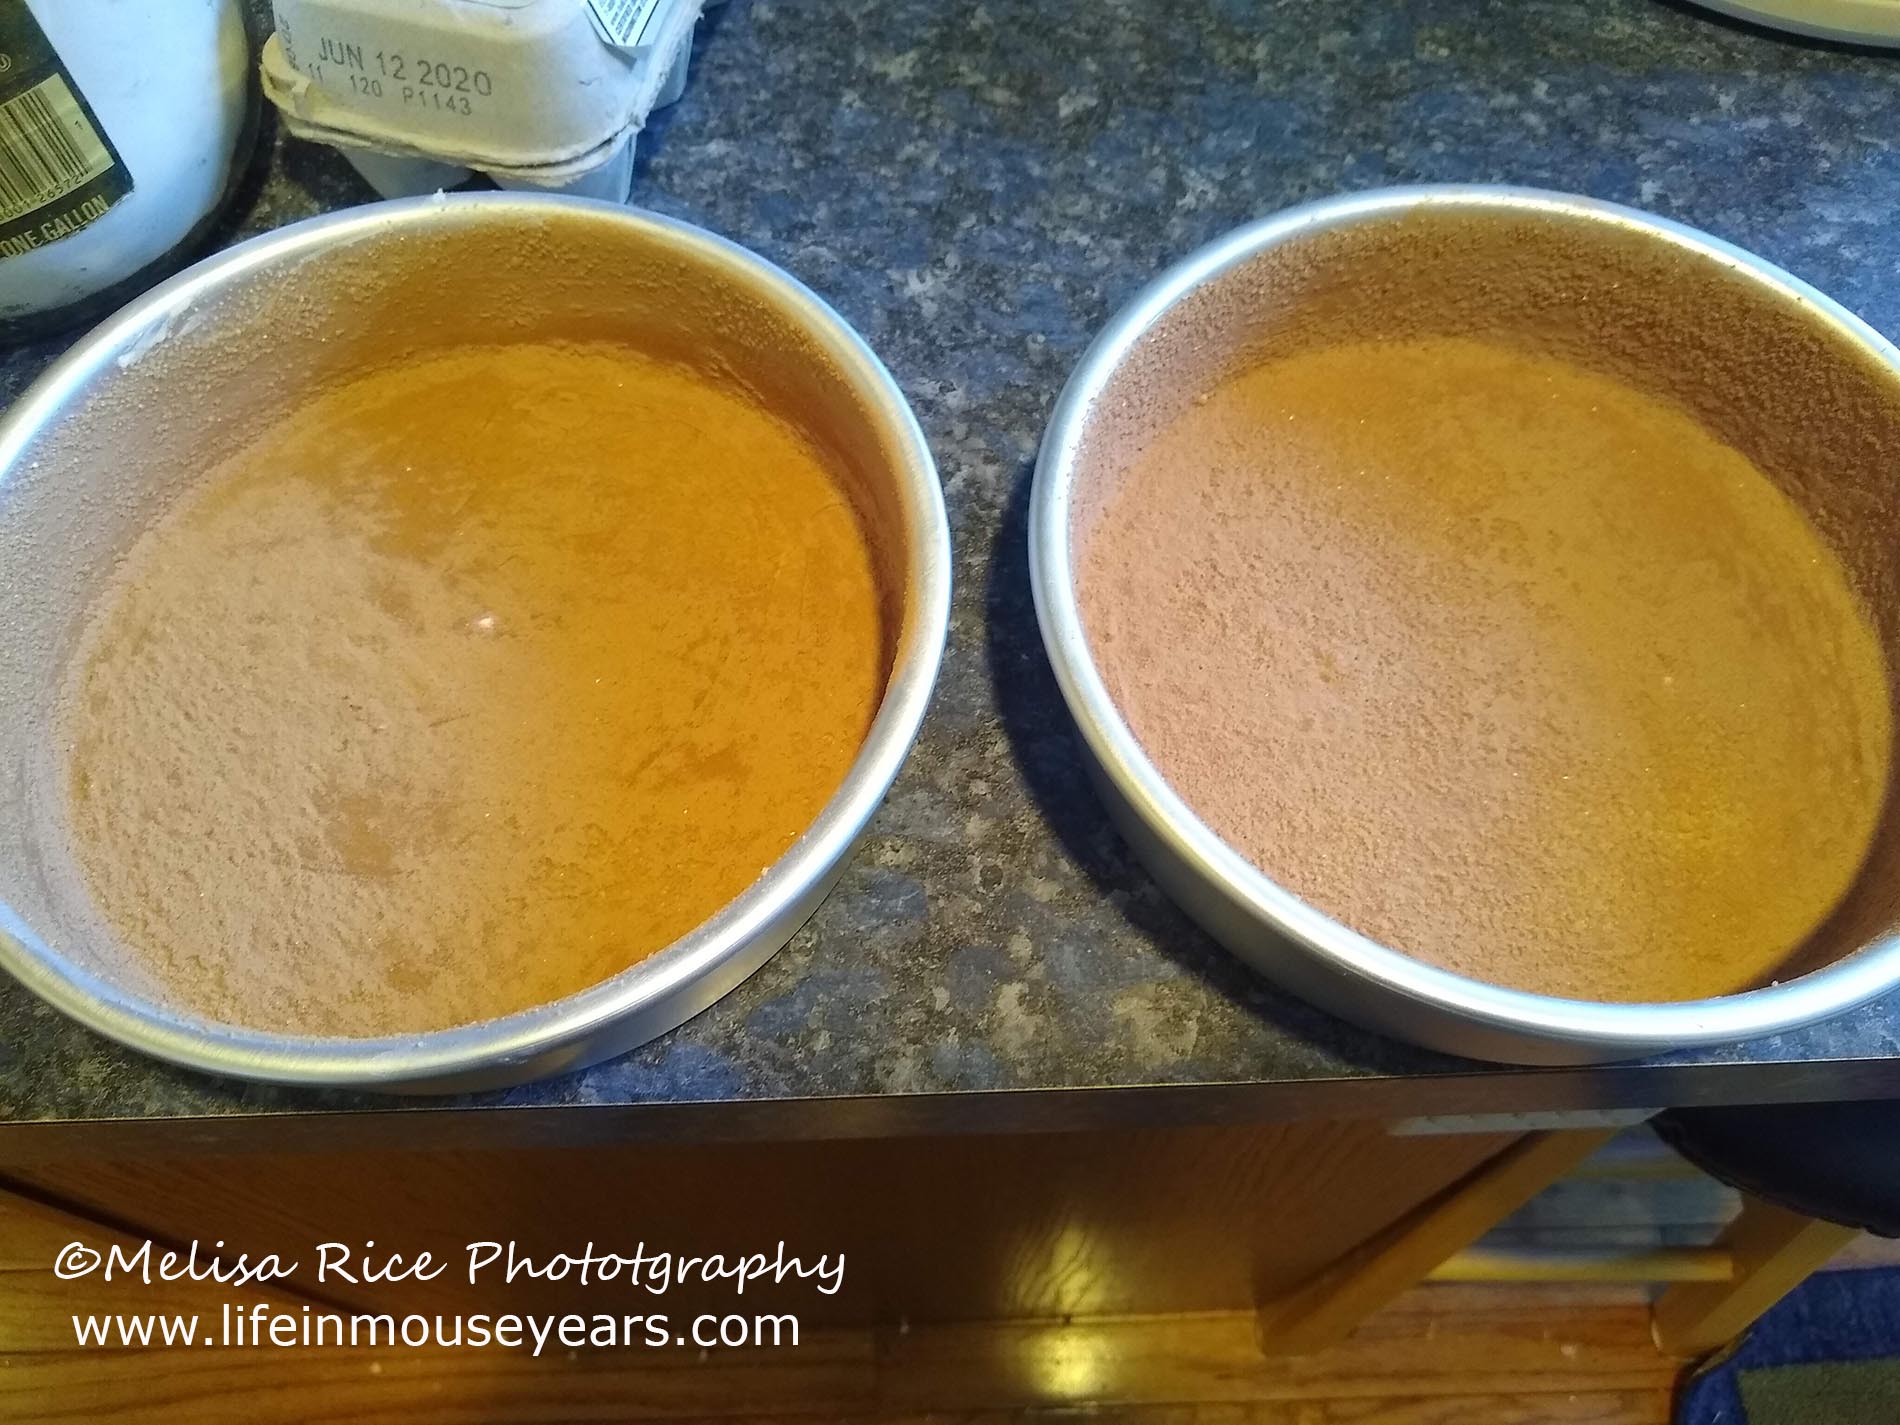
I did two batches of the cake mix because I used three layers on this cake. Two layers will work fine, however, I wanted to have more room on the sides of the cake to really decorate it. Therefore, I did three layers.
Recipe Changes:
The first thing that I changed was that I used Extra Light Olive Oil. I have used olive oil in my cakes for years and I get the most compliments from people on how moist my cakes are. I use Extra Light because it cuts the strong flavor that can come from regular olive oil. Personally, I didn’t notice the flavor, but, my friend could. Therefore, ever since she pointed it out, I used Extra Light and it hasn’t been an issue.
Next, I changed the milk to buttermilk. I’m not totally sure about all the benefits of using it since I always have used it since I started making the recipe. Although, I know it makes pancakes fluffy and thought it couldn’t hurt and it hasn’t!
How to Make Buttercream from Scratch
Another step on How to Make a Mickey Mouse Buttercream Cake is to make the buttercream. I like to use Wilton’s Buttercream recipe here. What I have just recently started to do is to whip the butter when I make it and before I add the other ingredients. There is a YouTube Video from Cupcake Jemma here, that really helped me out on that.
For this Mickey cake, I wanted to use the classic Mickey Mouse colors. Red, Yellow, and Black. Because I have had issues with coloring dark colors in the past, like red, I decided to use Wilton Color Mist Spray for the black Mickey’s. Although, it is not necessary if you would like to color icing. (It is easier to pipe it directly on the cake.)
Make Frosting Ahead of Time
I recommend making your icing a day or two ahead of when you will need it. This gives your frosting time to develop the colors. This is especially helpful when trying to get deep shades like red. Just make sure to have the frosting in bowls with the lids on them so they don’t dry out and get crusty. Before you use them, just mix it again. Either by hand or in the mixer.
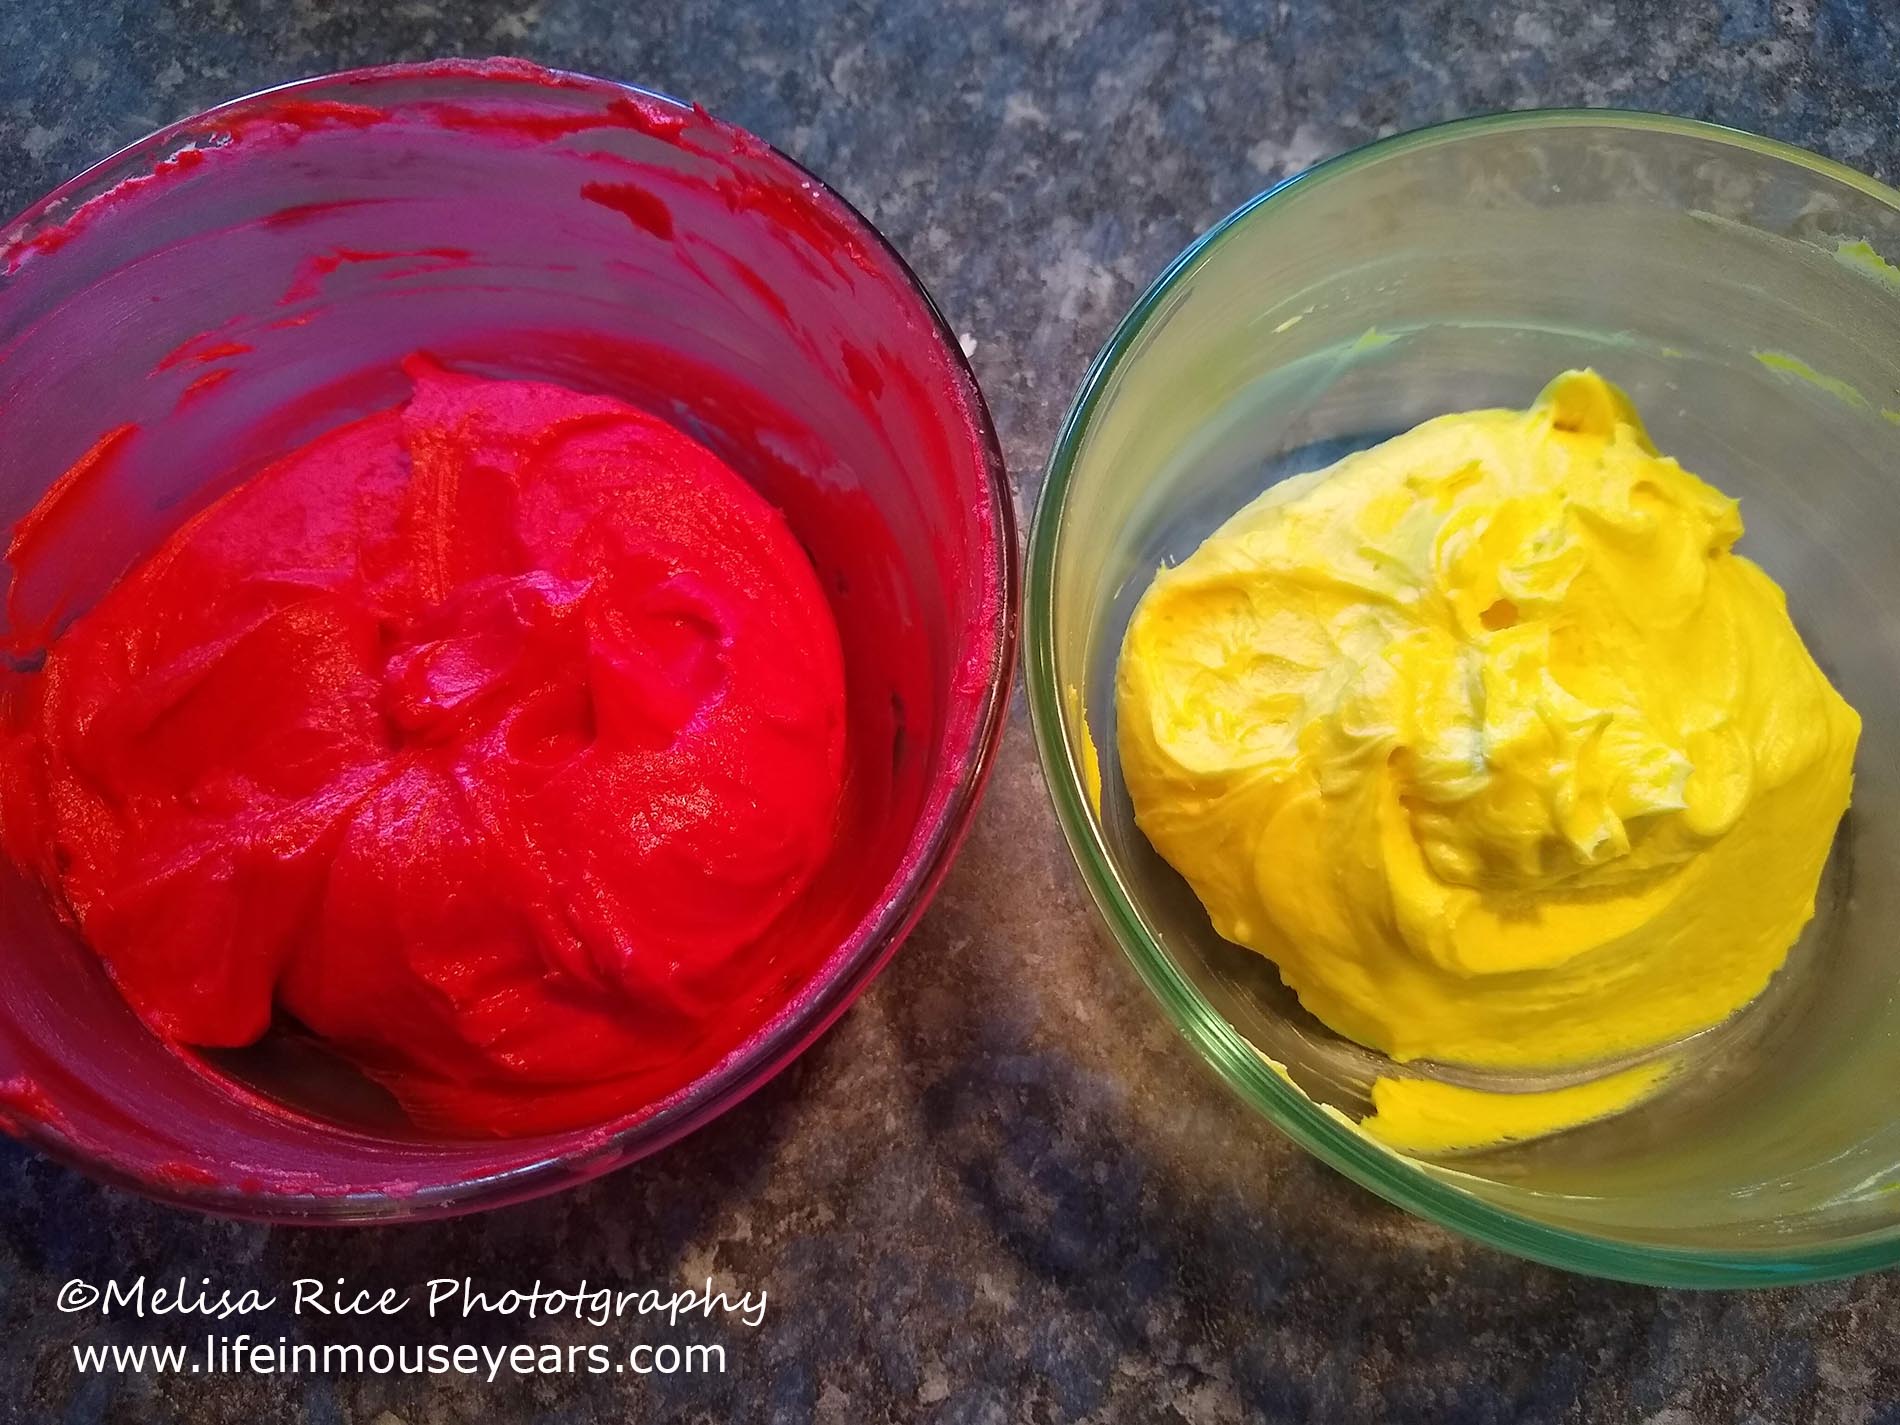
Next, check your colors before you start. If the shades are not dark enough, add some more color to them. Then check them again after they set for an hour. I had to do that with the red. Then, after I added and let it sit some more, it was the right shade of red!

Tip:
I watched multiple videos on coloring icing. The Wilton video on youtube said to use 80 drops of the Color Right color. I did not use anywhere near that amount! Looking at the tiny bottle I would think it would be the whole thing! Add some color to your icing and then mix and see if it needs more. It will darken some over time.
Some people recommend adding some pink to your frosting first, mix it, then add red, and that you shouldn’t need to add as much red in. If you are nervous about coloring, just take a very small amount of icing and test it out. Then you will know what it will do without ruining a bunch of icing.
Leveling the Cakes
To level your cakes, you could use a serrated knife and eyeball it. I have done it in the past. It is possible. However, if you have a cake leveler, it will help tremendously! It is a tool that you can set the height of the blade and then trim the top of the cake so that it is all one height.
Dirty Ice the Cake
Next, on How to Make a Mickey Mouse Buttercream Cake is to dirty ice/crumb coat the cake. This is a thin layer of icing on the cake that helps to hold the crumbs. This way when you do your final icing on the cake, you won’t have crumbs showing on the outside.
Tip: One thing I have learned is that after dirty icing the cake, is to let it sit in the fridge. I usually get impatient. But this time I waited 30 minutes before pulling the cake back out. This goes for after frosting the cake too. This helps the frosting to set up before decorating.

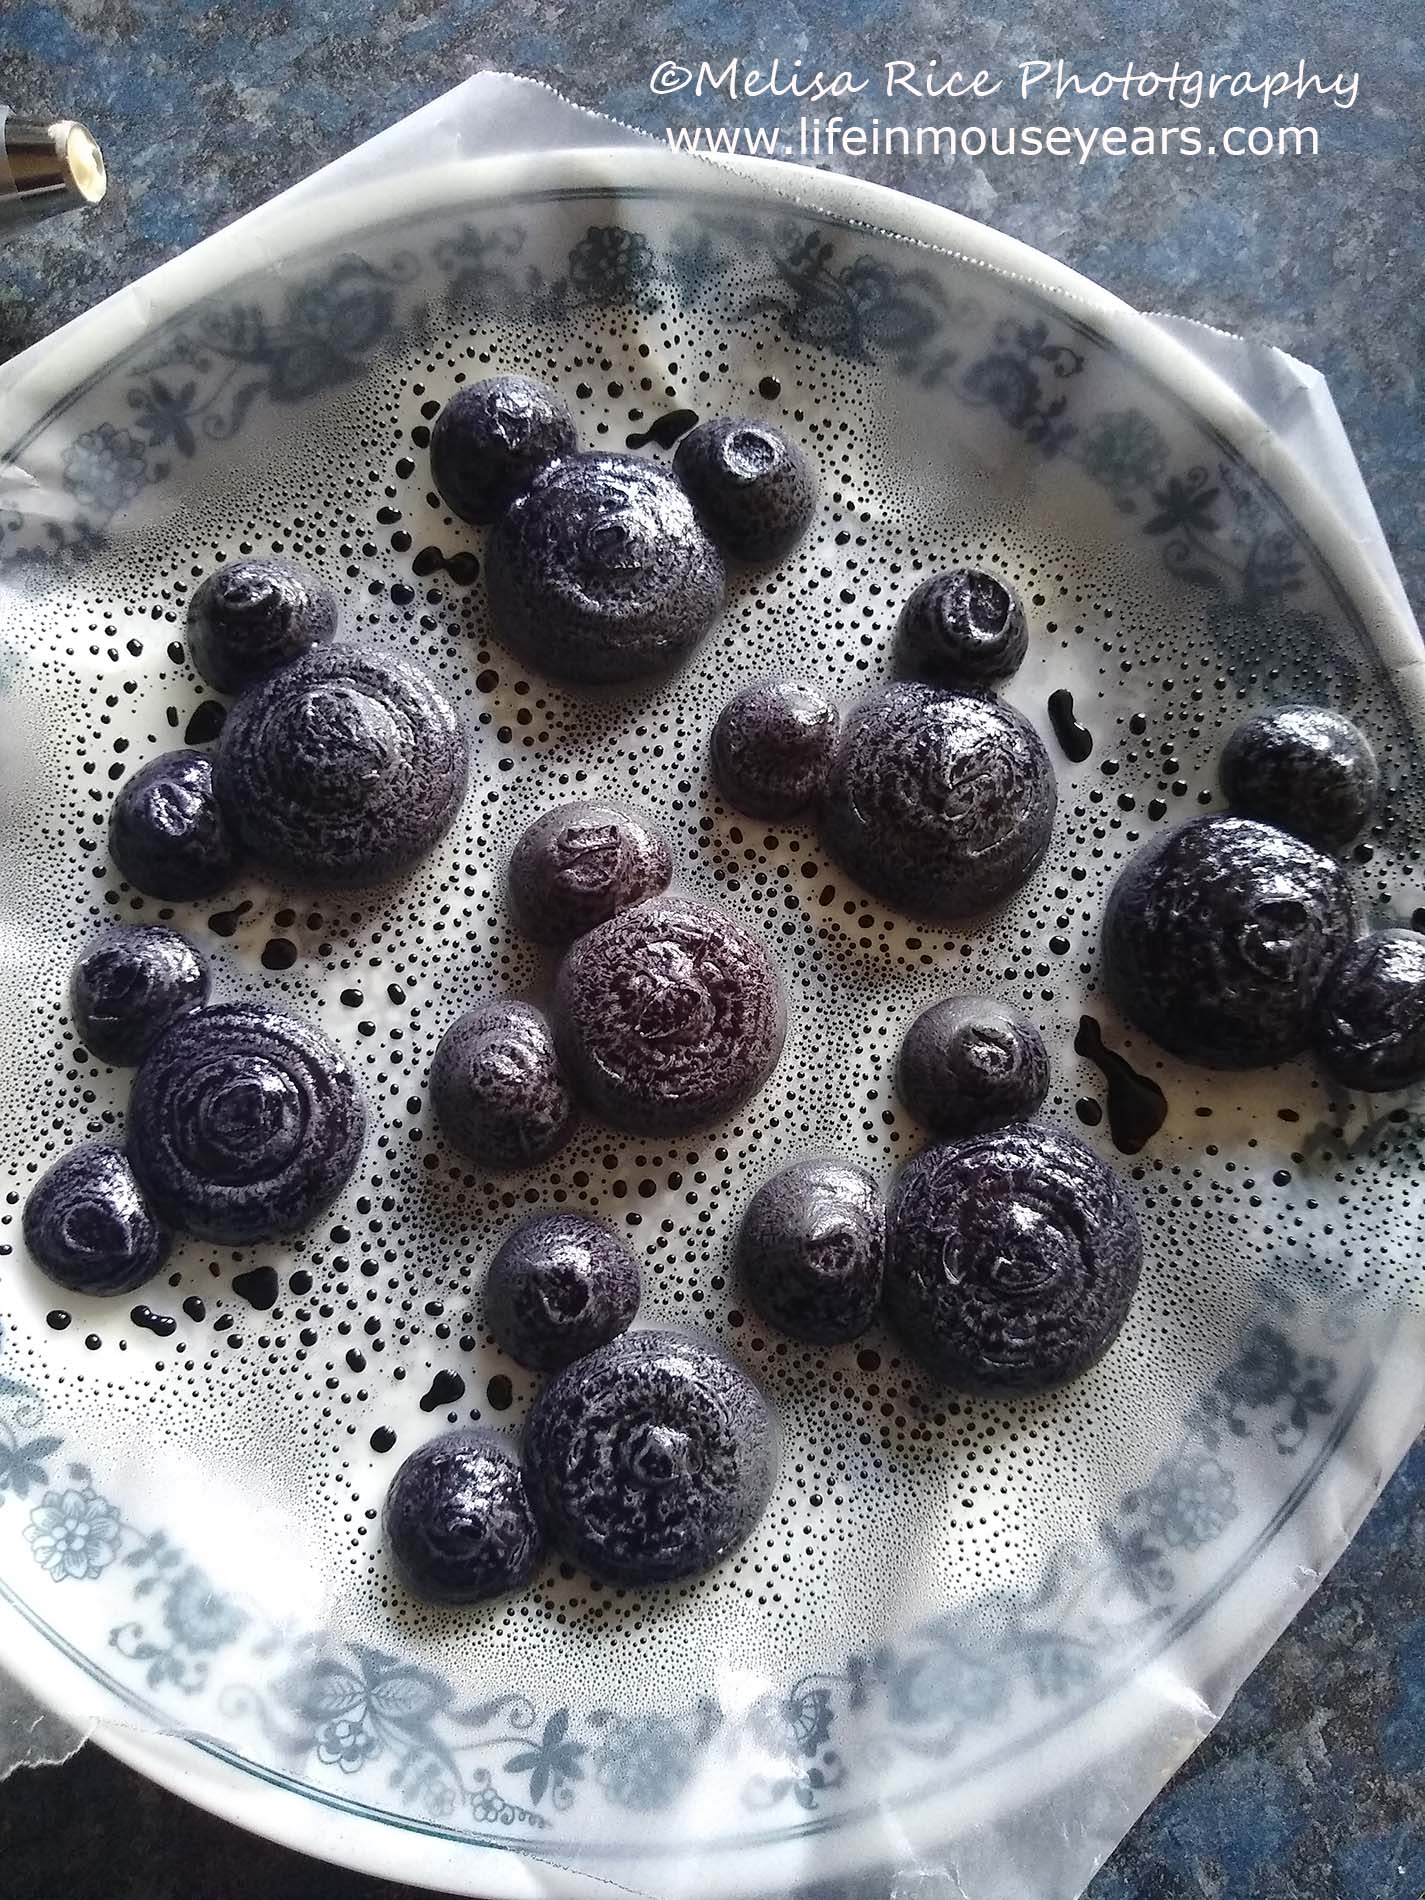
How To (or Not To) Make Black Mickey Shapes
While you are waiting for your cake to set up, now is a good time to pipe your black Mickey shapes. The first option to make the black Mickey shapes is to pipe white frosting on wax paper (I used the Wilton 2A tip) and then spray them black with the Wilton Color Mist spray. After I did this, I put the black Mickey’s into the fridge to set. One issue I found when I went to add the Mickey’s on the cake, is that it had gotten hot in the house and they went soft very fast. Because of that, I had trouble getting it off of the wax paper and then getting it on the cake without the black coming off. I got it to work, but after piping the red and yellow Mickey’s directly on the cake, it was much easier than trying to transfer the Mickey’s.

Time to Ice the Cake
Next on How to Make a Mickey Mouse Buttercream Cake is to frost the cake. Cover the sides and the top with buttercream and then smooth it. I like to use the Wilton cake lifter to smooth. It works best for me. Having a cake turntable is optional, however, it really helps to get your cakes really smooth. Although, with this cake, it will be covered in Mickey shapes so it will help to hide any imperfections.
Another tip is to heat up the tool you are using to smooth your cake. It helps during the smoothing process to smooth the buttercream.

Piping the Yellow Buttercream Border
Another step on How to Make a Mickey Mouse Buttercream Cake is to pipe a yellow buttercream border on the cake. I had only ever tried this one other time. Years ago! Being that it was only my second time, I did not know what I was doing or if I even used the correct tip for this.
I used the Wilton 104 tip for the yellow border. After I piped it on, because I didn’t get the frosting applied as evenly as I liked, I took the icing spatula and smoothed it out.
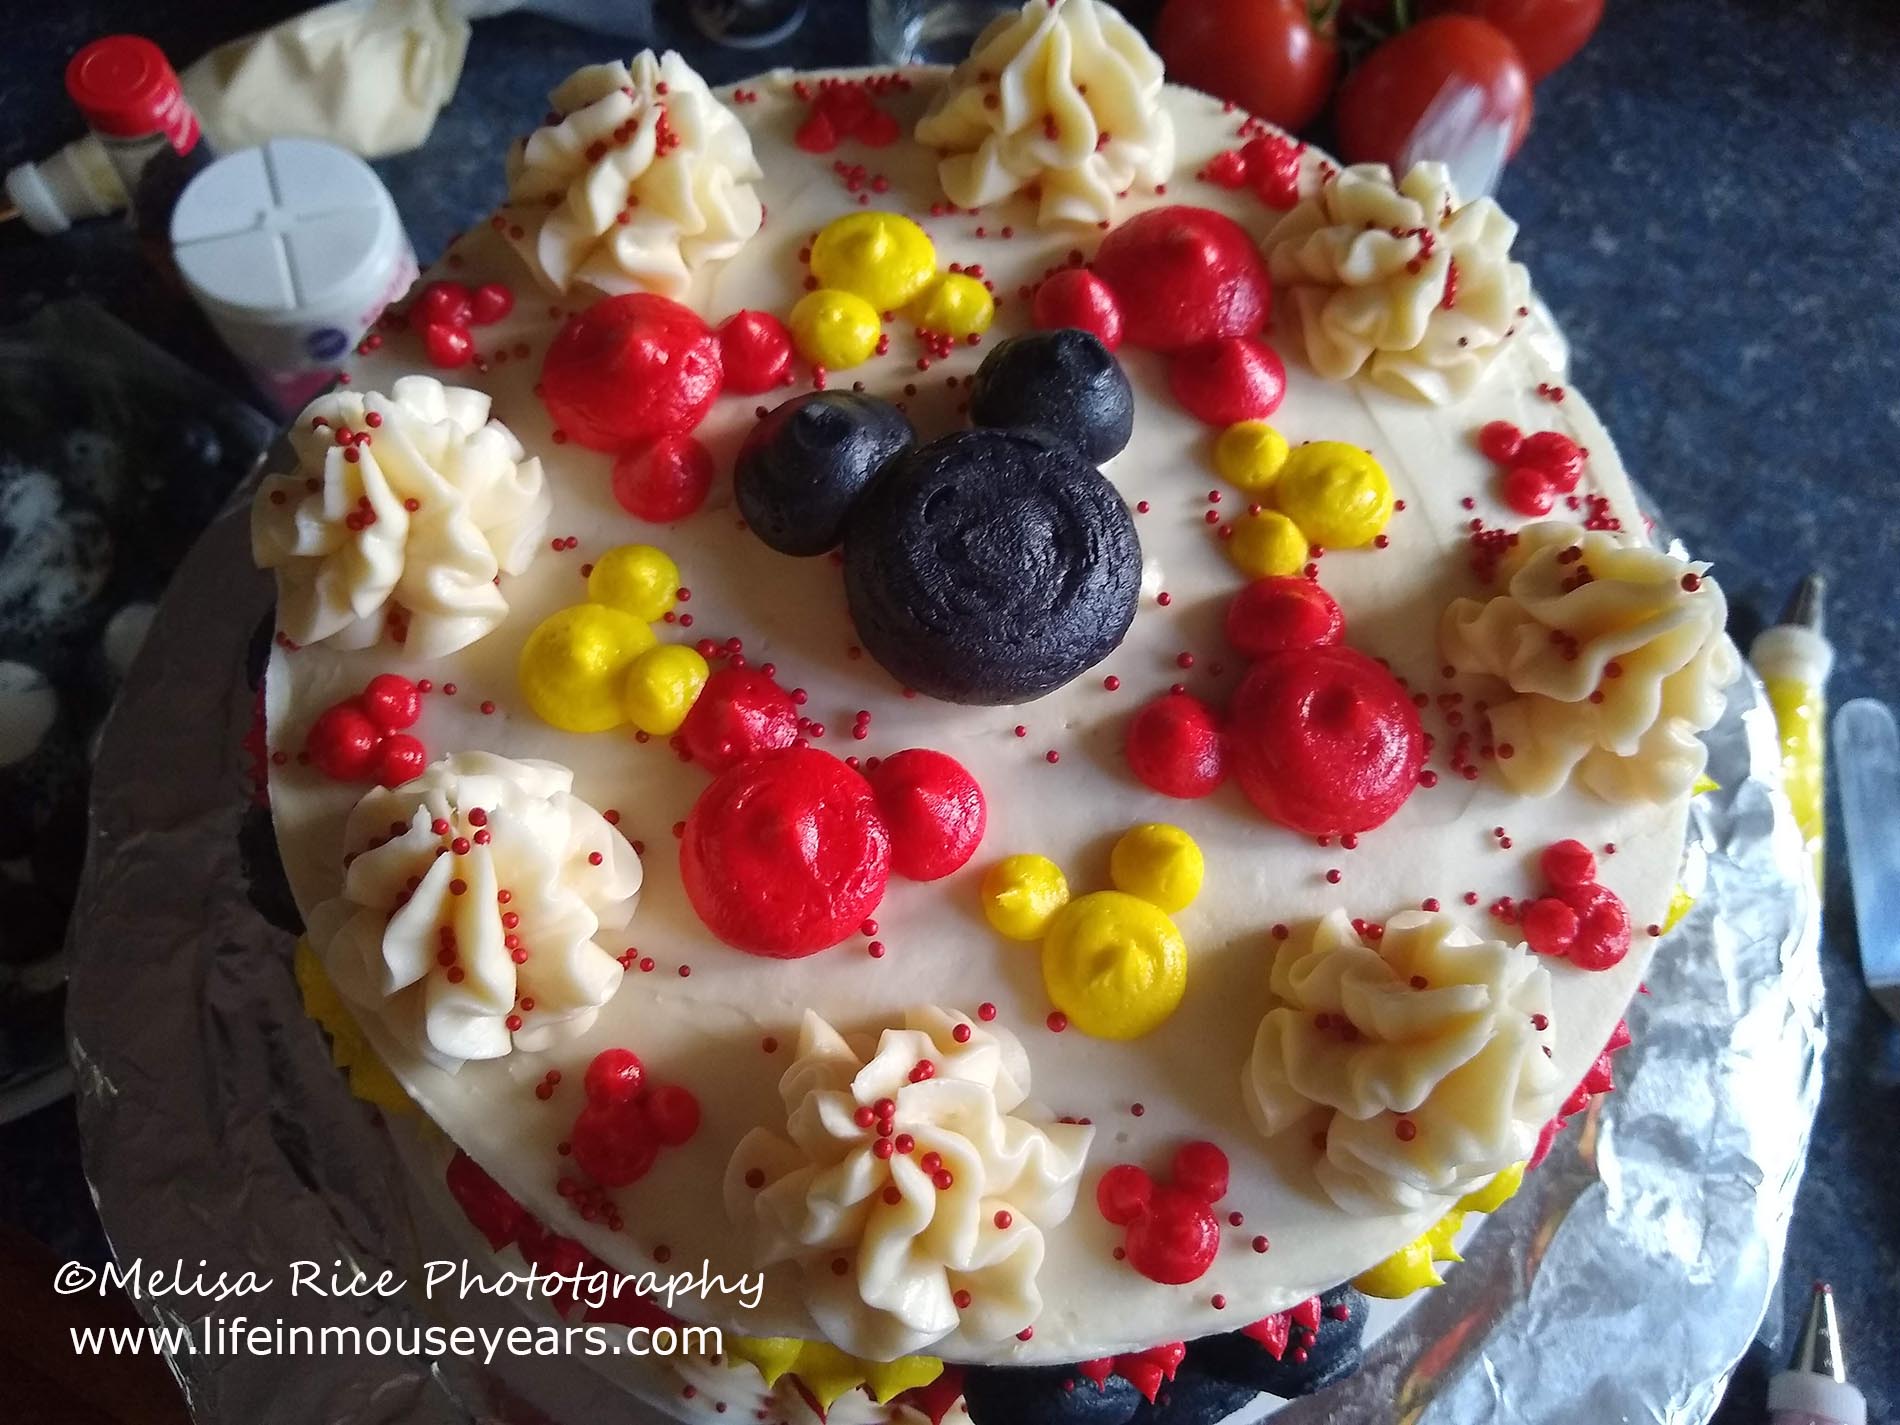
Piping the Mickey’s on Top
Now it is time to start piping the Mickey’s on top of the cake. I put one of the black Mickey shapes in the center of the cake. Next, I started to pipe the red and yellow Mickey shapes around the black one. I used the numbers 12 and 10 tip to pipe the shapes. These tips are smaller than the 2A size that I used for the Black Mickey’s. Also, you can make the shapes smaller by not adding as much frosting to your circles when you are making them.
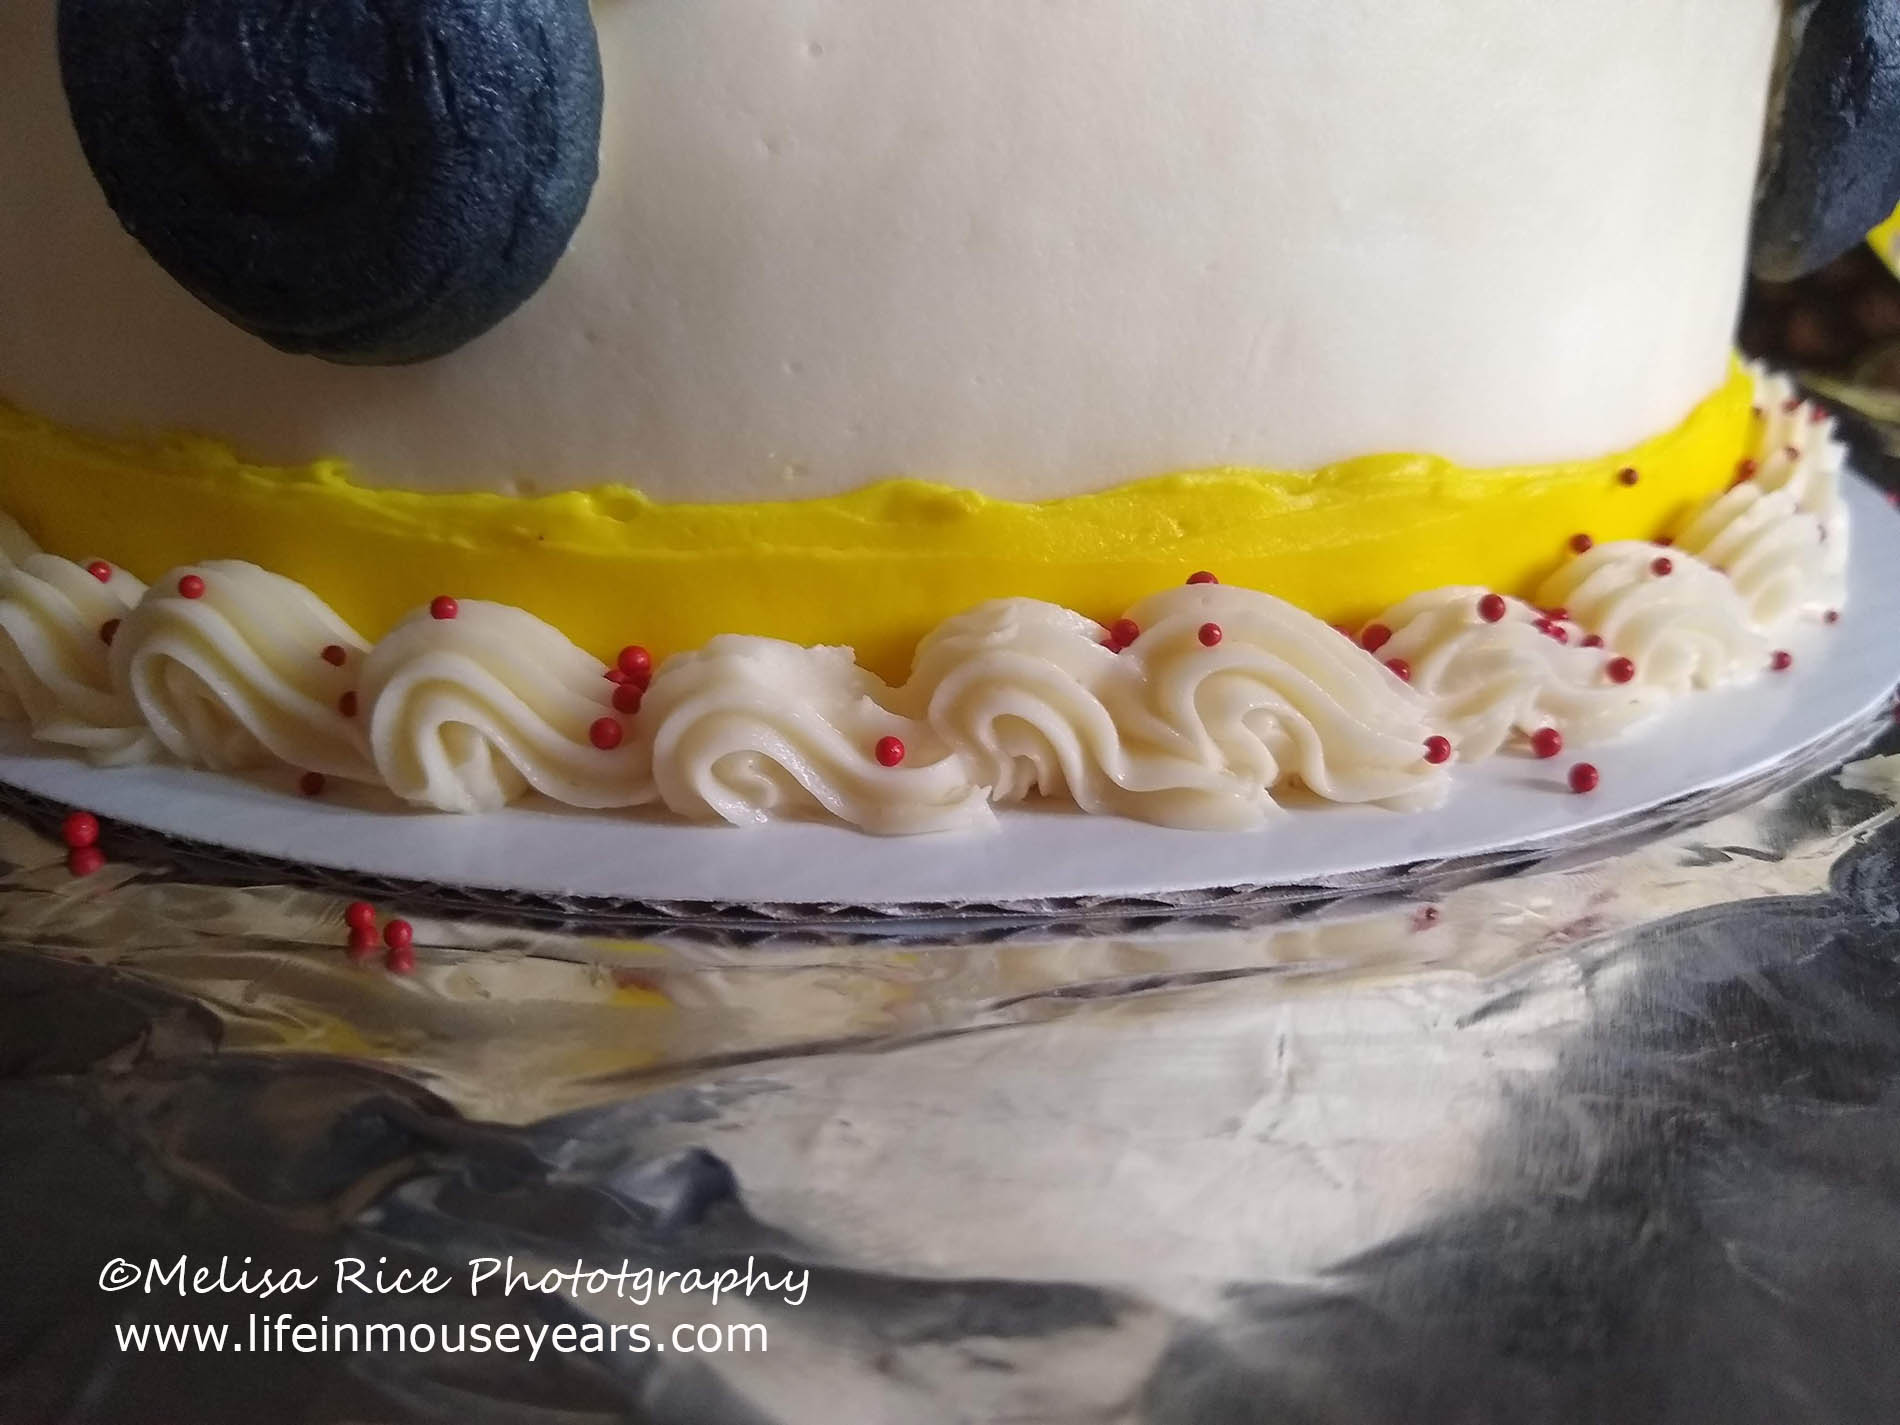
Piping the Border and Piping the Ruffled Piles on Top
This next step on How to Make a Mickey Mouse Buttercream Cake you want to do before you pipe and add the Mickey shapes to the side of the cake. As a result of adding sprinkles to these two places, if the Mickey’s are on the side before you sprinkle, they will have added decorations to them. They will stick. Trust me.
For the border at the bottom, I used a Wilton 22 tip. Using white frosting, I piped a shell border around the bottom of the cake next to the yellow border. Then for the ruffled piles on the top of the cake, (I don’t know the technical term for them), I used the Wilton 2D tip with white frosting. I added one to the cake, then added one on the opposite side. Then I added another in the middle of the two and then added another to the opposite side. I added as many as I thought looked nice and equal around the cake.
Add Some Sprinkles
Originally, I was going to add sprinkles in the same colors as the cake. However, I didn’t have black sprinkles on hand. Therefore, I used red sprinkles and liked the look with just the red that I didn’t add any others. I added it to the white ruffled piles on top of the cake and then to the shell border at the bottom. The sprinkles were little balls so they rolled all over the top of the cake, but it was ok. It added to the design of the cake.
Add the Black Mickey’s
Next on How to Make a Mickey Mouse Buttercream Cake is to add the black Mickey’s to the side of the cake. I tried to get the Mickey shapes off of the wax paper the best I could. (The first one was fine, but as the buttercream warmed, it was more difficult. Just pop them back in the fridge and that will help.) I added a little bit of white buttercream to the underside of the Mickey shapes to help them stick to the cake. Then press down carefully to help it adhere to the cake.
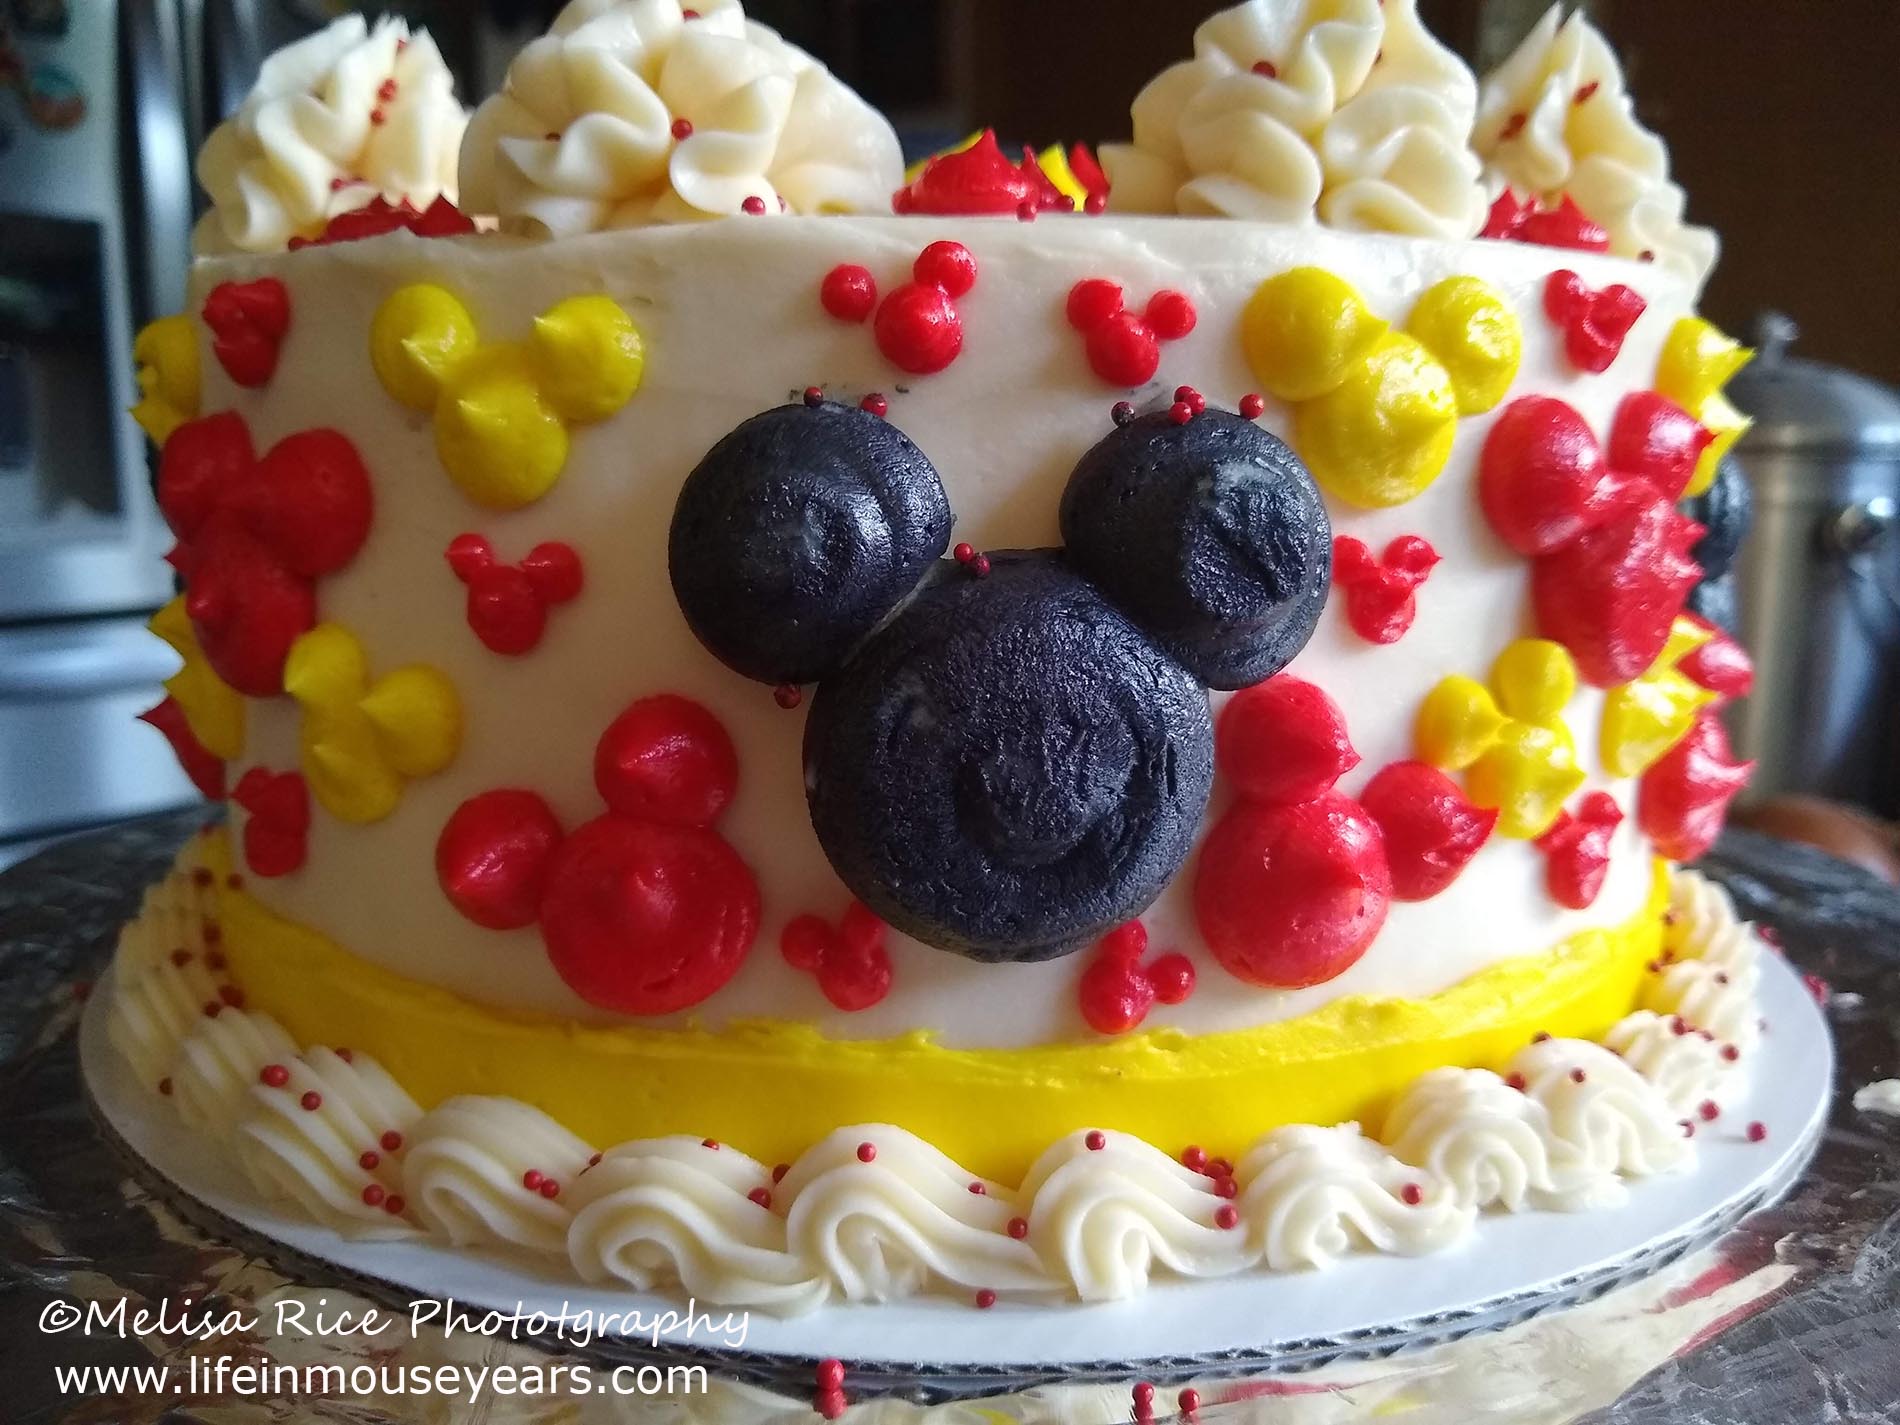
Pipe as Many Mickey’s as You Like
Finally on How to Make a Mickey Mouse Buttercream Cake is to pipe as many Mickey shapes as you like all around the cake. I started to add Mickey shapes and I went a little crazy with it. But It looked good and my friend loved it! She said, “You can never have too many Mickeys!”
So just have fun with it!
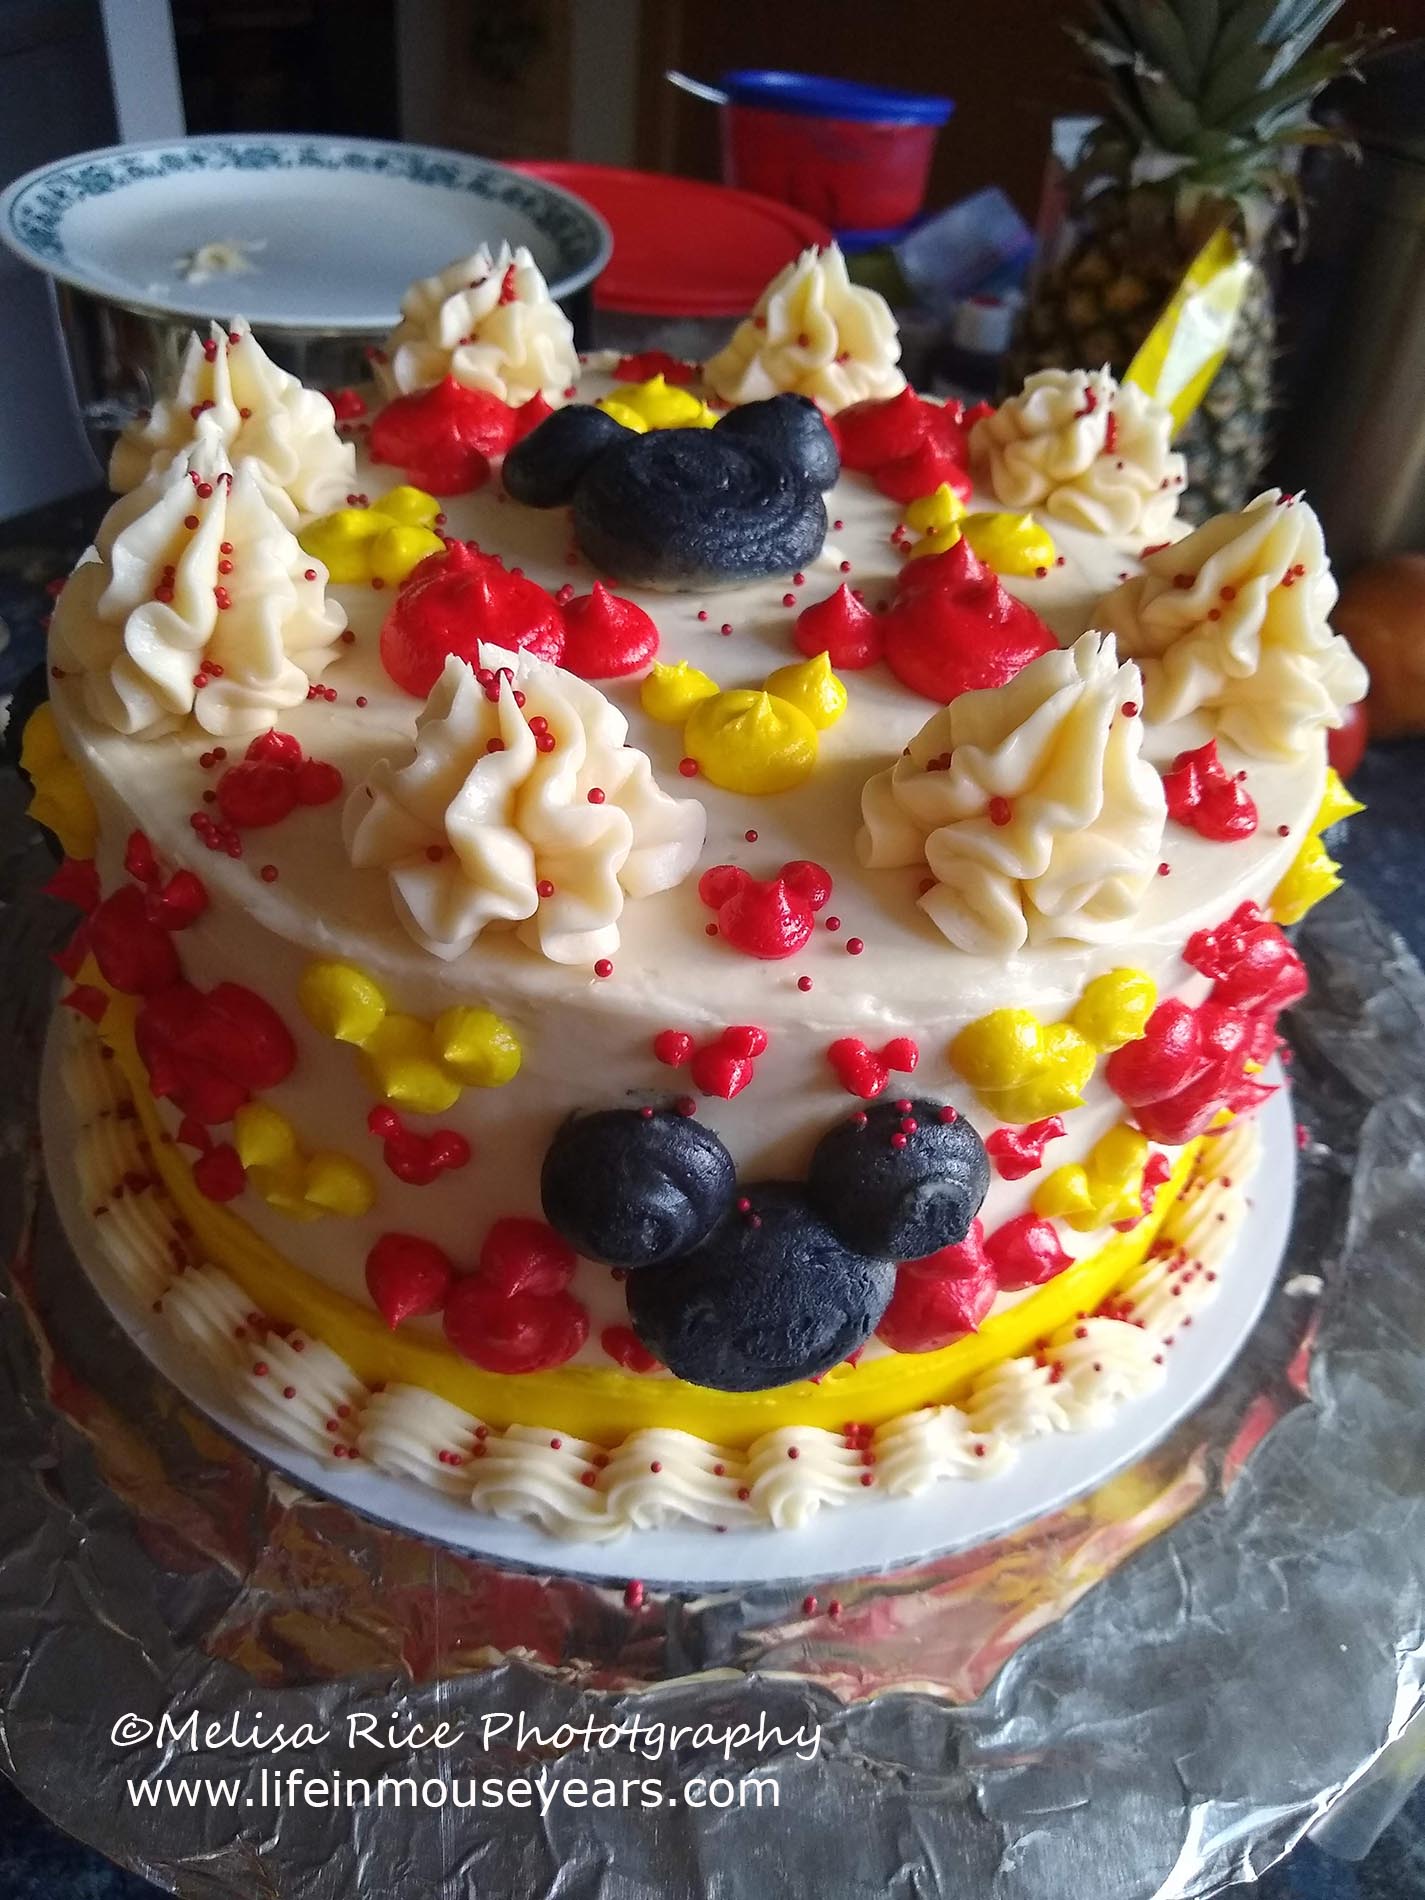
Another Option for the Top of the Cake
One other option for the top of the cake that I thought of, is to just have the ruffle piles on top with sprinkles. Then you have space to pipe a saying on top. Like Happy Birthday!
In Conclusion
I hope that you enjoyed today’s post How to Make a Mickey Mouse Buttercream Cake. I know it is a bit long, but I hope that I was able to cover everything to help you make a Mickey Mouse buttercream cake too!
Questions or Comments?
If you have any questions or comments on today’s post, please feel free to leave them in the comments below! I would love to help!
Thanks for stopping by Life in Mouse Years!
Find some fun Disney items for your kitchen in the link below!

Leave a Reply