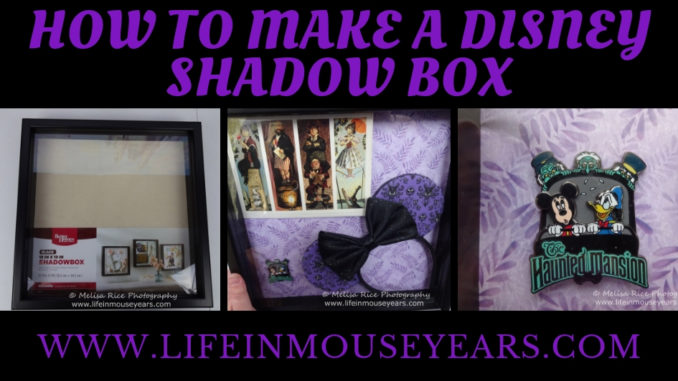
Are you looking for a way to display some of your Disney souvenirs? For example, park tickets, headbands, or trading pins? There are so many ways to display these items and more! Therefore, today I would like to share how to make a Disney shadow box filled with some of these items so that you can enjoy your souvenirs daily.
How to Make a Disney Shadow Box
I love getting Disney items during my trips to Disneyland, and not just the souvenirs you purchase! But things like your park tickets, unused FastPasses, printed napkins, and celebrate buttons etc. However, as much as I love collecting these items, it can be difficult to know what to do with them later.
A Disney themed shadow box is a great way to keep these souvenirs and enjoy them every day!
Today’s theme is Haunted Mansion.
Souvenir Items
First of all, you will need your souvenir items. You can use anything you are wanting to save and display on your wall. For example, park maps, theme park tickets, trading pins, squished pennies, buttons, etc.
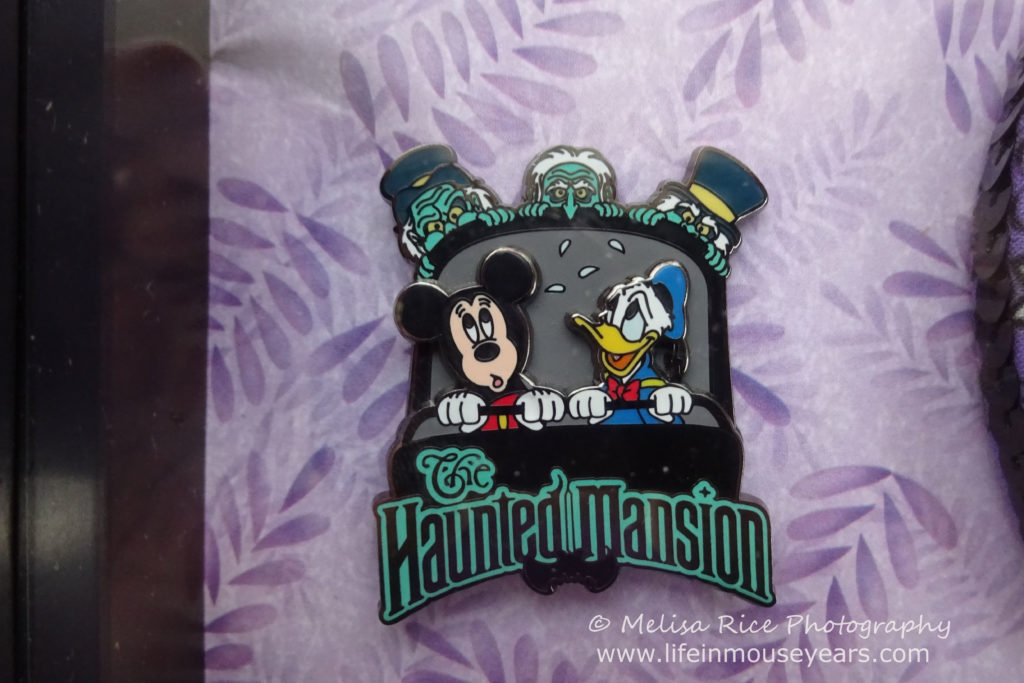
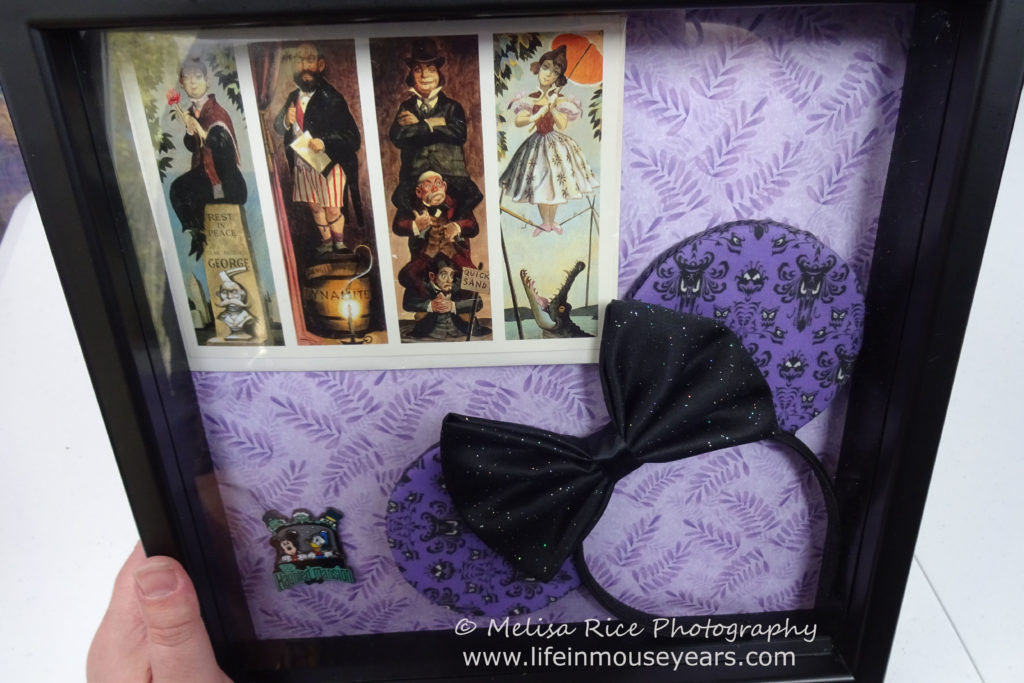
For this Disney shadow box, I used a greeting card, mouse ears, and a trading pin. All Haunted Mansion themed.
Items you will need for this project:
Next on how to make a Disney shadow box is the items you will need to complete the project. You will need a shadow box, scrapbook paper, and tape/glue. (Don’t forget a nail and hammer for hanging up your finished Disney shadow box.)
Here are links to some of these items to help you out.
If you are looking for the easiest and quickest way to make a Disney shadow box, I recommend getting a 12 x 12 shadow box frame and 12 x 12 scrapbook paper. This is the easiest way to create a themed background for your Disney shadow box.
Another idea is to find some Disney themed fabric and cut the fabric to be bigger than the backing of the frame. Approximately 2 inches on all four sides. Next, fold the edges over one side at a time and glue or tape them down as you go. By looking at fabric for the back of your Disney shadow box, it opens up the options of characters and colors for your project.
Below you will find some fun fabric options and tape that will help you out if you go this route.
First Step
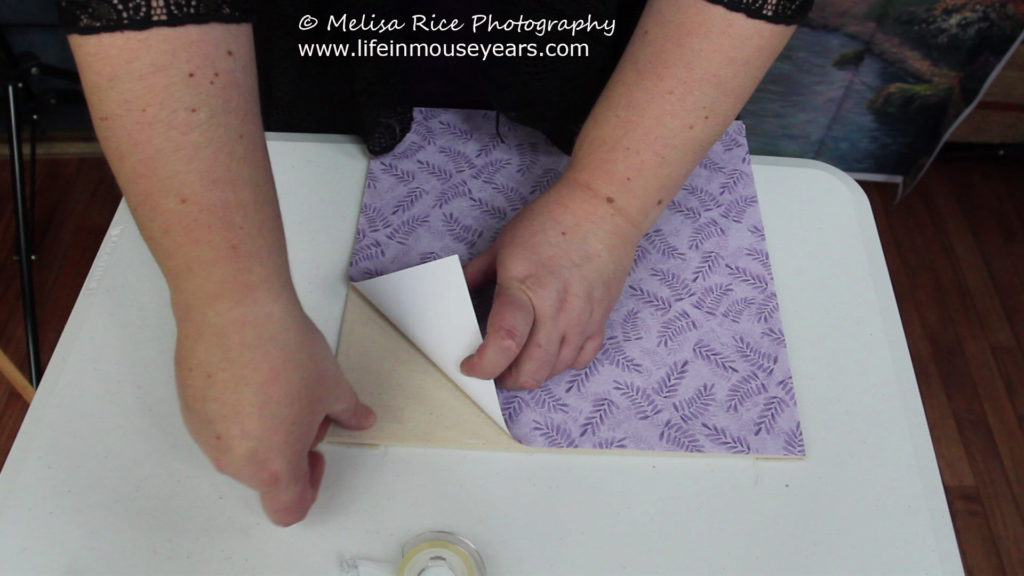
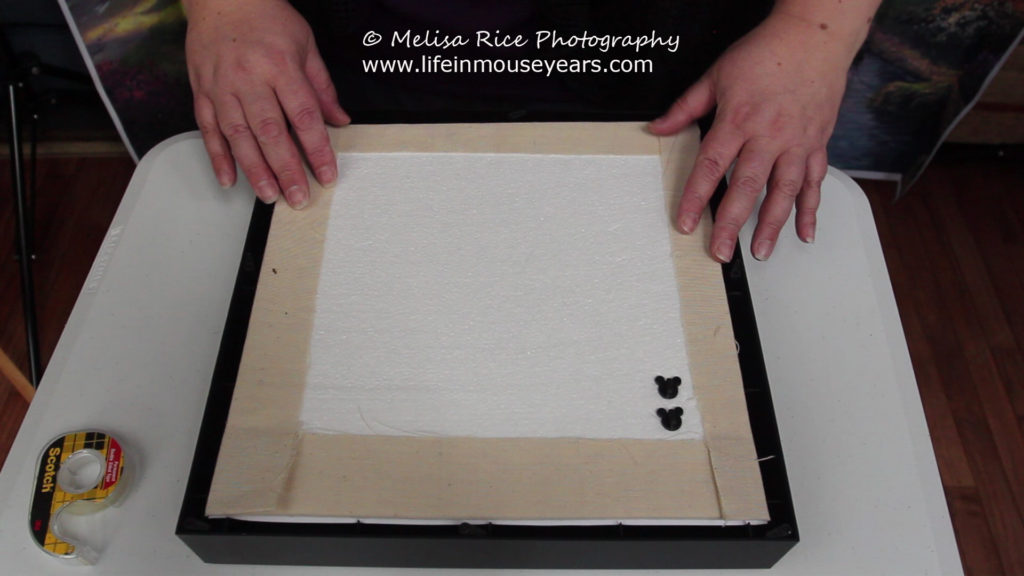
First up on how to make a Disney shadow box is to take the back off of the frame and take out the back display board. The display board in my frame was a styrofoam sheet that was wrapped in fabric.
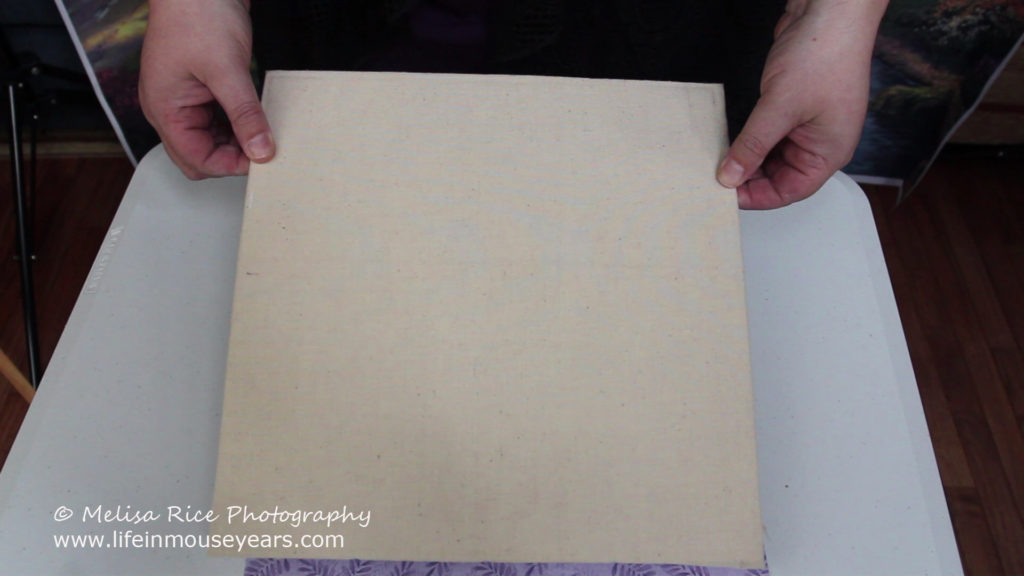
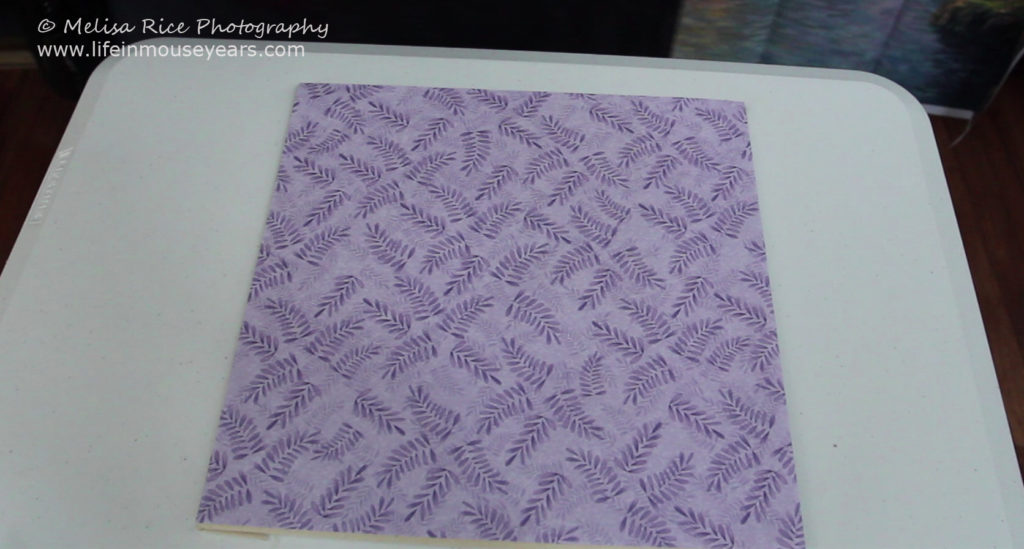
I didn’t want the plain tan fabric as my display for the haunted mansion theme. This is where the 12 x 12 scrapbook paper comes into play. I wish I could find the wallpaper for the Haunted Mansion, that would have been awesome to have in there. However, the Haunted Mansion headband would have blended in rather than standing out.
Next, I had a mix of purple scrapbook paper that was varying shades of purple. Being that the Haunted Mansion headband is purple, it took trying out a few different shades of purple to find what went best with what I was going to be displaying. Don’t be afraid to test out different colors to find what works best.
Second Step
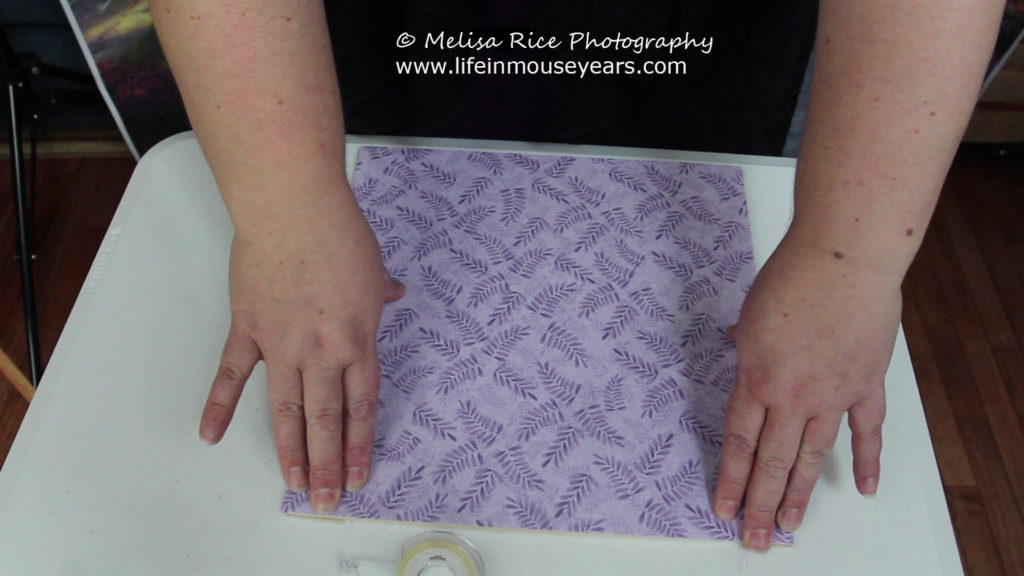
Second, once you have your paper picked out for your Disney shadow box, the next step is to tape it down to that display board. Just line up the paper with the edge of the board and start taping down each of the four corners. I used double sided sticky tape for this Disney shadow box. Make sure to press down on the spots you taped to make sure it is secured.
Third Step
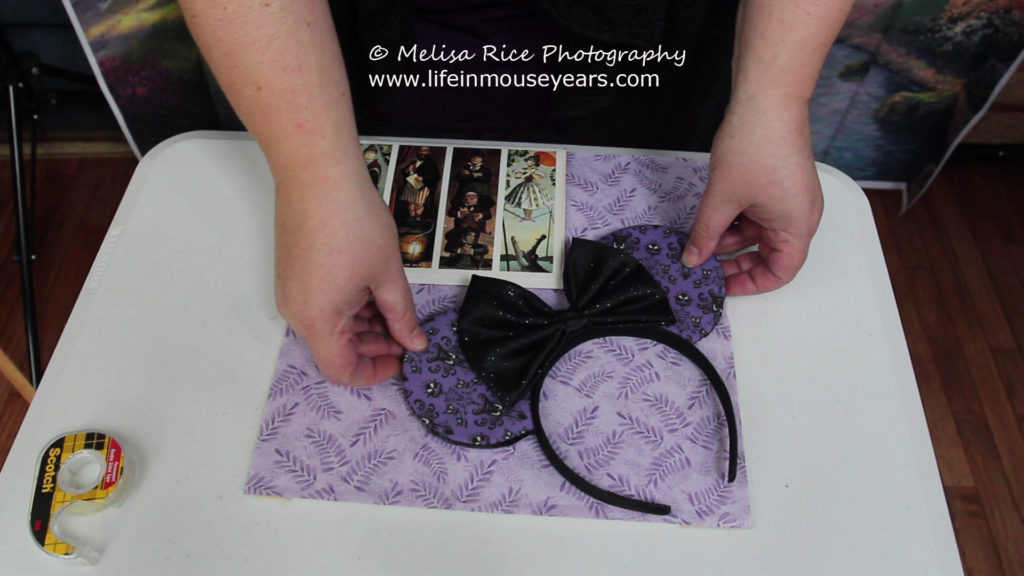
Next, on how to make a Disney shadow box is to lay out your items and arrange them on the scrapbook paper according to how you want them to look.
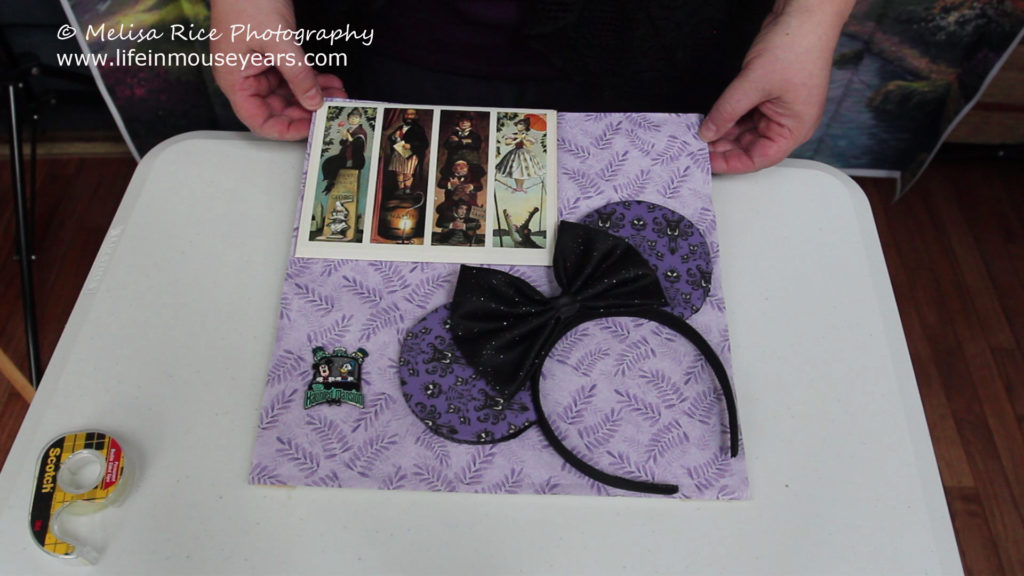
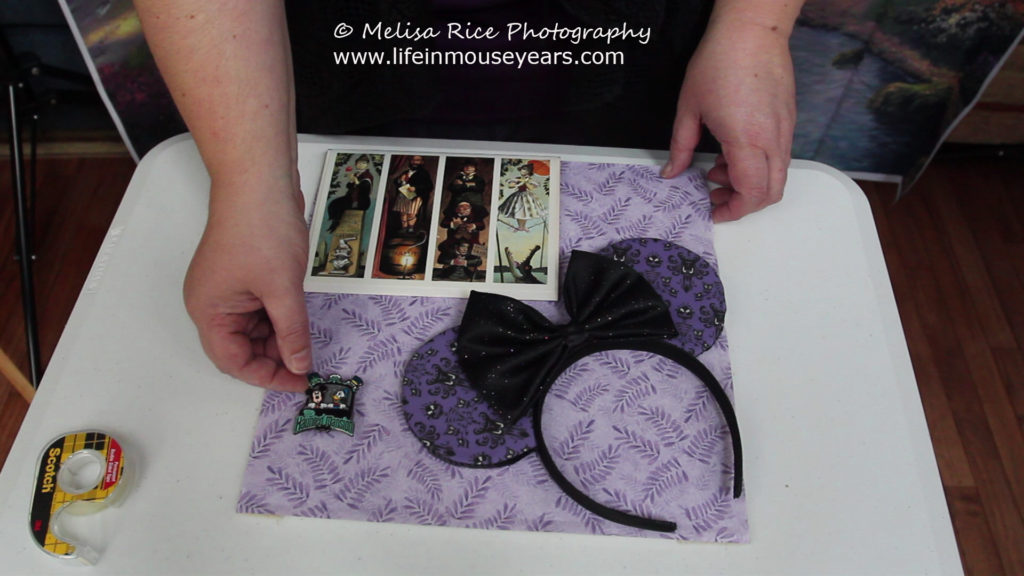
For my Disney shadow box, I taped down the Haunted Mansion greeting card in the top left corner. Next, I laid the Mickey ears headband at an angle in the bottom right corner. I chose not to tape down the ears in the event that I want to use them for a future Disney trip. However, if you can’t get your ears to stay where you would like them to be, try either fabric tape or removable double sided sticky tape.
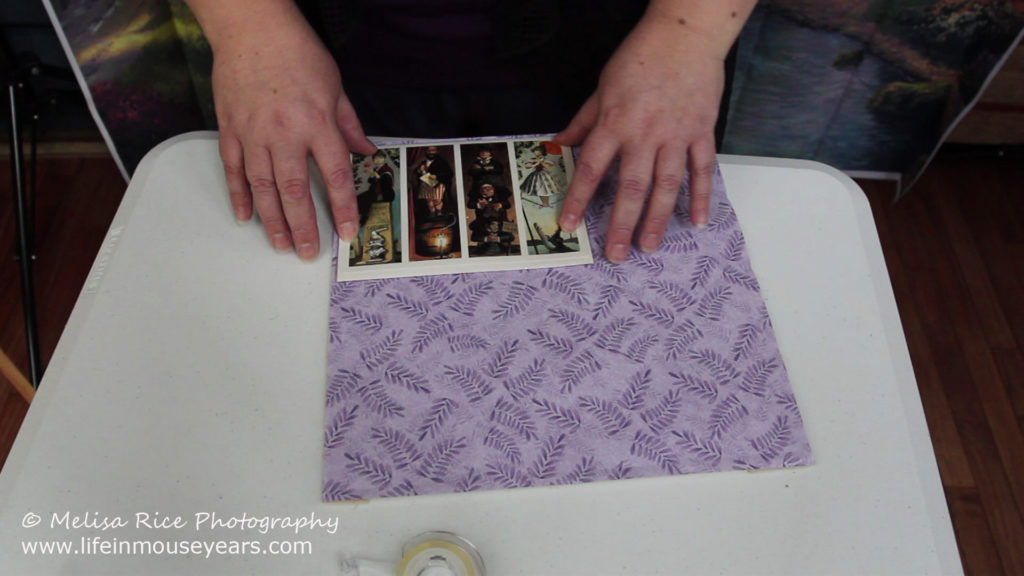
Finally, I took the Haunted Mansion trading pin and stuck it through the backing in the bottom left corner.
Fourth Step
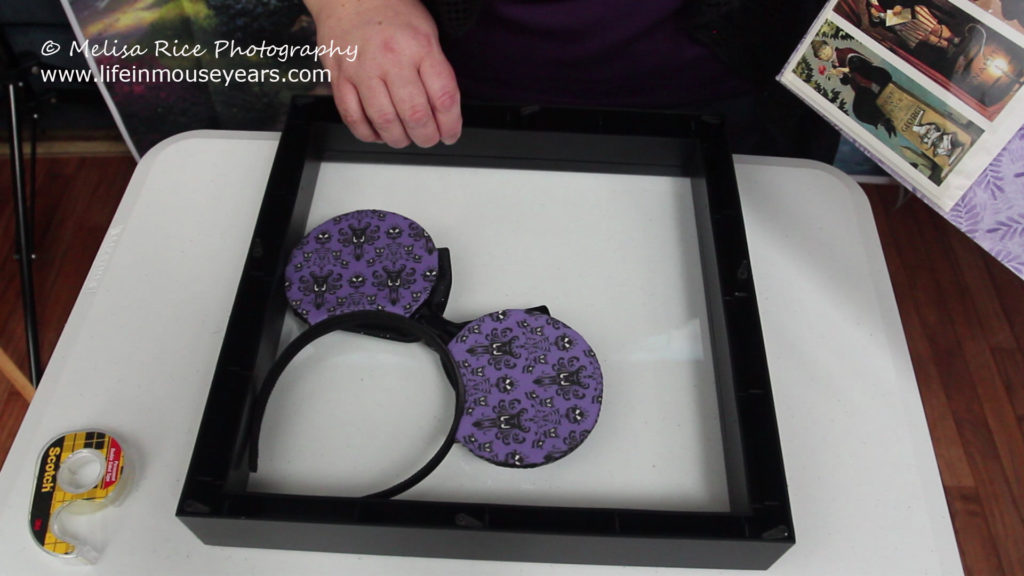
Next, now that you have your items in place, the next step is to place it in the shadow box frame. If your headband is loose like mine, hold it in place and flip over the board to see where it will be in the frame. Then place it inside the frame before placing the display board into the shadowbox frame.
Final Step
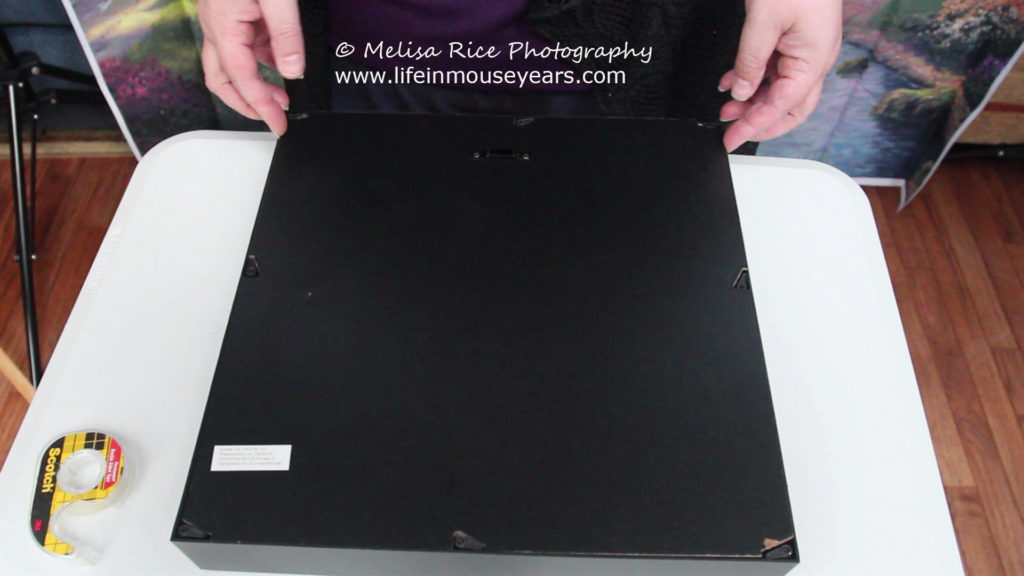
Finally, place the back of the frame onto the front and secure it with the tabs.
You did it! You made your own Disney shadow box! Now it is time to hang it on the wall and enjoy it!
Watch this project on YouTube
If you would prefer to watch how to make a Disney shadow box in a video form, click the box down below. It includes some tips as well.
In Conclusion
Going to Disneyland and making magical memories are priceless. In addition, bringing home some of that magic helps you to relive those memories. Therefore, making your own Disney shadow box for your walls is another way to continue to relive those magical memories! As a result, I hope that today’s post helps you to know how to make a Disney shadow box. In addition, to making it quickly and easily!
What items have you saved?
What items do you save from your Disney vacation? Let me know in the comments down below. I would love to hear what everyone keeps from their Disney trips.
For me, I used to save the cardboard popcorn containers. (I don’t know what I was thinking. Other than it had a Disneyland design.) As well as shopping bags. (Those are fun to see how the designs have changed through the years.) Years ago, Disneyland used to have Disney characters and designs printed on the napkins. I used to save those too. I miss the printed napkins.
Thanks for stopping by Life in Mouse Years!
Questions or Comments?
Do you have any questions or comments on today’s post-How to Make a Disney Shadow Box? Please feel free to leave them in the comments below. I would love to help out if you have any issues with your shadow box.
Stay Connected with Life in Mouse Years
Have you signed up for my newsletter yet? To receive emails on current posts from Life in Mouse Years, sign up here.
You can find me on:

Leave a Reply