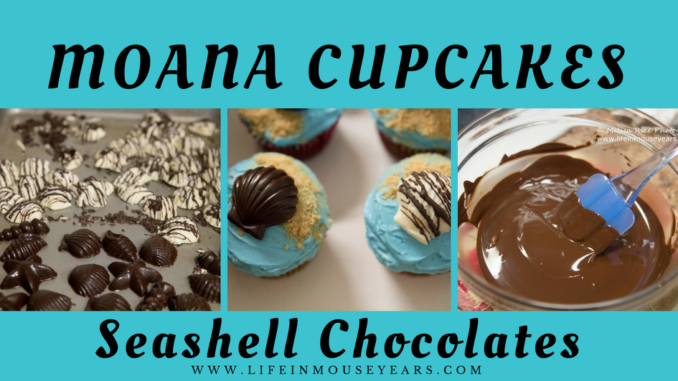
Moana cupcakes with chocolate seashells accompanied my Moana birthday cake round I did for my friend’s son’s 5th birthday. It was a process putting the whole thing together since I made almost all of the decoration elements for both the cake and cupcakes. As a result of all the steps that went into this process, I had to split the blog post into three different posts. Therefore, today is how to make Moana Cupcakes Chocolate Seashells.
Moana Cupcakes Chocolate Seashells
Now that my “nephew” is 5, he has realized that I have made his last 4 birthday cakes and he has come to appreciate them. Which makes it all the more worth all the time, effort and stress that goes into these cakes.
Moana Cake
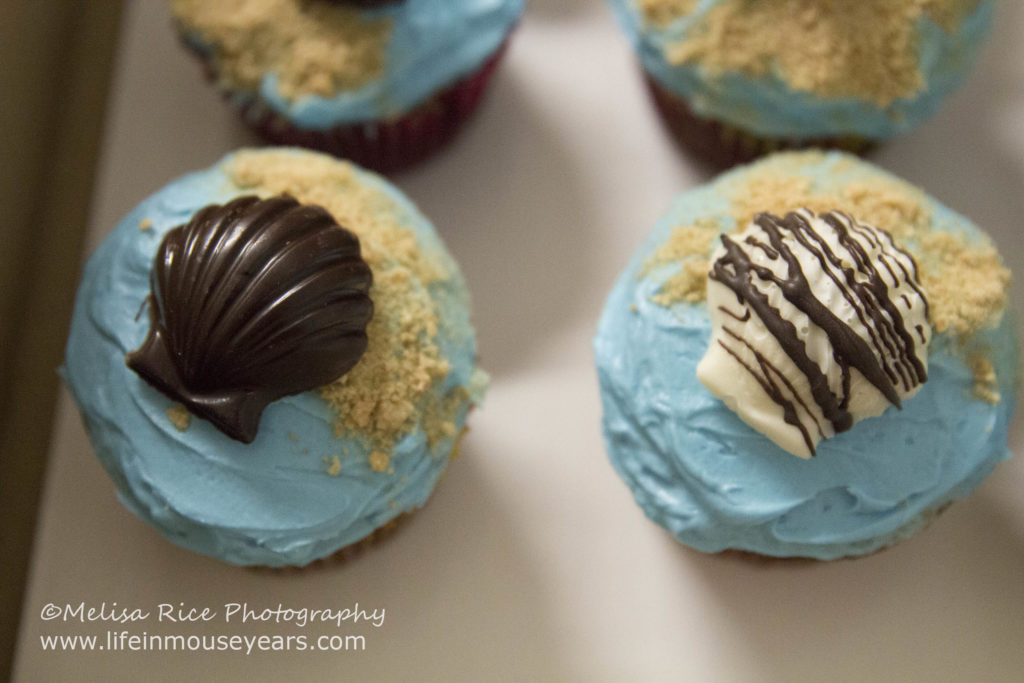
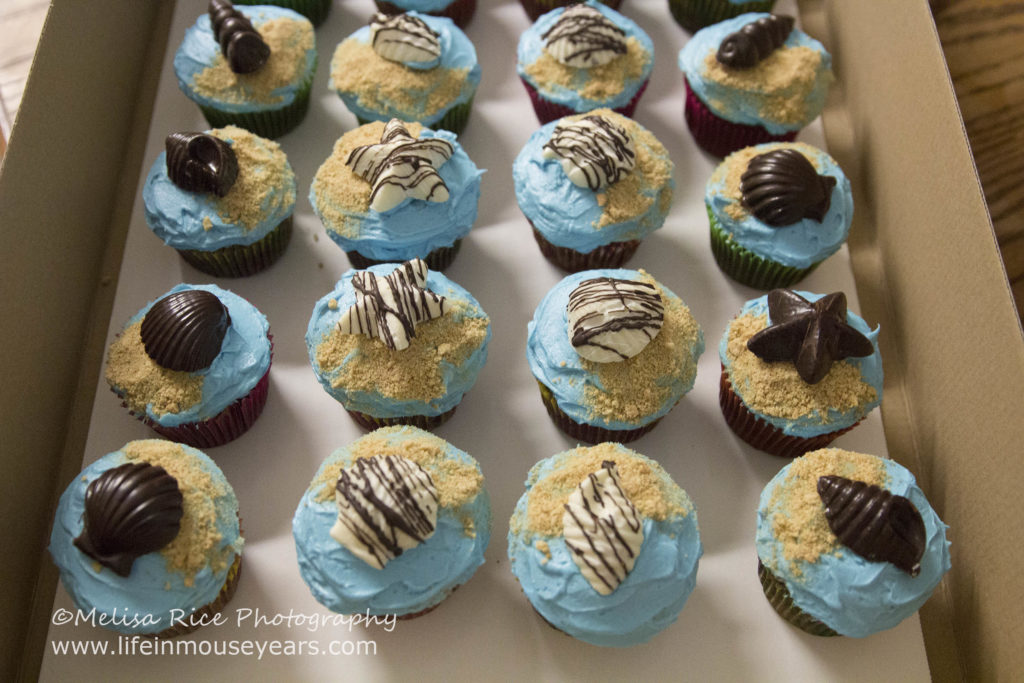
I like to make a cake round as the centerpiece and then cupcakes all around for easy serving during the party. Since it was a Moana themed party, the cake round was Moana and Maui on the boat in the water with “sand” and seashells all around. Therefore, for the cupcakes, I went with the ocean theme and made blue frosting for water, crushed graham crackers for sand, and then I made chocolate seashells to put in the center.
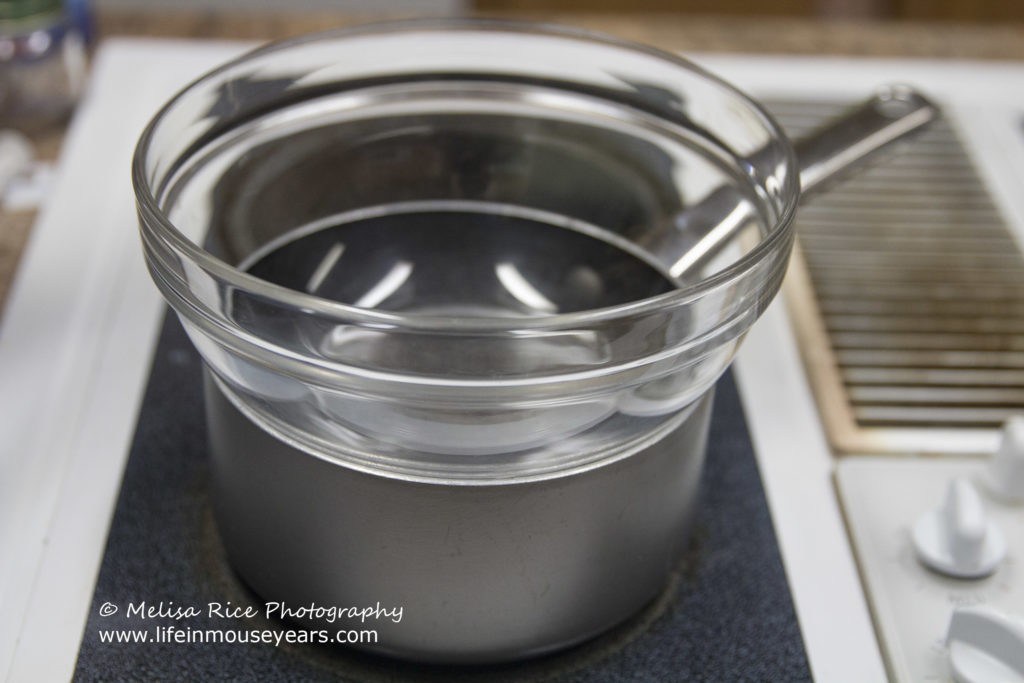
Double boiler method.
As a result of not having a microwave, I used the double boiler method. This is where you have a pot of hot water on the bottom and a bowl nestled inside but not touching the water. Then you add the chocolate to the bowl to melt.
I used a glass bowl inside of a stainless steel pot. Well, I did two of them as a result of using dark chocolate and white chocolate.
What you will need.
- Glass Bowl
- Pot
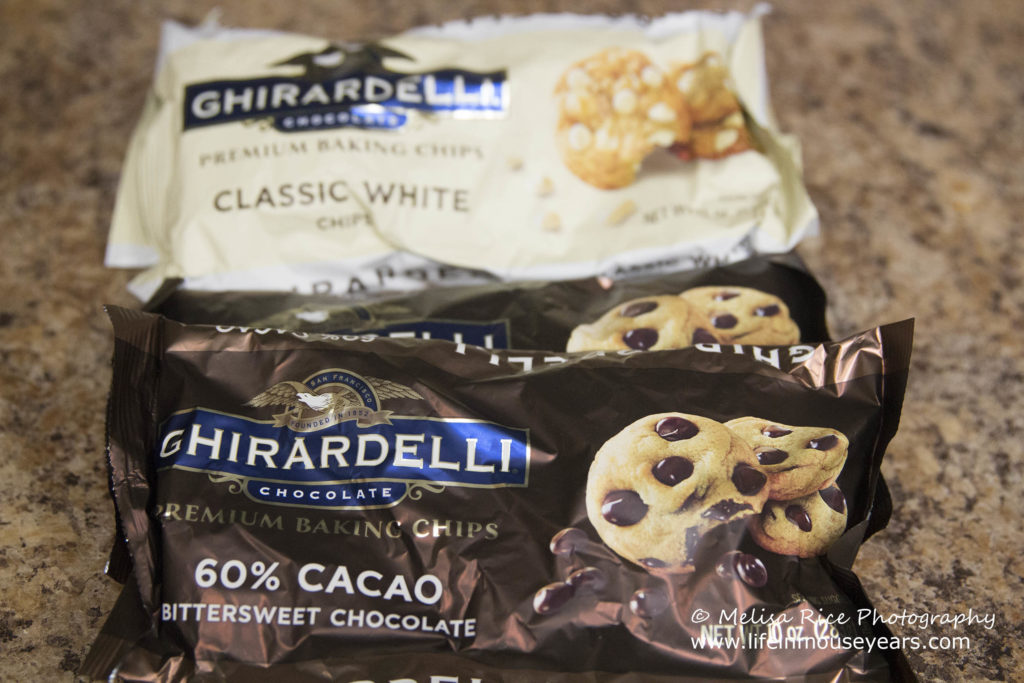
- Chocolate-I used Ghiradelli chips (dark and white)
- Spatula for stirring
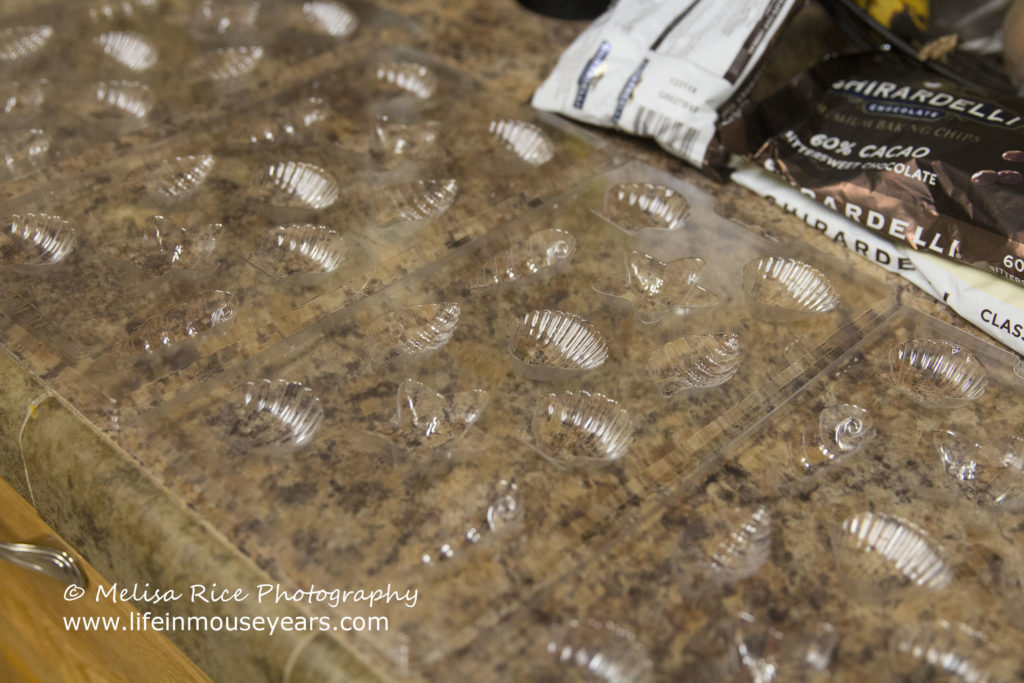
- Wilton candy molds (here)
- Spoon for drizzling (drizzle is optional)
Tip: The darker the chocolate the better it is for tempering. Due to the high cocoa butter content.
Melting the chocolate.
First of all, for the Moana cupcakes chocolate seashells, you will need to melt the chocolate. Begin by adding approximately 1 inch of water to the pot. Heat the water up so that it is hot but not boiling! Once it was hot, I turned down the temperature to low. Next, I added the glass bowl on top of the pot. Then I added some of the chocolate to the bowl. However, you do not want to add all of the chocolate at once. You will need some leftover for tempering the chocolate.
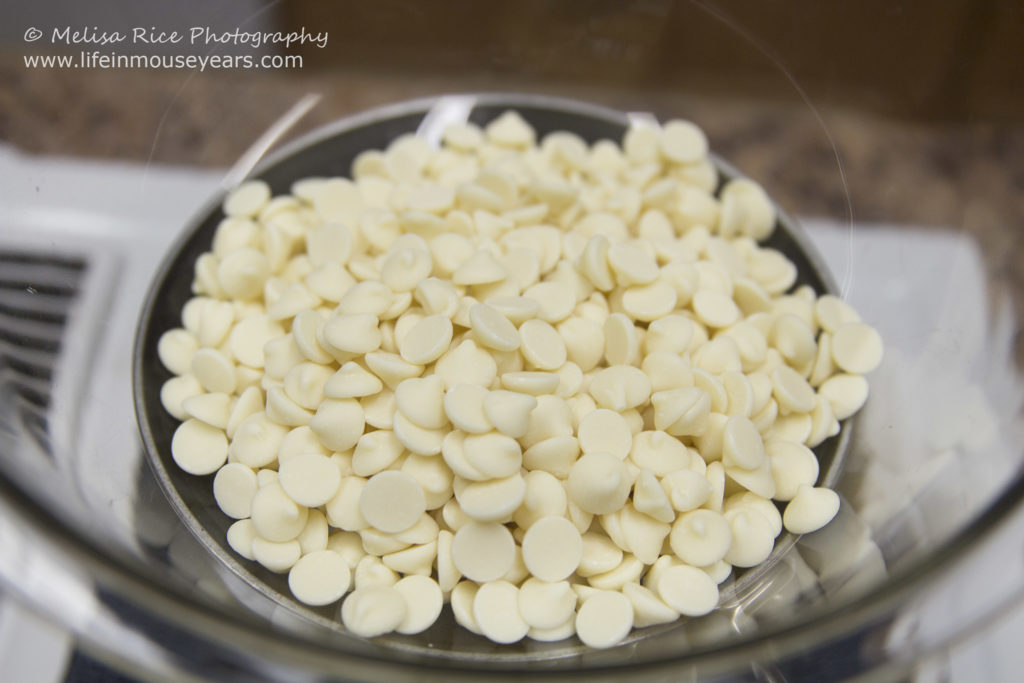
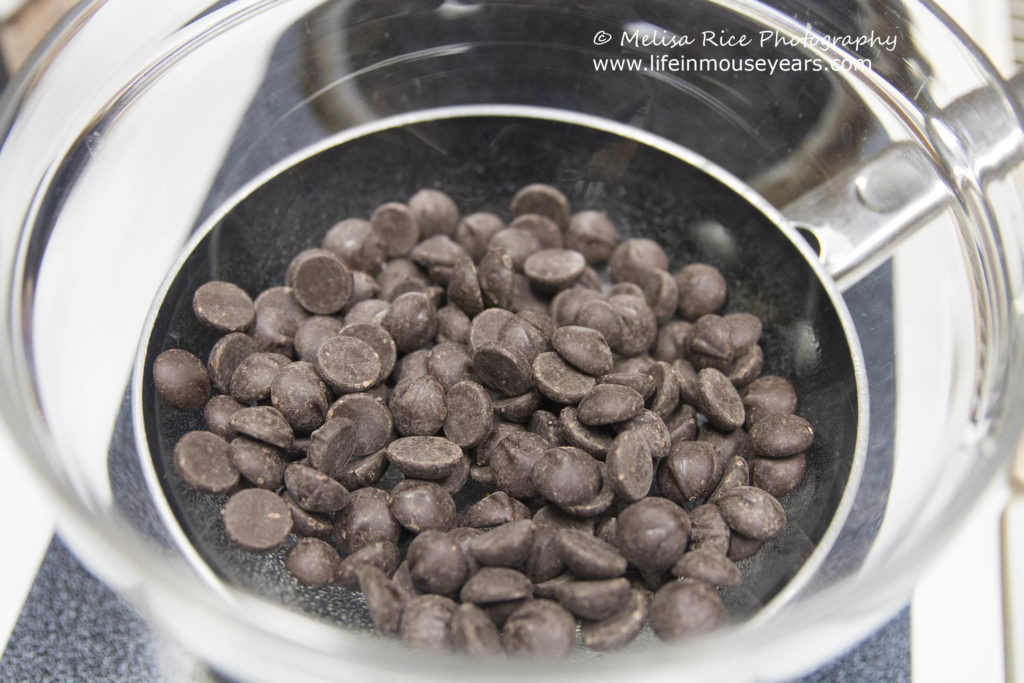
Stir the chocolate occasionally as it melts. After it melted, I checked the temperature with a candy thermometer. For dark chocolate, you will want to heat it to 115 degrees. White chocolate is 100 degrees. (As I found out later… I will explain my troubles later)
Tip: Do not boil the water, have the water boiling or get any water into the bowl of chocolate. This will seize the chocolate and you will not be able to use it for this type of project.
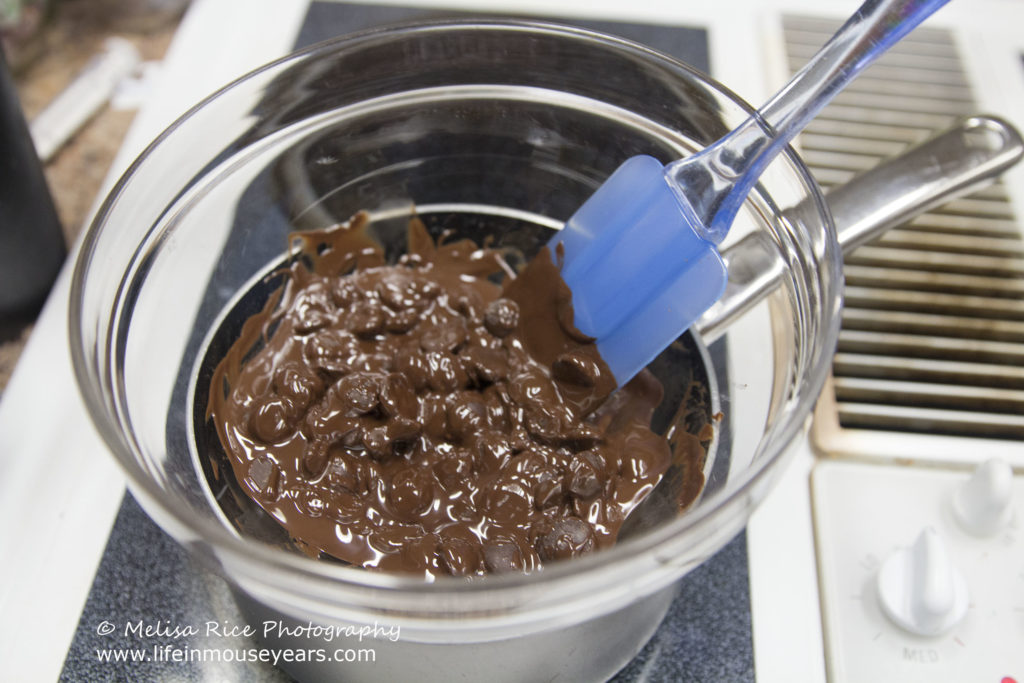
Tempering the chocolate.
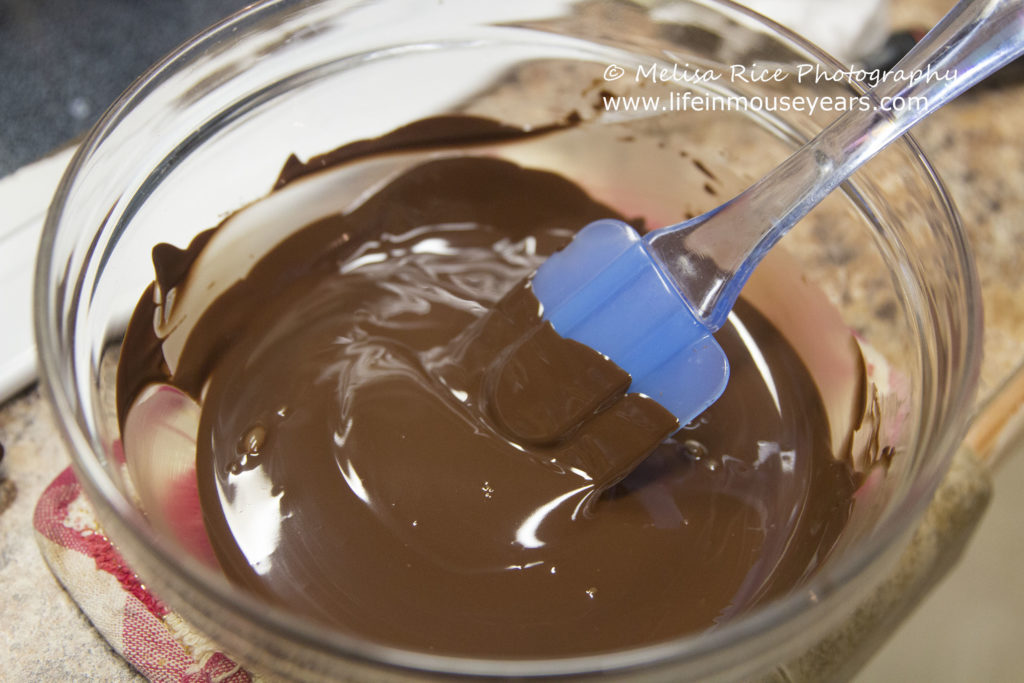
Take the bowl off of the pot and begin to add some more chocolate chips to the bowl. A little at a time. Once the chips you added have melted, check the temperature of the chocolate. You will want it to be at 93 degrees. Once it reaches that temp, then you can pour it into the molds.
Why Temper?
First, chocolate is a mixture of cocoa, sugar, milk, cocoa butter. Amounts in each type of chocolate vary depending on which type you get. For example, the darker the chocolate, the lower the sugar and milk amounts are and the higher the cocoa butter amounts are.
When you melt the chocolate, it separates these ingredients. Tempering helps these ingredients to come back together throughout the chocolate. If you don’t temper the chocolate, it will look dull, be sticky, and have white spots. However, when you temper the chocolate properly, it will be shiny and have a snap when broken or bitten into. Like the way chocolate is when purchased at the store.
Put into the molds.
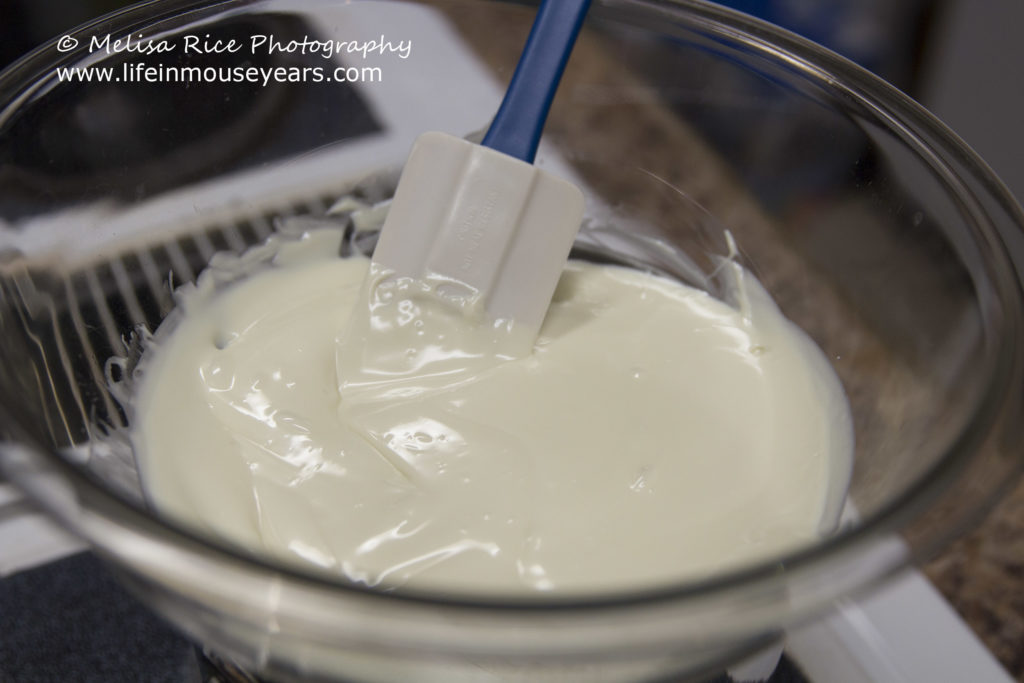
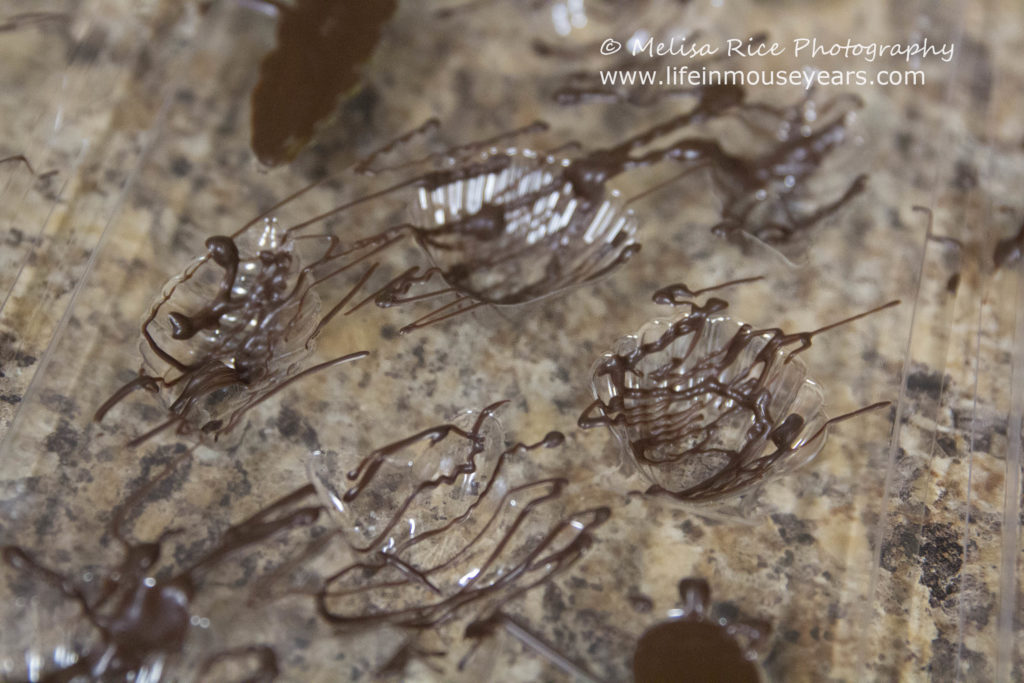
Once the chocolate was tempered, I added it to the candy molds. I wanted to do a white shell with dark chocolate drizzled on top. I started by drizzling the dark chocolate into the molds. Next, I poured the white chocolate on top. In addition to those, I also did some that were all dark chocolate.
Here were my troubles…
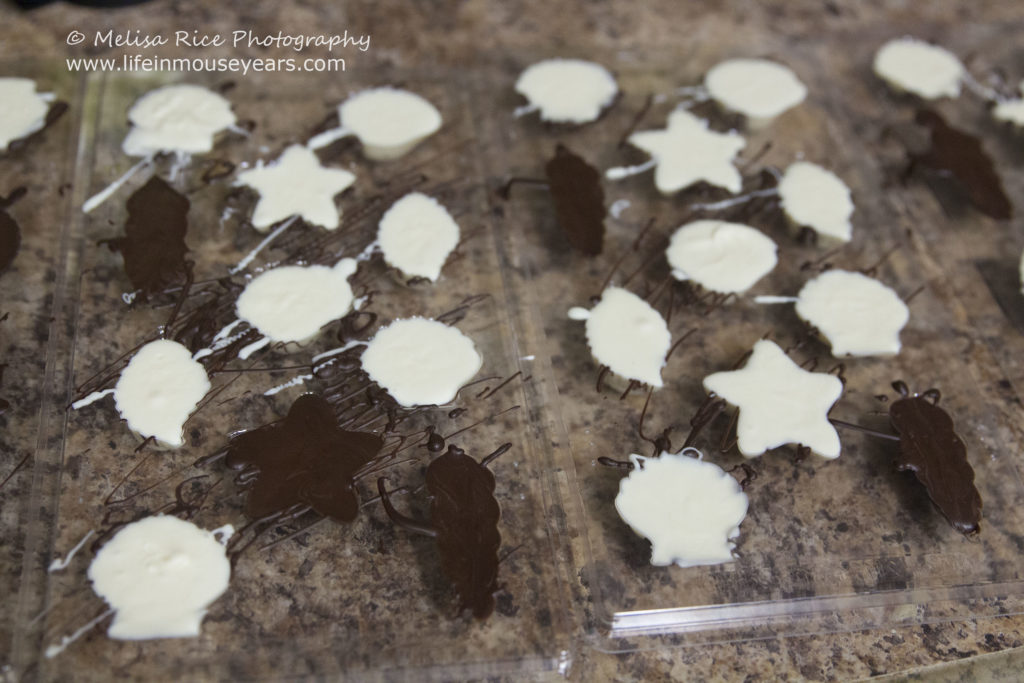
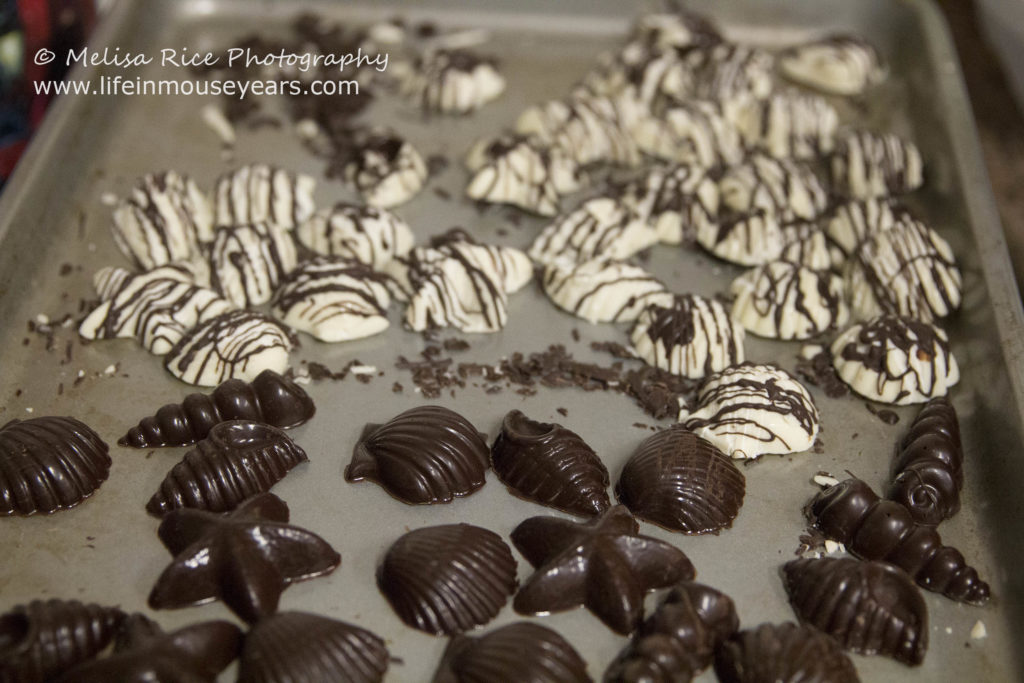
At the time, I did not realize that the white chocolate needed to be heated to a different temperature. As a result, the dark chocolate did not release from the candy molds intact with the white chocolate. After lots of frustration and time, I attempted to hide the divets in the white chocolate by drizzling the dark chocolate over the white shells. It worked great! Thank goodness. However, in hind site, had I known, I would have tempered the white chocolate to the lower temperature. All in all, it worked out and I also used the all dark chocolate pieces to have variety.
Cool.
Next, for the Moana cupcakes, chocolate seashells is to cool them. I did put them in the fridge for a short time. Just long enough for them to be hardened.
Tip: You do not want to leave chocolate in the fridge for too long. Even if you tempered properly, the fridge will cause the same reaction as if you didn’t temper. Therefore, do not store your chocolates in the fridge.
Take out and store.
Once the Moana cupcakes chocolate seashells cooled, I took them out of the molds and placed them on a cookie sheet awaiting assembly.
The best way to store the chocolates is in a cool, dry place and not in direct sunlight.
Cupcake Time
As I have mentioned in my other cake posts, I like to have the cake round as the display piece and then have cupcakes all around for quick and easy serving during the party. It is also nice for the birthday boy or girl to get to dig into their cake round later.
For these cupcakes, I used Duncan Hines Dutch Chocolate Cake mix. I use light olive oil in place of vegetable oil. They turn out moist when baked to the point of testing with a toothpick and it comes out clean.
Next, I frosted them with light blue frosting. Making it look wavey like water. On half of the cupcake, I added crushed graham crackers. Finally, I added the chocolate seashells to the center of the cupcake. It was super easy and so cute!
In Conclusion
Tempering chocolate is a time-consuming option in making chocolates. However, when done right, nothing beats real chocolate in your Moana cupcakes chocolate seashells or any chocolate making project you do.
I hope that this helps you out should you decide to make your own chocolates. If you have any questions, please feel free to leave them below. I would love to help!
What would you like to see here?
Is there anything you would like to read about here at Life in Mouse Years? Let me know in the comments below! I would love to help!
Don’t forget to sign up!
If you would like to stay up to date on new posts that come available, please sign up to receive email updates!
Thanks for stopping by Life in Mouse Years!

Leave a Reply