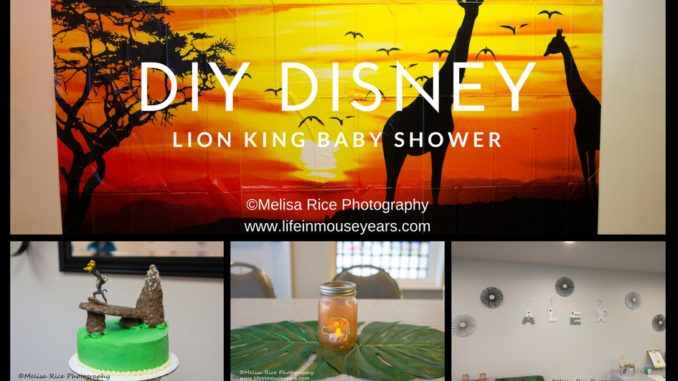
Today I thought I would change it up a little and start my DIY portion of blogging. Cakes, parties, and crafts. These posts will be from parties I have done through the years. I may not have the most detailed step by step photos on the first postings (they are from before I decided to start blogging) but, hopefully, with future projects, I can be more step by step instruction. Today’s party idea is DIY Lion King Baby Shower.
DIY Disney – Lion King Baby Shower
In 2016, I threw my friend a baby shower. She was going to have a boy. Her request for the theme was some kind of safari/animal theme.
Well…..
We both LOVE Disney and Disneyland, therefore, I HAD to incorporate some kind of Disney elements to the party. What I did was mesh the two together. Taking the safari theme and adding some Disney touches to create a Lion King baby shower.
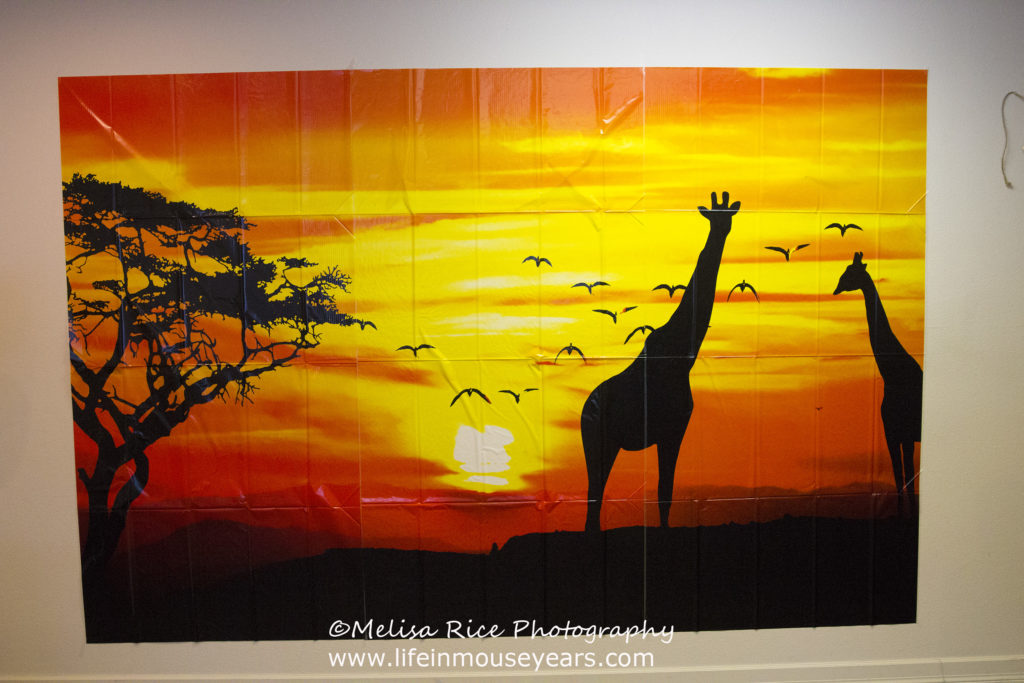
Backdrop
I found a really cool backdrop that looks like the beginning of the movie Lion King. Where the sun is coming up and you see everything as black silhouettes. It made a great photo backdrop as well.
Jungle Vines
Behind the food counter, I made and hung jungle vines. I took brown paper lunch bags and cut the bottoms off. Sliced them open on the sides. I opened them up and taped them together, one by one till it was approximately the length I would want. Taking into account that twisting will shrink it some. Then I started twisting.
Next, I found a package of multi-colored green cardstock. I used two colors that would look good together. I used a stencil to trace and cut leaves. Then I hot glued the leaves to my vines. Next, I cut some thin strips of the green cardstock. I wrapped them around a pencil to curl them and attached them to the vines as well. I hung all the vines onto one other vine. Spacing them out as I glued them on. That way when I hung them up on the ceiling, I didn’t have to hang each individual vine. Also, It helps to have it looking like the vines are growing out from something, rather than just coming from the ceiling.
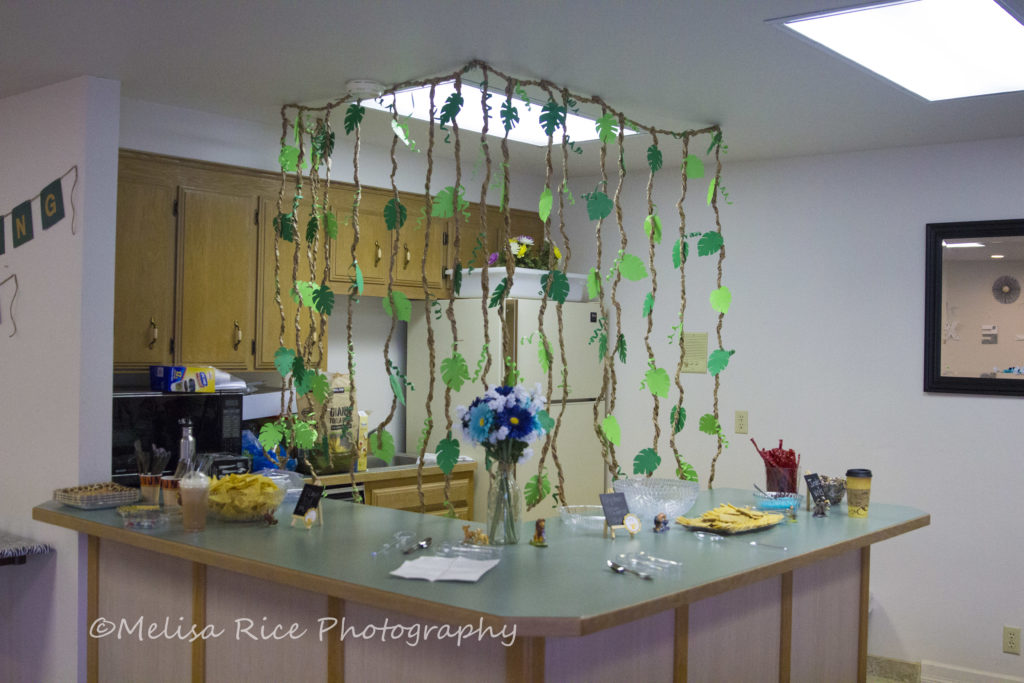
Seems like it may sound cheesy, but let me tell you, it was the talk of the party. Once it is hung up, it creates a cool backdrop.
Click the link to find some cool Disney Lion King Merch at Shop Disney.
Food Counter
To add a Disney touch to the food counter, I had ordered some Lion King figurines and placed them all around the food platters. I also had found small chalkboard easels and I used those to write what food was what on them. I had printed and cut out some baby Simba circles and attached them to the front of the chalkboards.
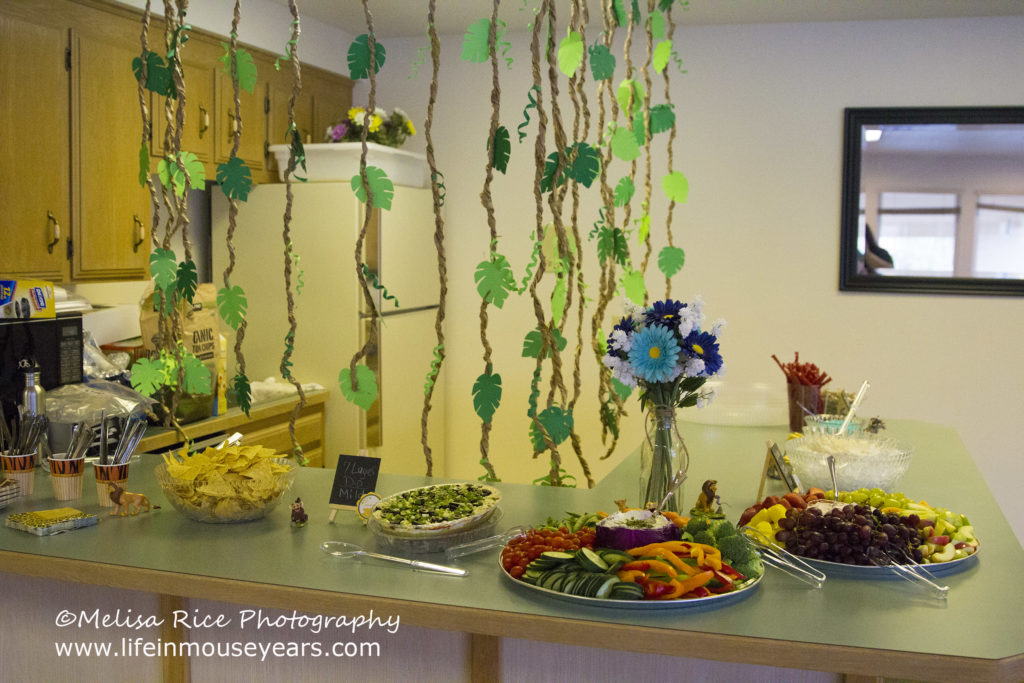
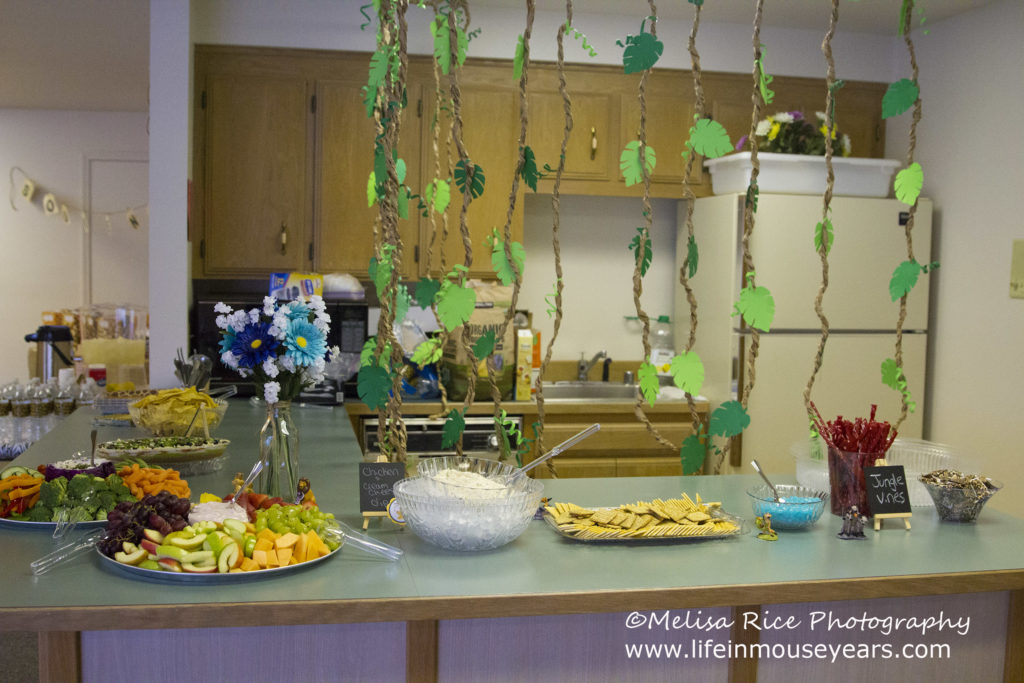
Table Decorations
The table decorations were fake palm leaves, and a jar with battery operated tea lights. The jar was not plain. I took a template of the baby Simba that Rafiki had drawn on the wall in the movie. I cut the shape out and used it as a stencil on the jar. Then I sprayed the whole jar with orange paint and glitter paint. Next, I took off the stencil and sprayed it with a clear coat. (Allowing all layers to dry thoroughly in between.)
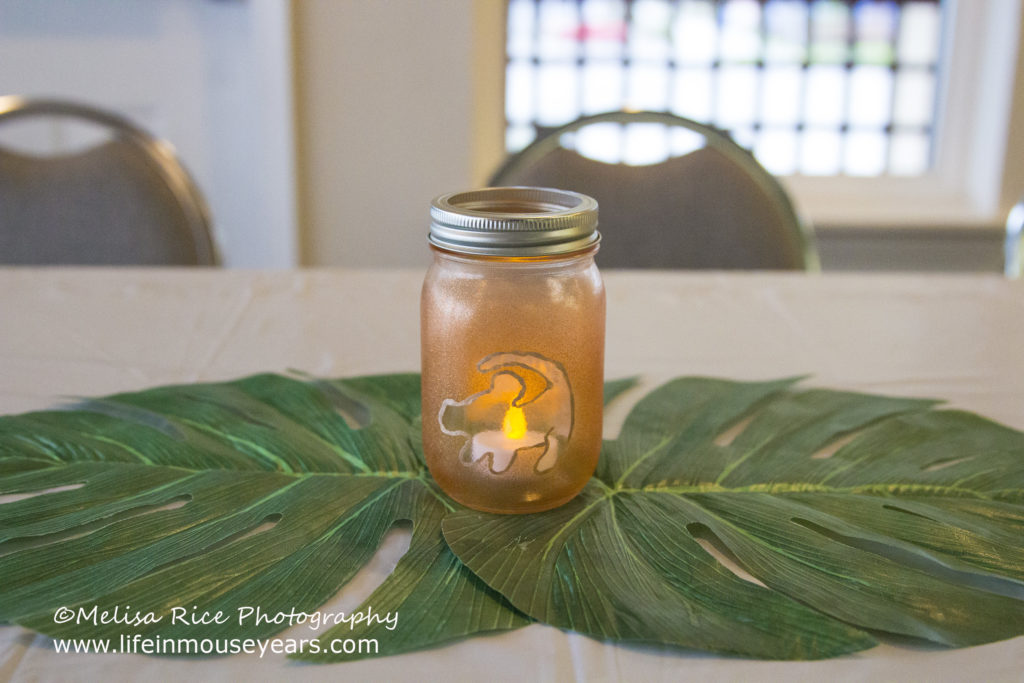
They turned out so awesome! I still have one as a decoration at my place.
Signs
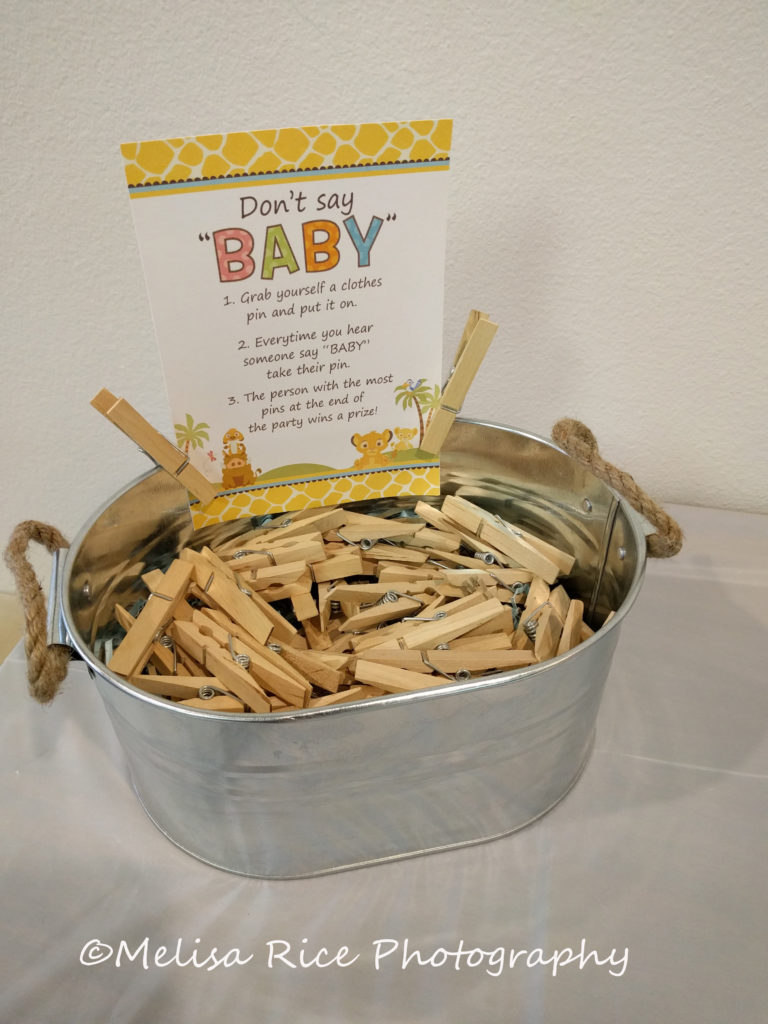
I made signs for the different games that were going to be played and one for the guest book. I added some baby Simba pictures to the signs to make it Disney. (The guest book was a book of Disney stories.)
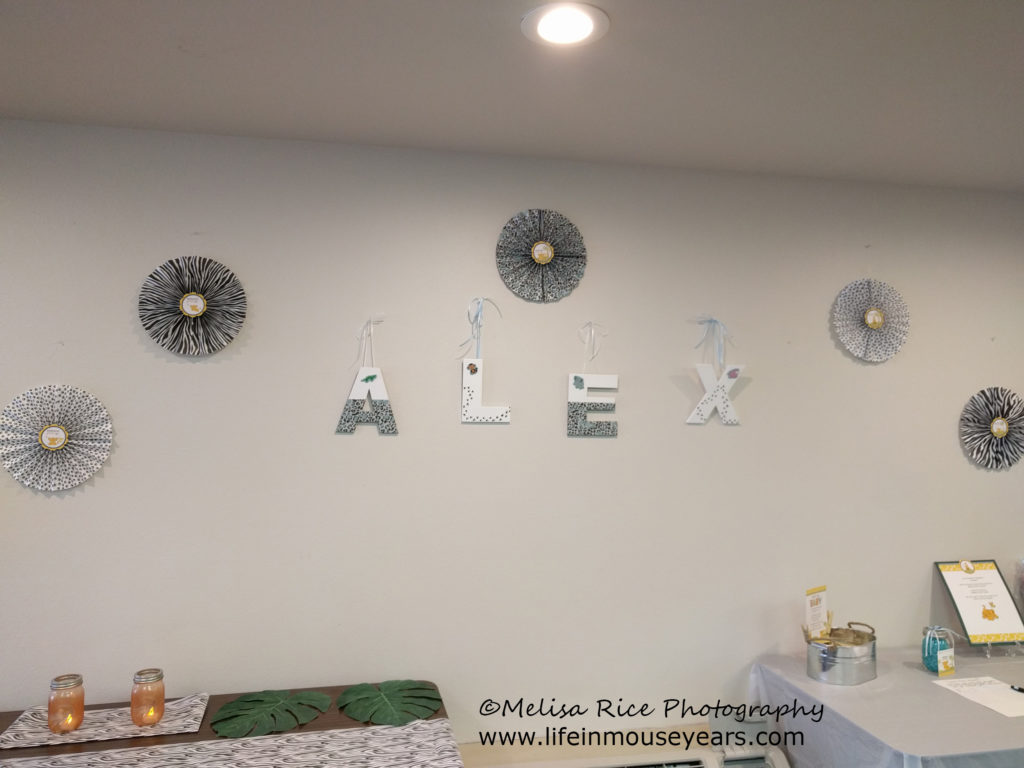
Paper Fans
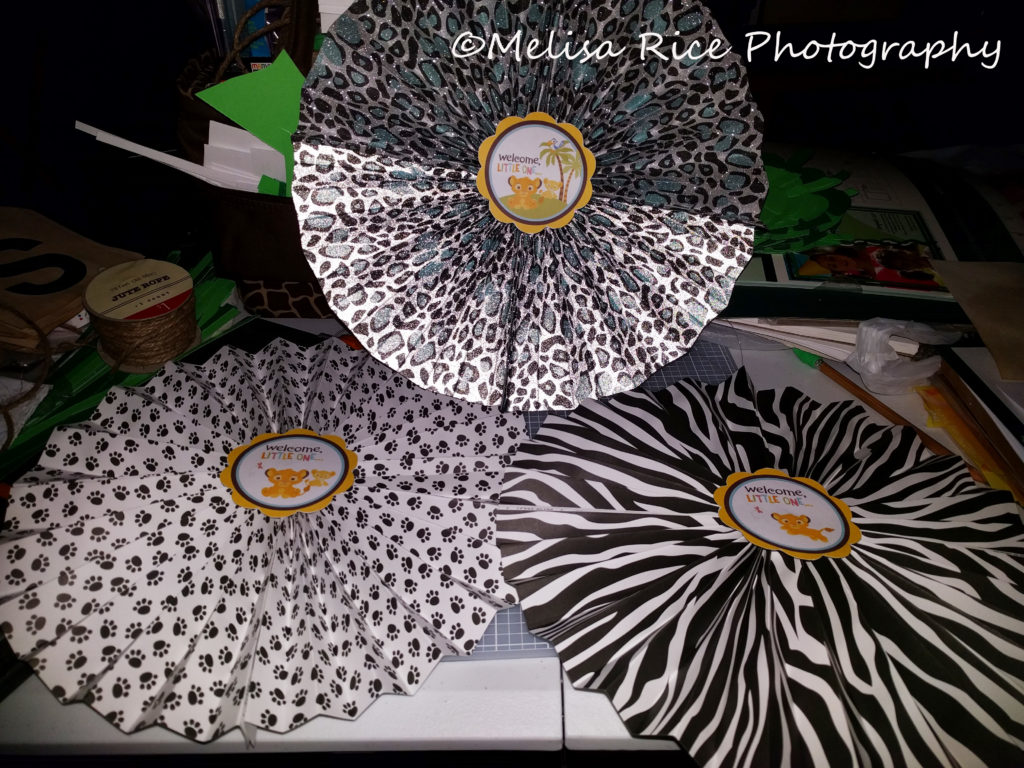
First of all, for the wall decorations, I made round paper fans. The paper I used was various animal prints. I used more than one paper for each fan. I took each paper and folded it over. Approximately an inch wide, alternating back and forth creating an accordion effect. When that was done I attached the papers together from the backside with staples and bringing the two ends together to create the fan effect. Then in the center, I cut out a circle picture of baby Simba and attached it. Little Disney touches everywhere!
Letters Spelling Baby’s Name
Another decoration for the wall I made was letters that spelled out the baby’s name. I purchased chipboard letters that spelled ALEX. Then I took white paint and painted part or all of each letter. For the A and E, I painted the top half. Then for the L and X, I painted the whole letter.
I then took one of the animal print paper and attached it to the bottom half of the A and E. On the top part of those letters I attached a little chipboard animal. An alligator and an Elephant.
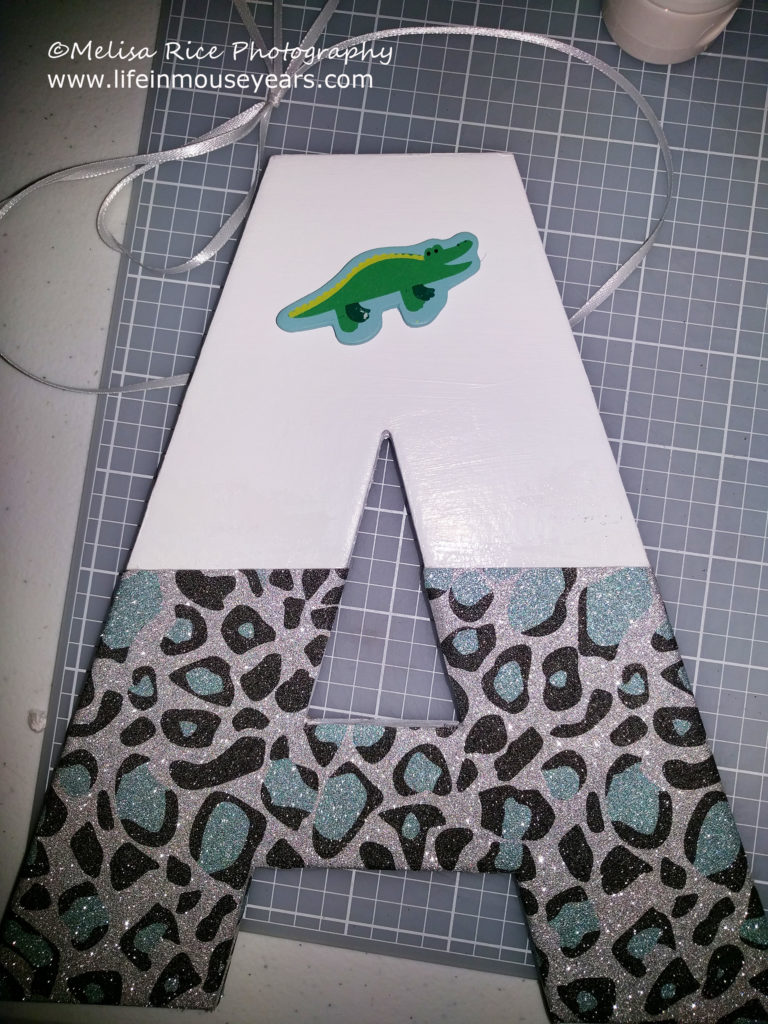
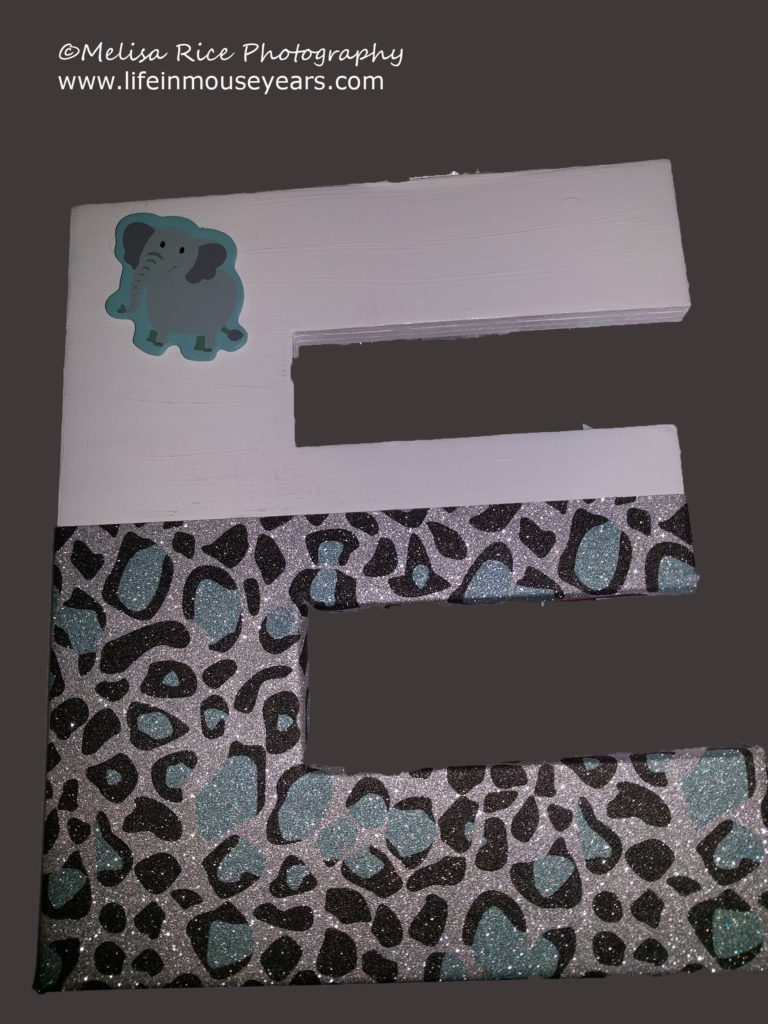
For the L and X, since they were fully painted white, I took black paint and painted paw prints like an animal walked around the bottom half of the letters. I also attached an animal to the top of those letters as well. A monkey and a hippo.
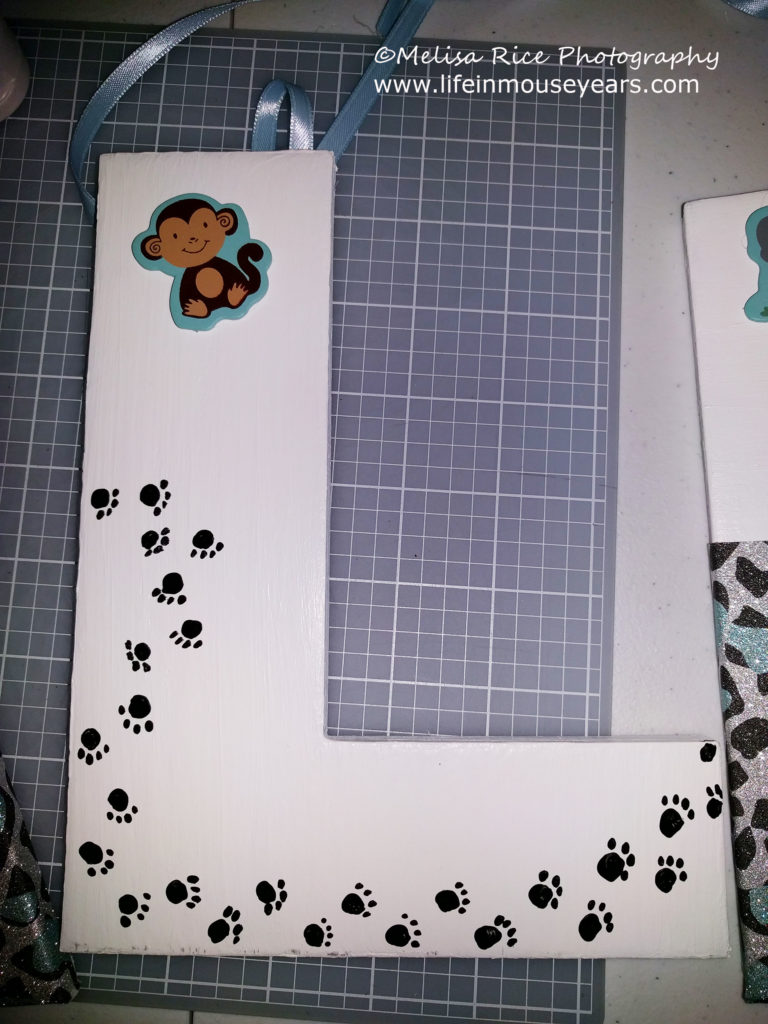
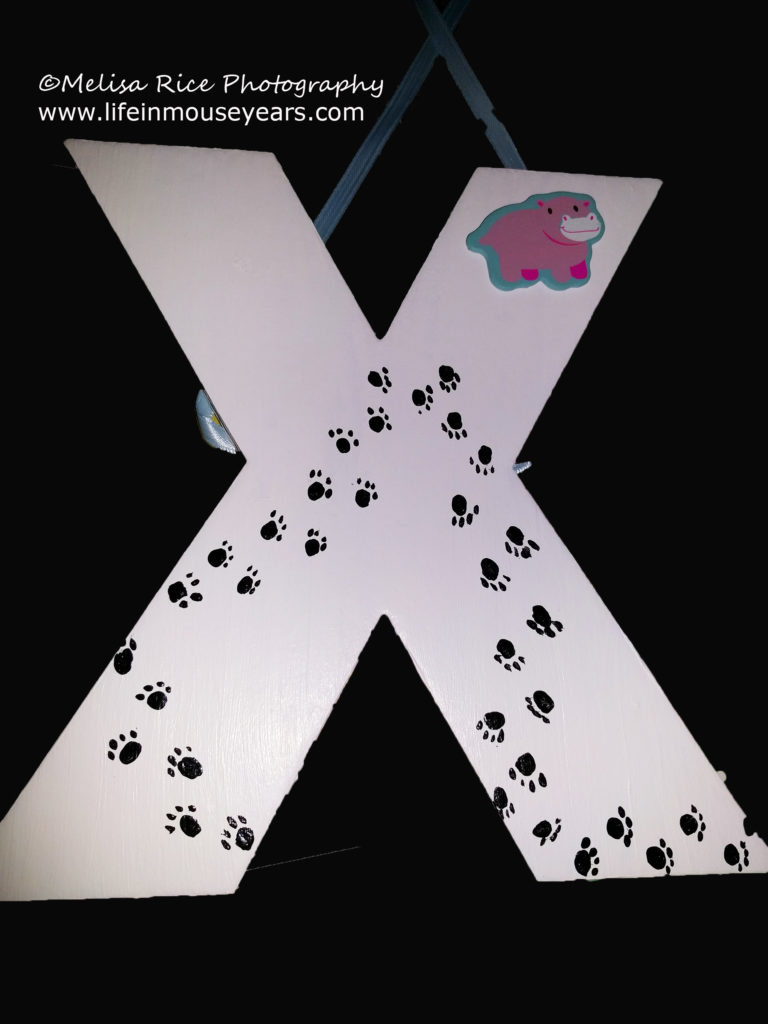
In order to hang them on the wall, I took a blue and white fabric ribbon and glued it to the back of each letter. Leaving strings up higher than the letter and tied bows at the top.
Cake
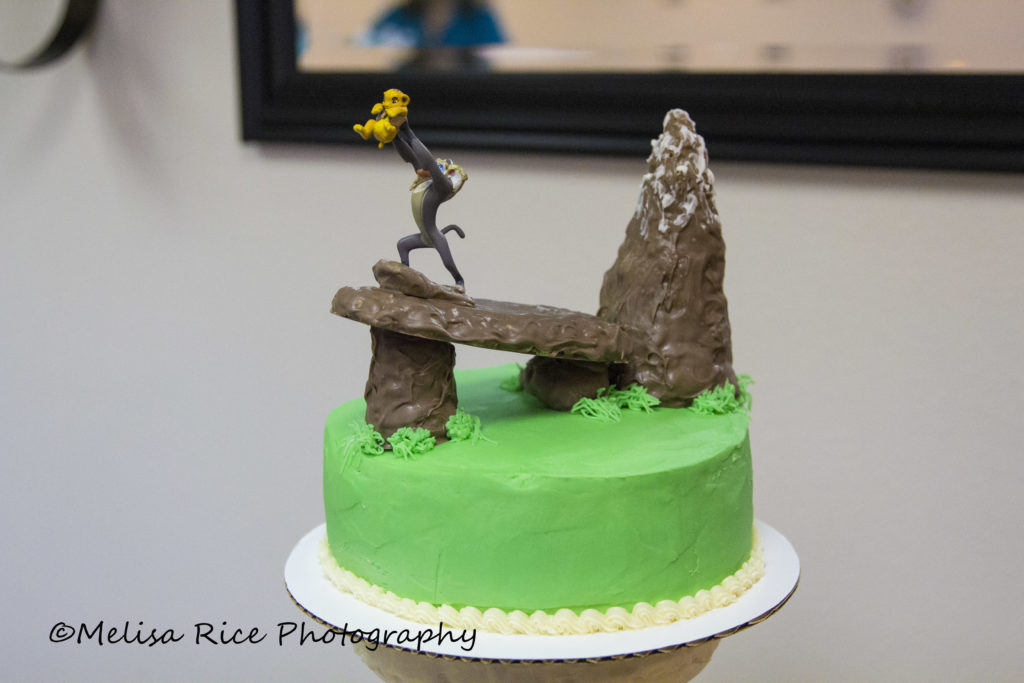
Let’s not forget about the cake!! I made a Lion King cake with paw print cupcakes.
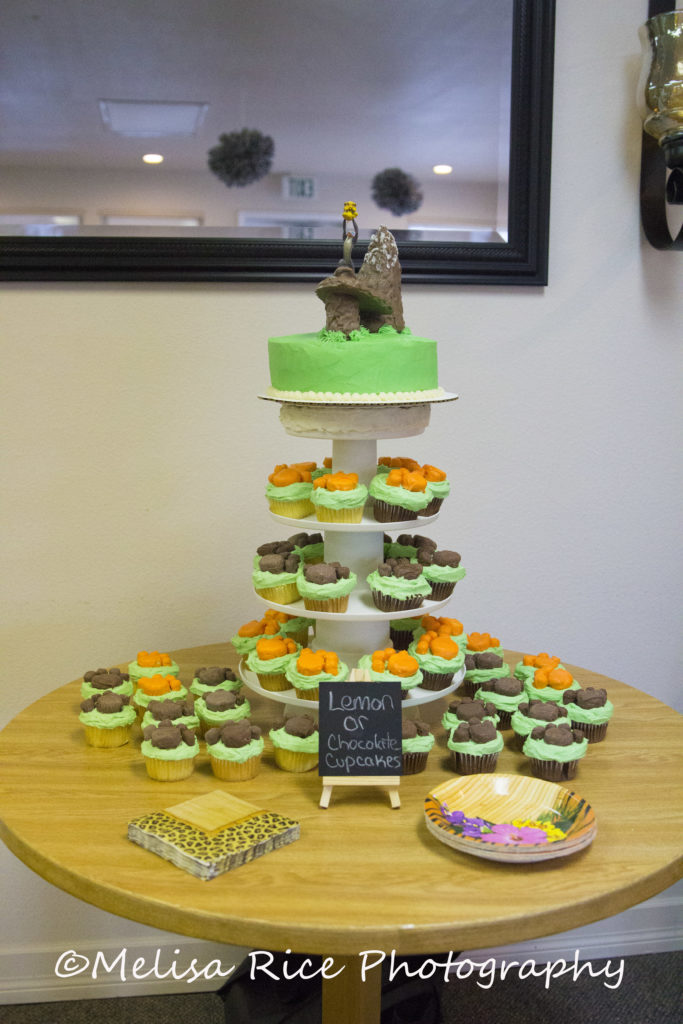
Fondant and I are not friends, so I use buttercream for my cakes. I did green to signify grass. The design on the top of the cake was pride rock. I made it out of rice crispy treats. Then I took chocolate candy melts and covered it to look like rocks. I added some tufts of grass with the green buttercream frosting, around the “rocks” and in various places around the top of the cake. Then I took the figurine of Rafiki holding up baby Simba in the air and attached it to the end of the rock. Just like the scene from the Lion King movie.
Party Favors
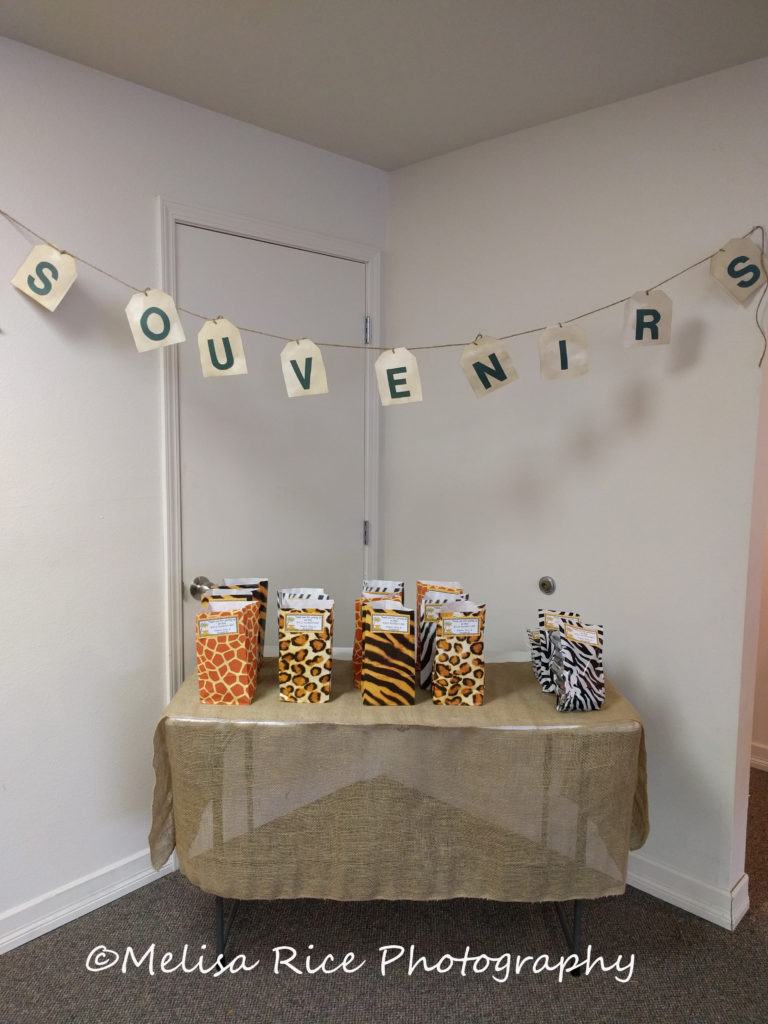
Consequently, the party made me think of Adventureland in Disneyland. Therefore, for the party favors, I did a table with Burlap on it. Made a hanging garland that looked like luggage tags. Each tag had a letter to spell out souvenirs. The treat bags were animal prints with lots of treats inside that even included Lion King stickers.
In Conclusion
I hope this Lion King baby shower post inspires you to do a Disney themed party. Even if you are unable to find the decorations for your theme, you can do something else and just add some Disney touches. While it doesn’t have to be overwhelmingly Disney, it can be just accents if you want.
Or… go crazy with it. I won’t judge you. 😉
Questions or Comments?
If you have any questions or comments about today’s DIY Lion King baby shower post, please feel free to make them below. I would love to help!
Thanks for stopping by Life in Mouse Years!
Click the link here or below for some great Lion King Merchandise at ShopDisney!

I loved this post. What neat/awesome ideas and you did a beautiful job! The vines were really cool looking. The pictures are very good and you can see all that went into decorating for this party. A good choice for a different type of blog. The Lion King is everyone’s favorite.
Thank you! I get so stressed out before the parties. I always wonder if my mash of ideas will all work together. Thankfully, so far they have worked. 😉